

DESIGN , PRICING & PROCESS
Colbourne


Dyslexia
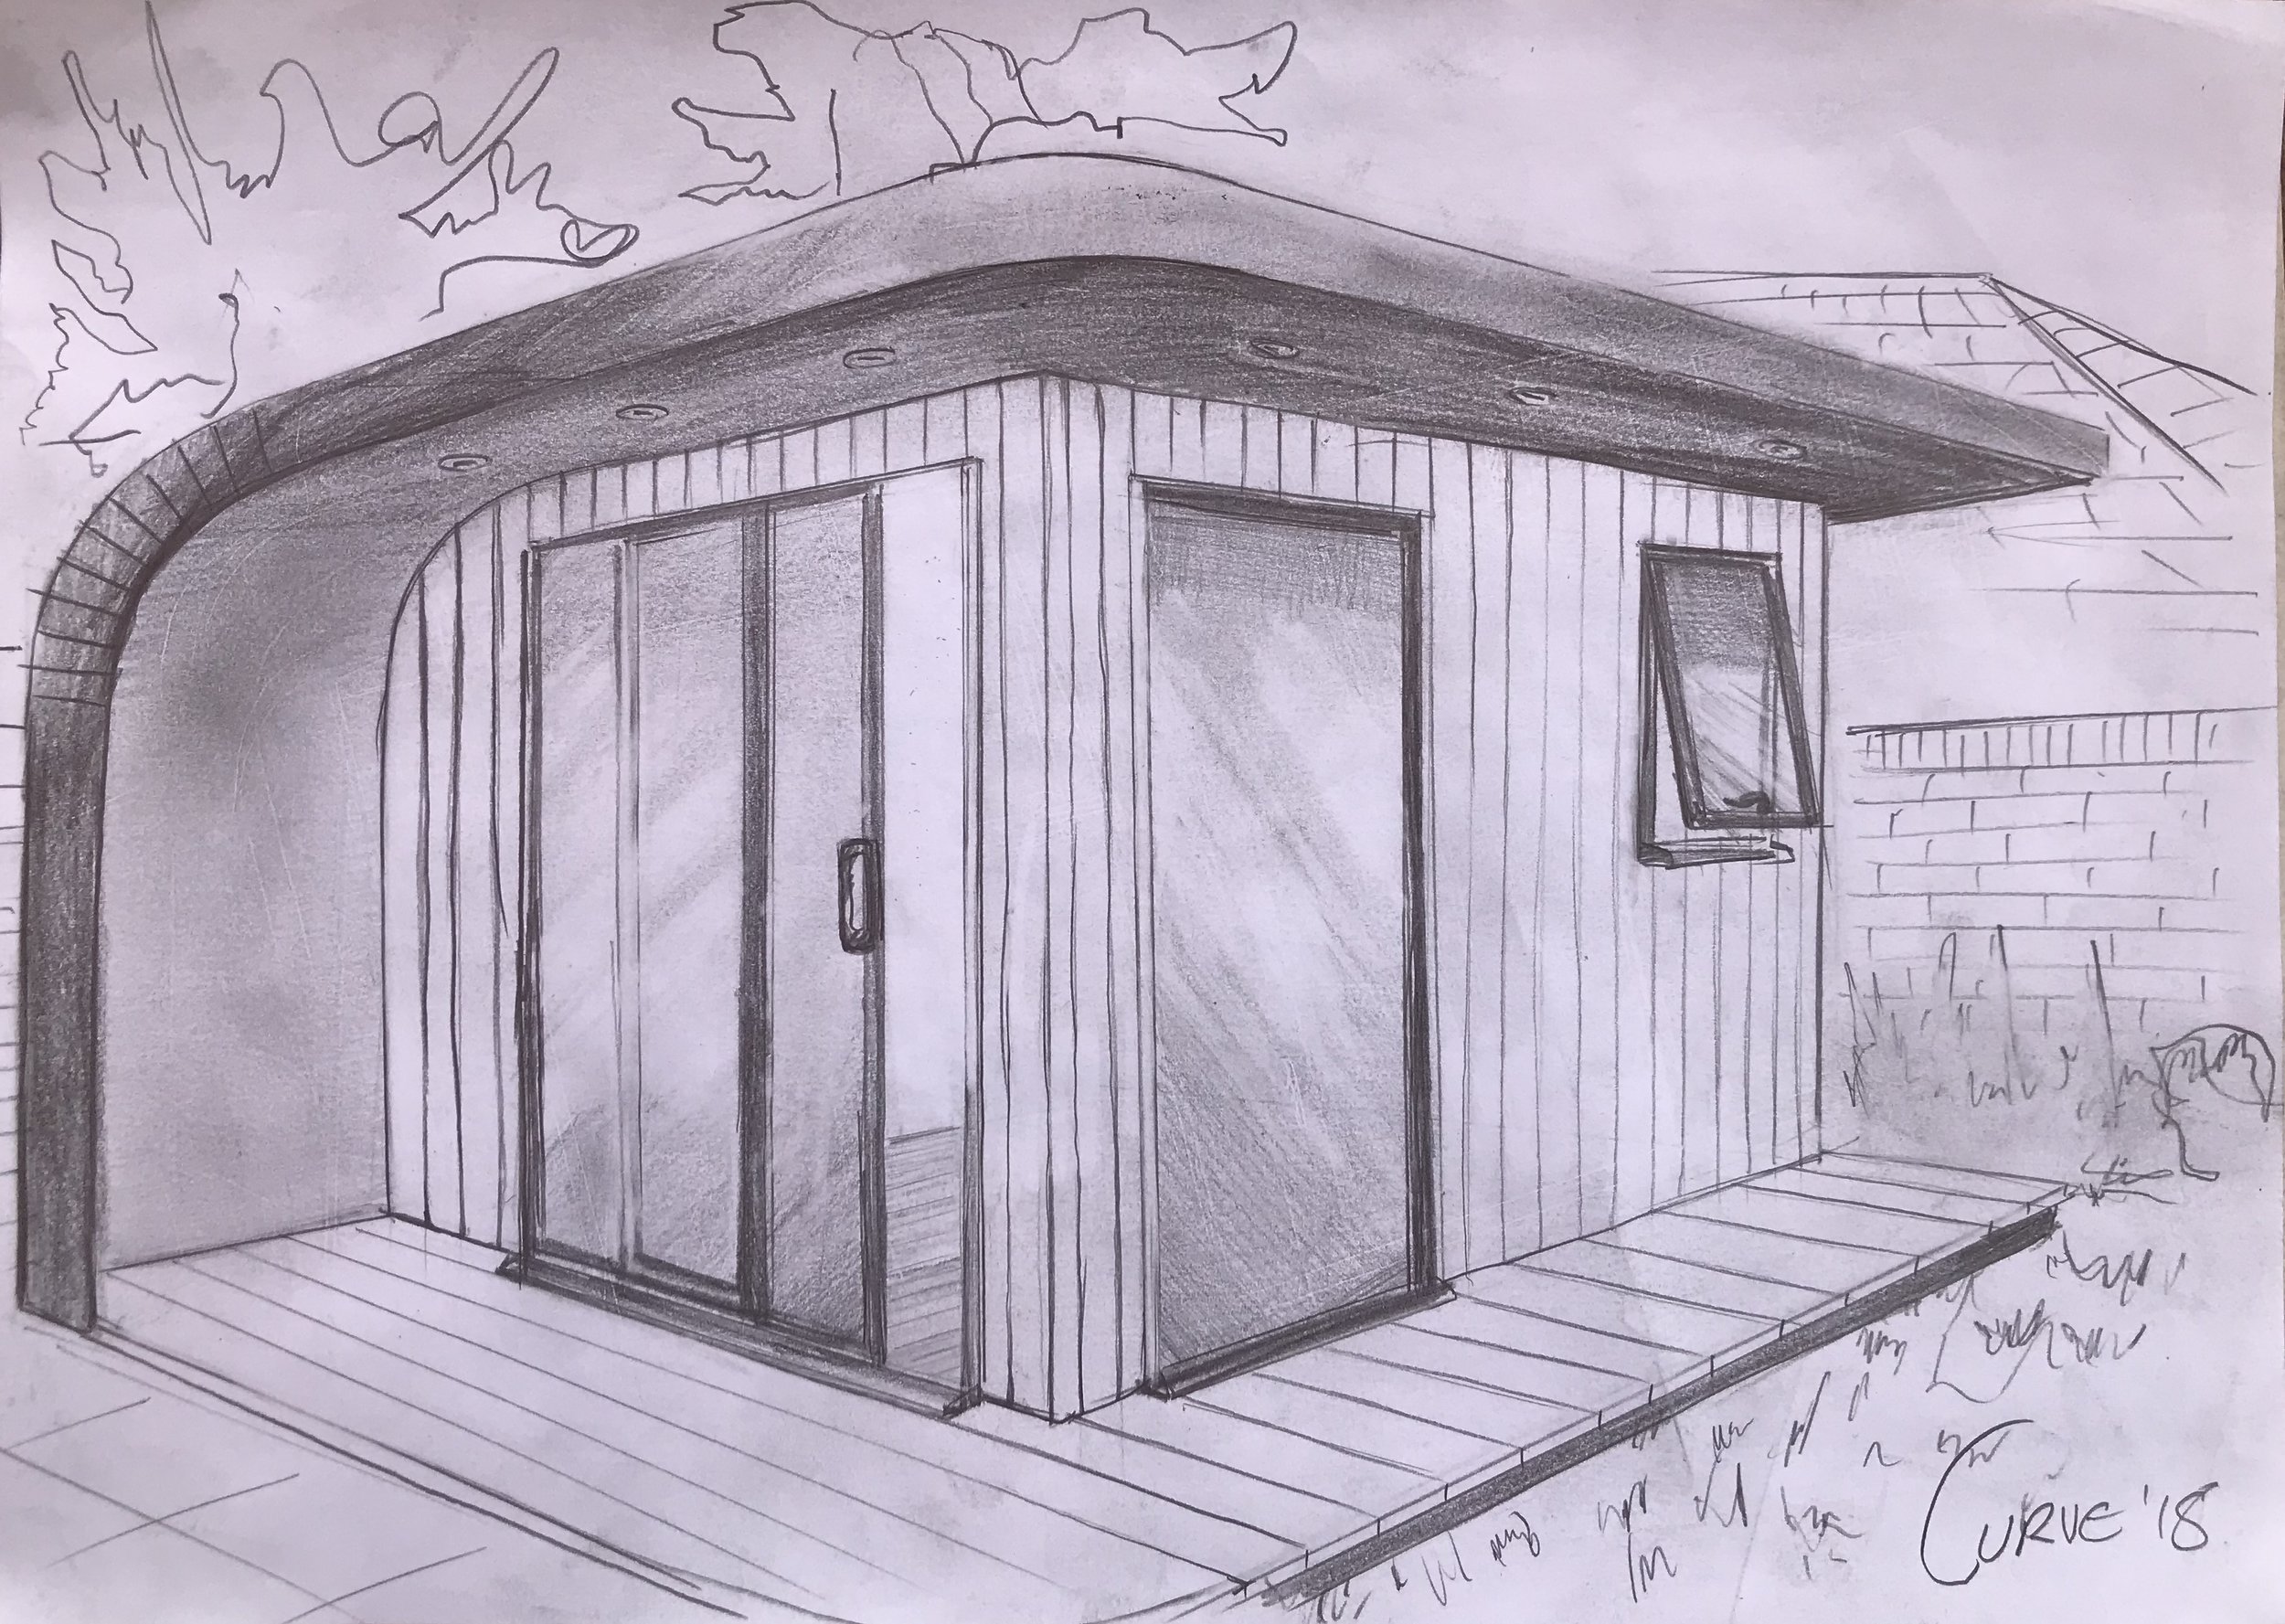
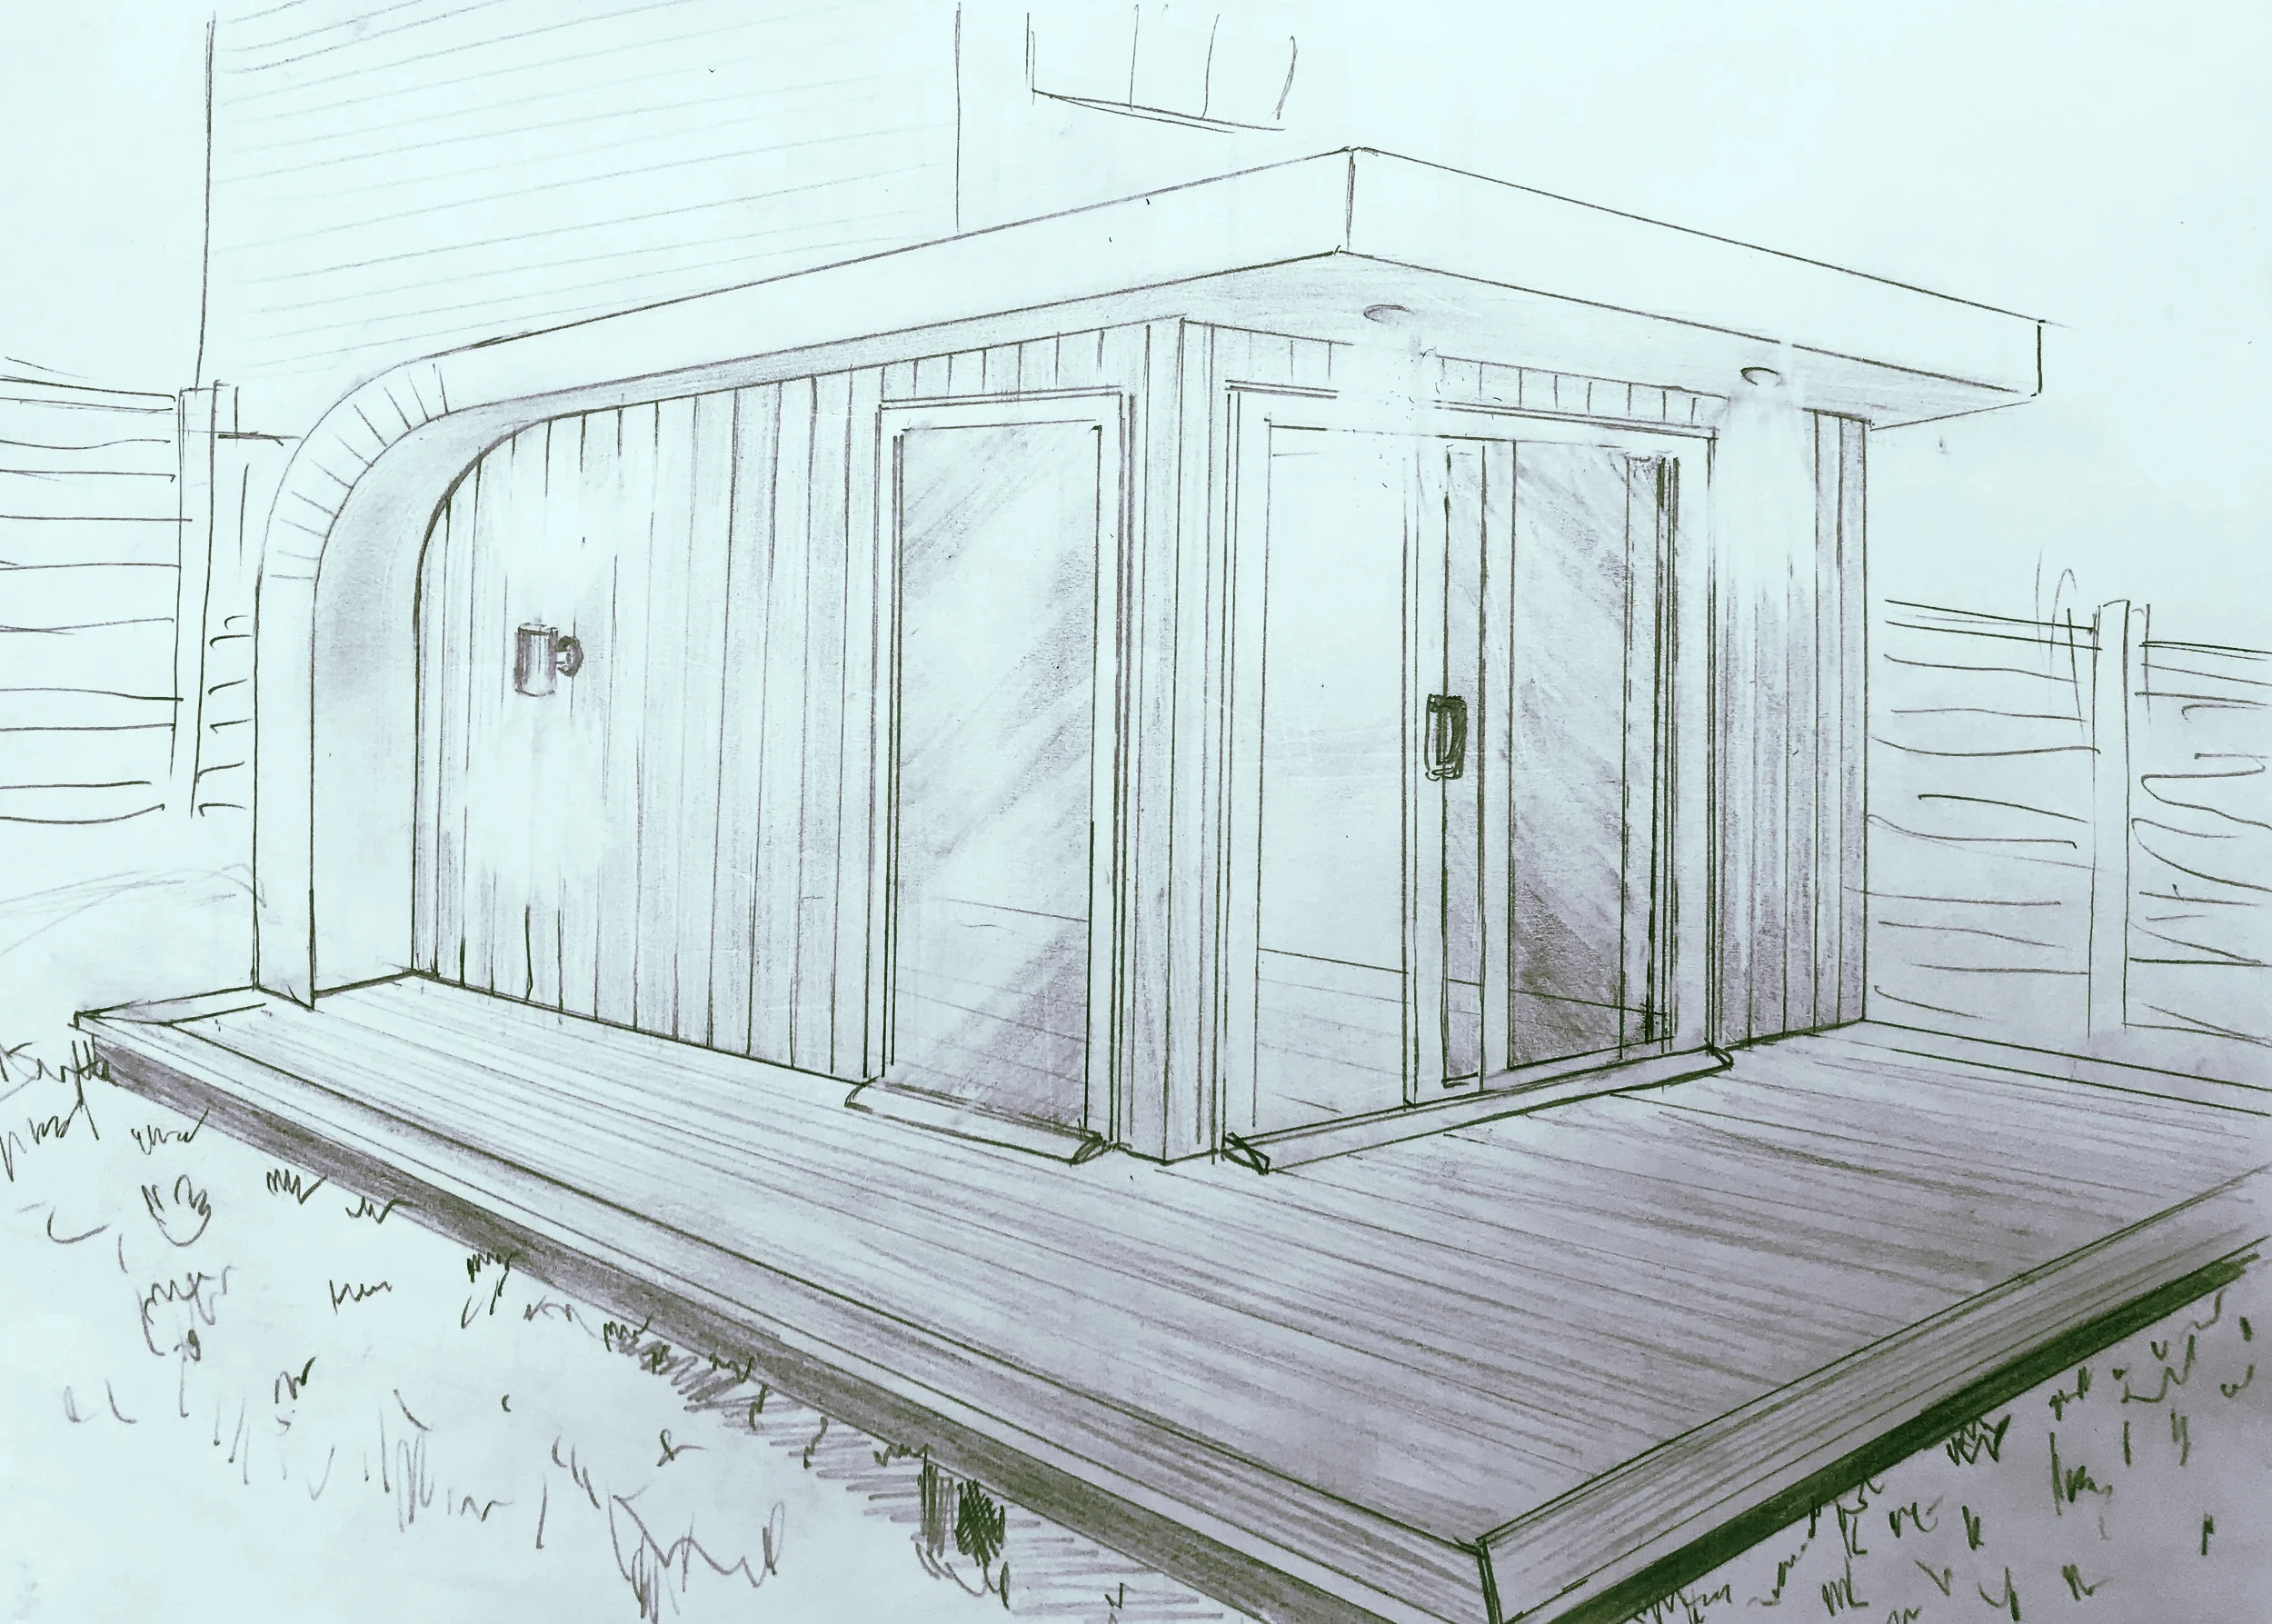
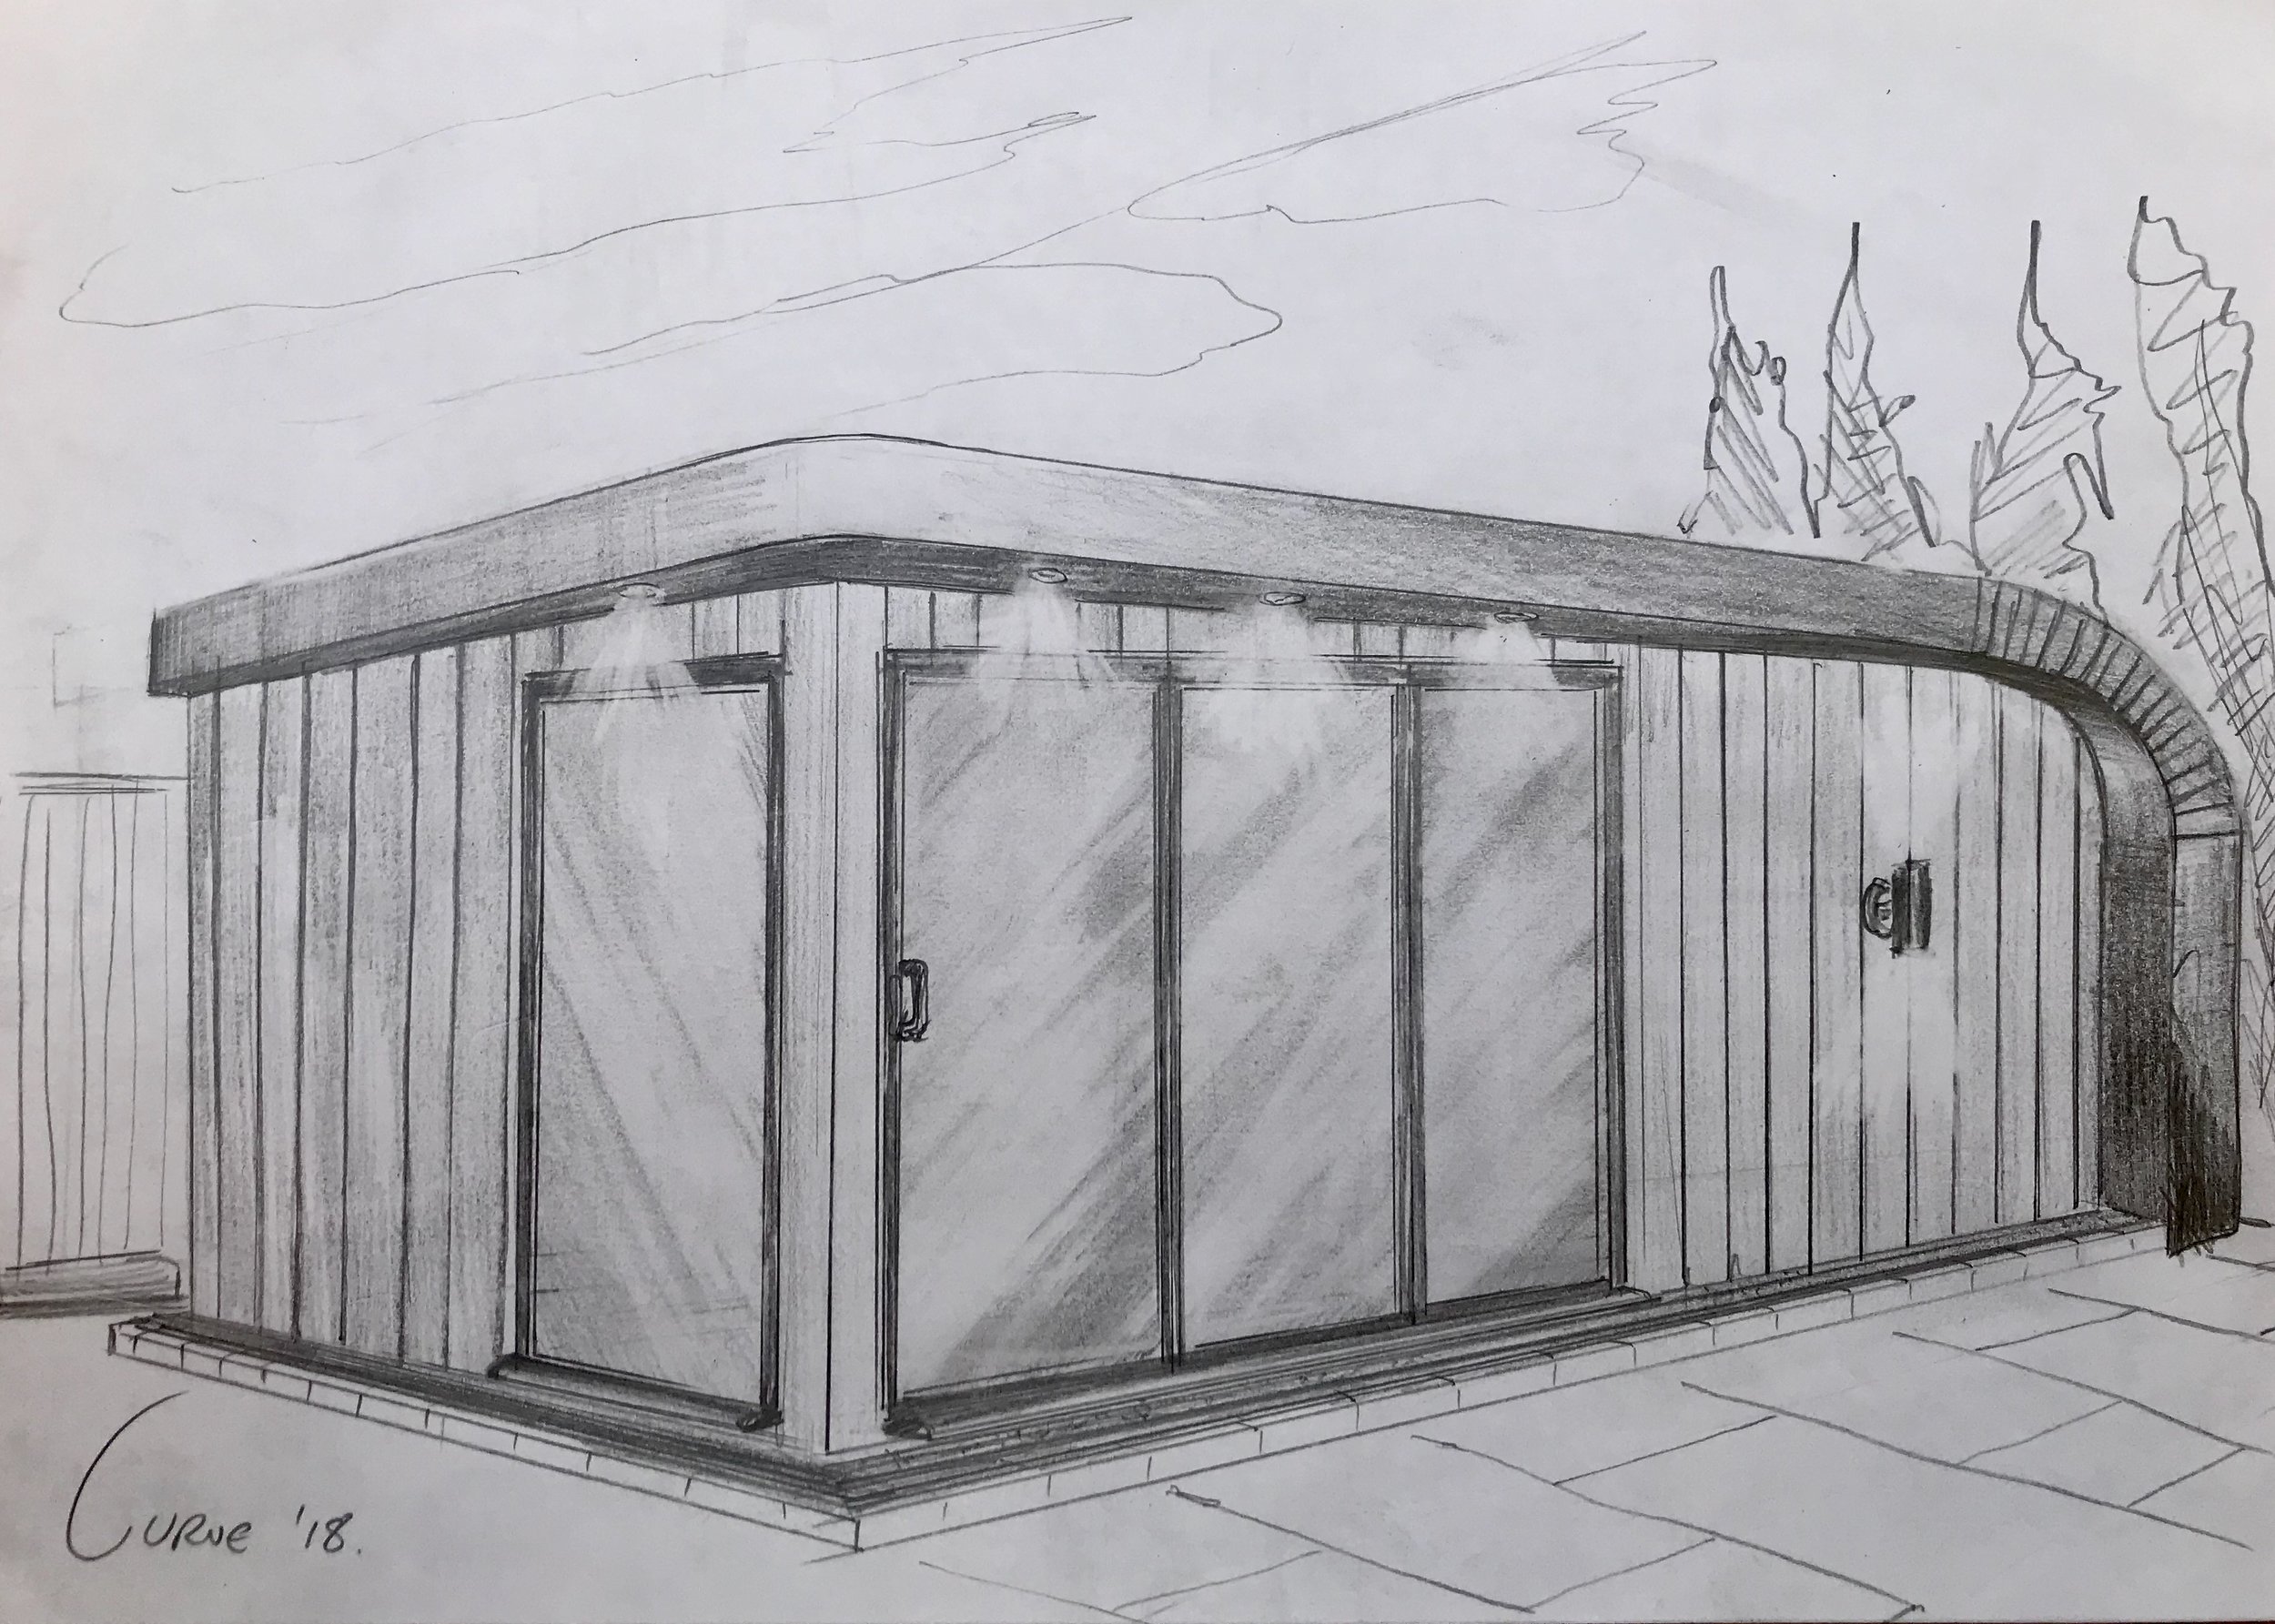


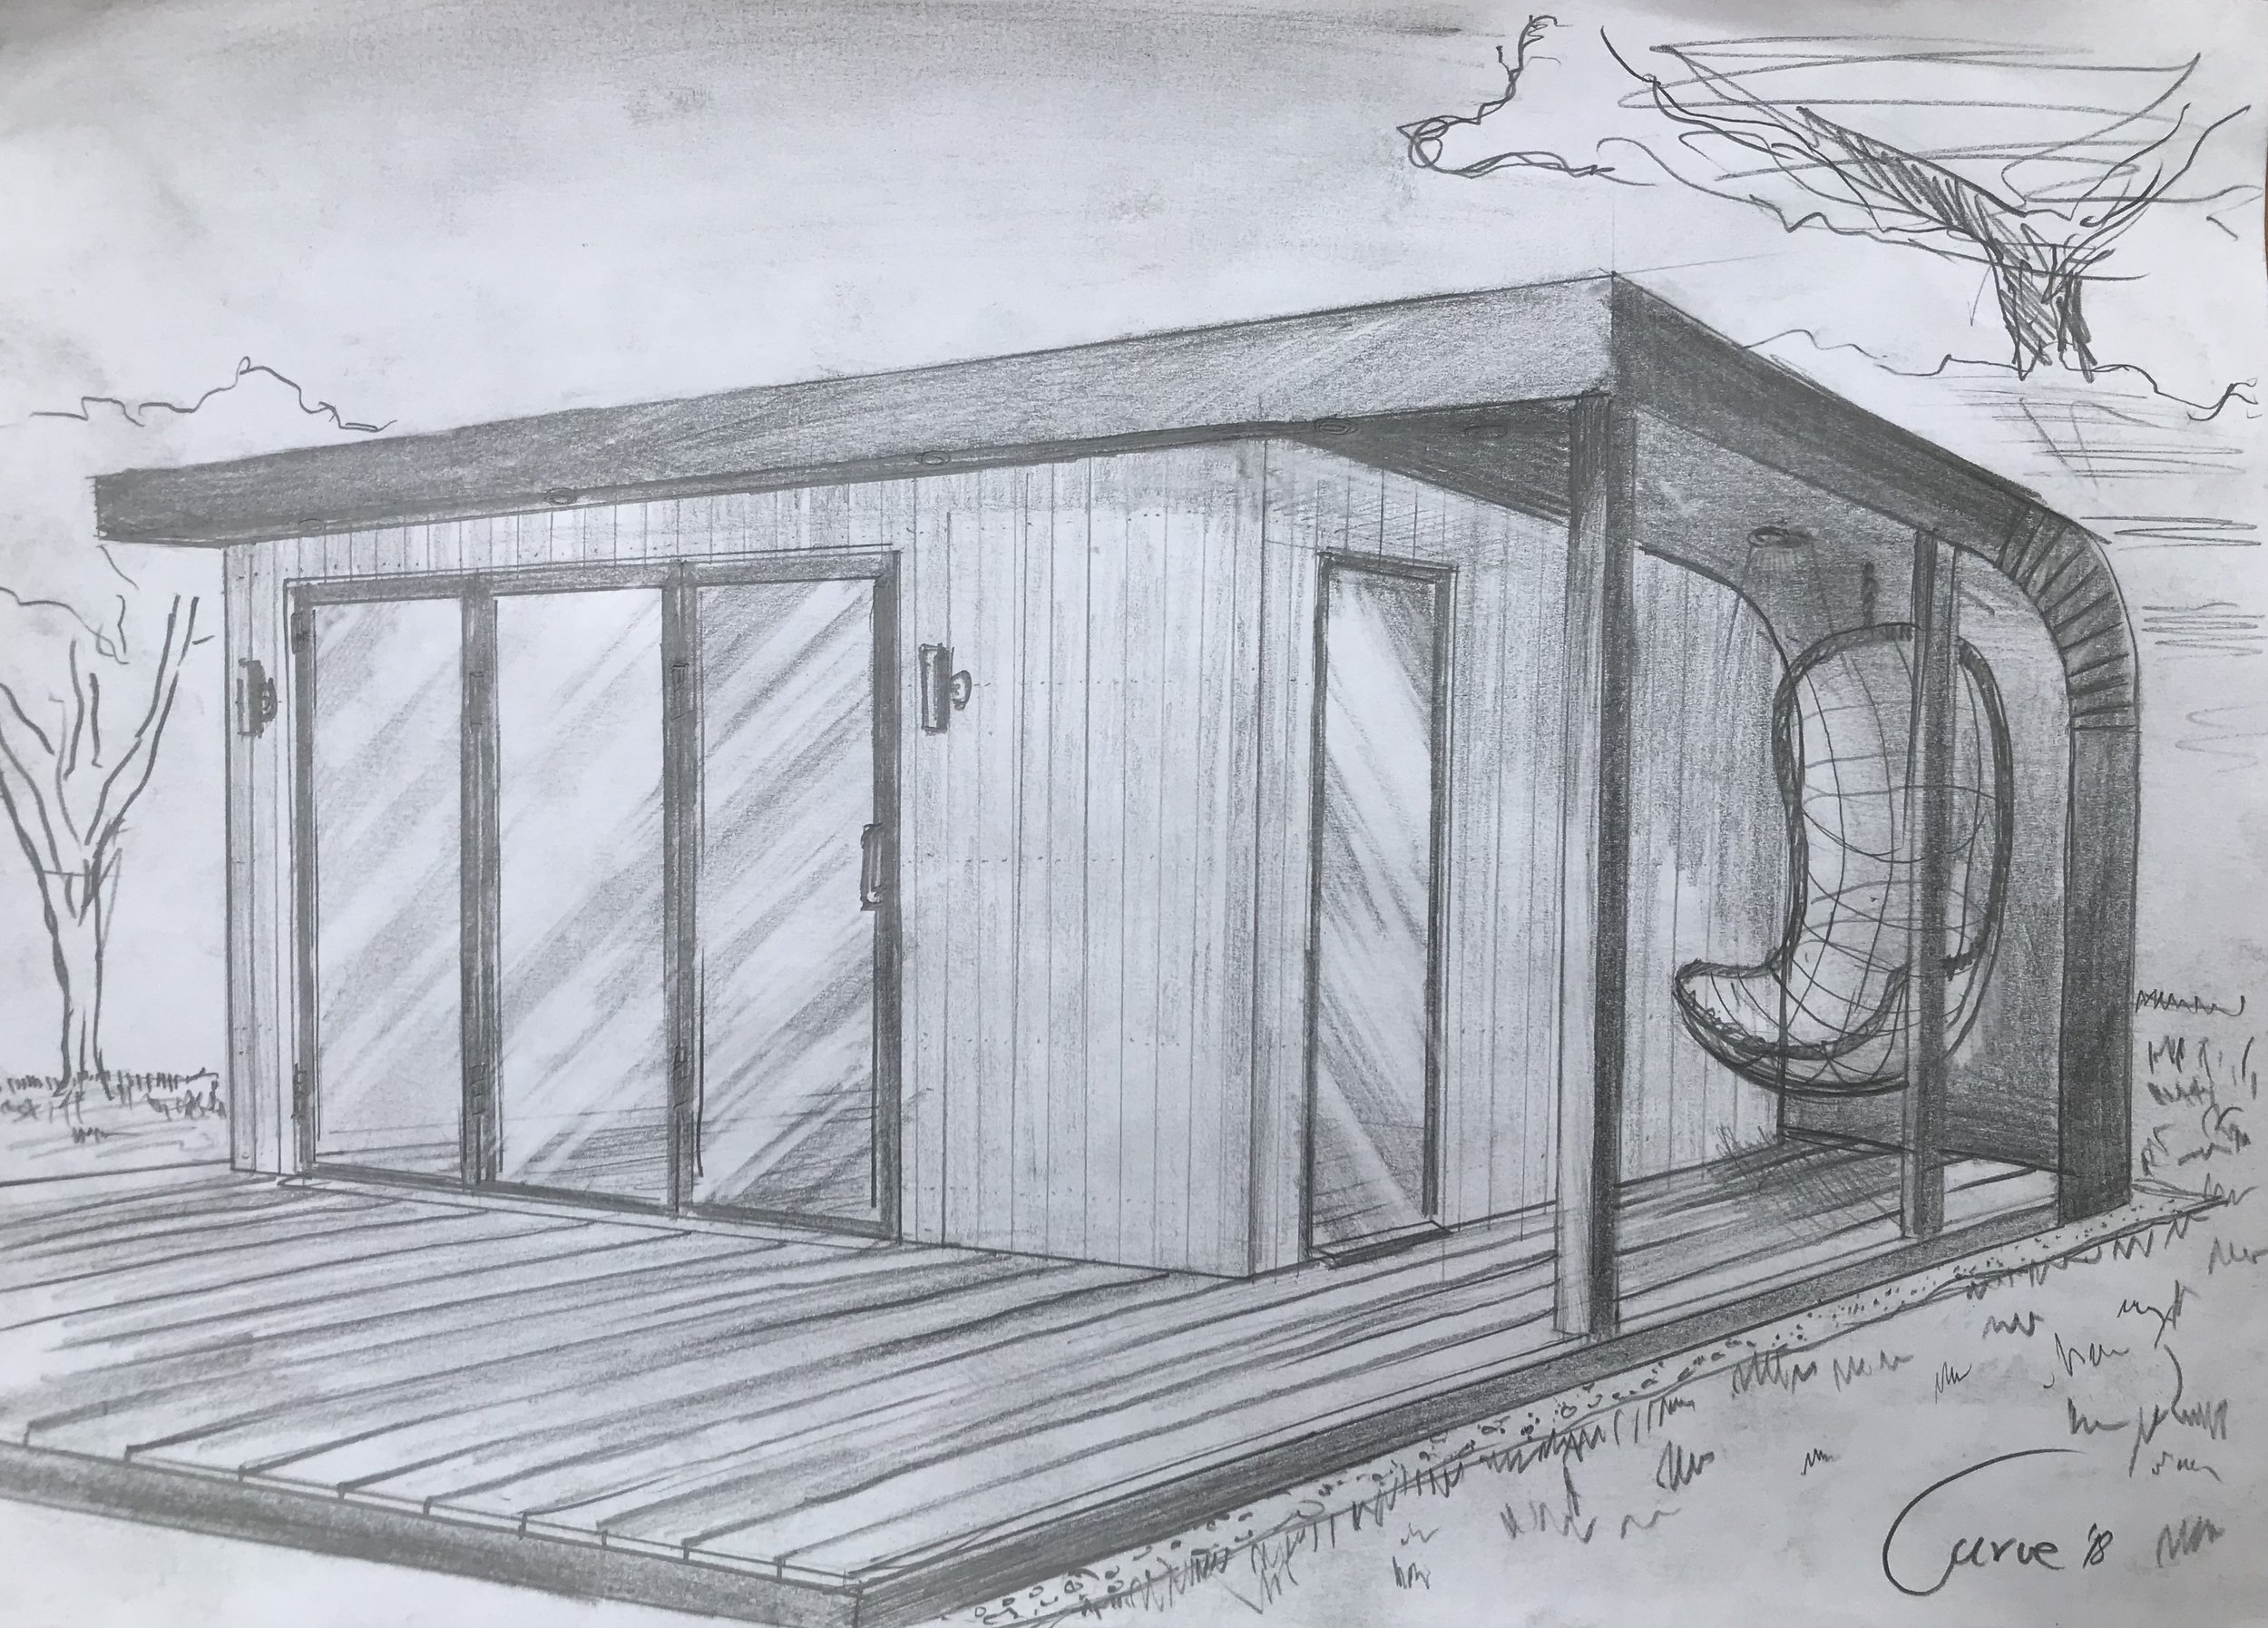


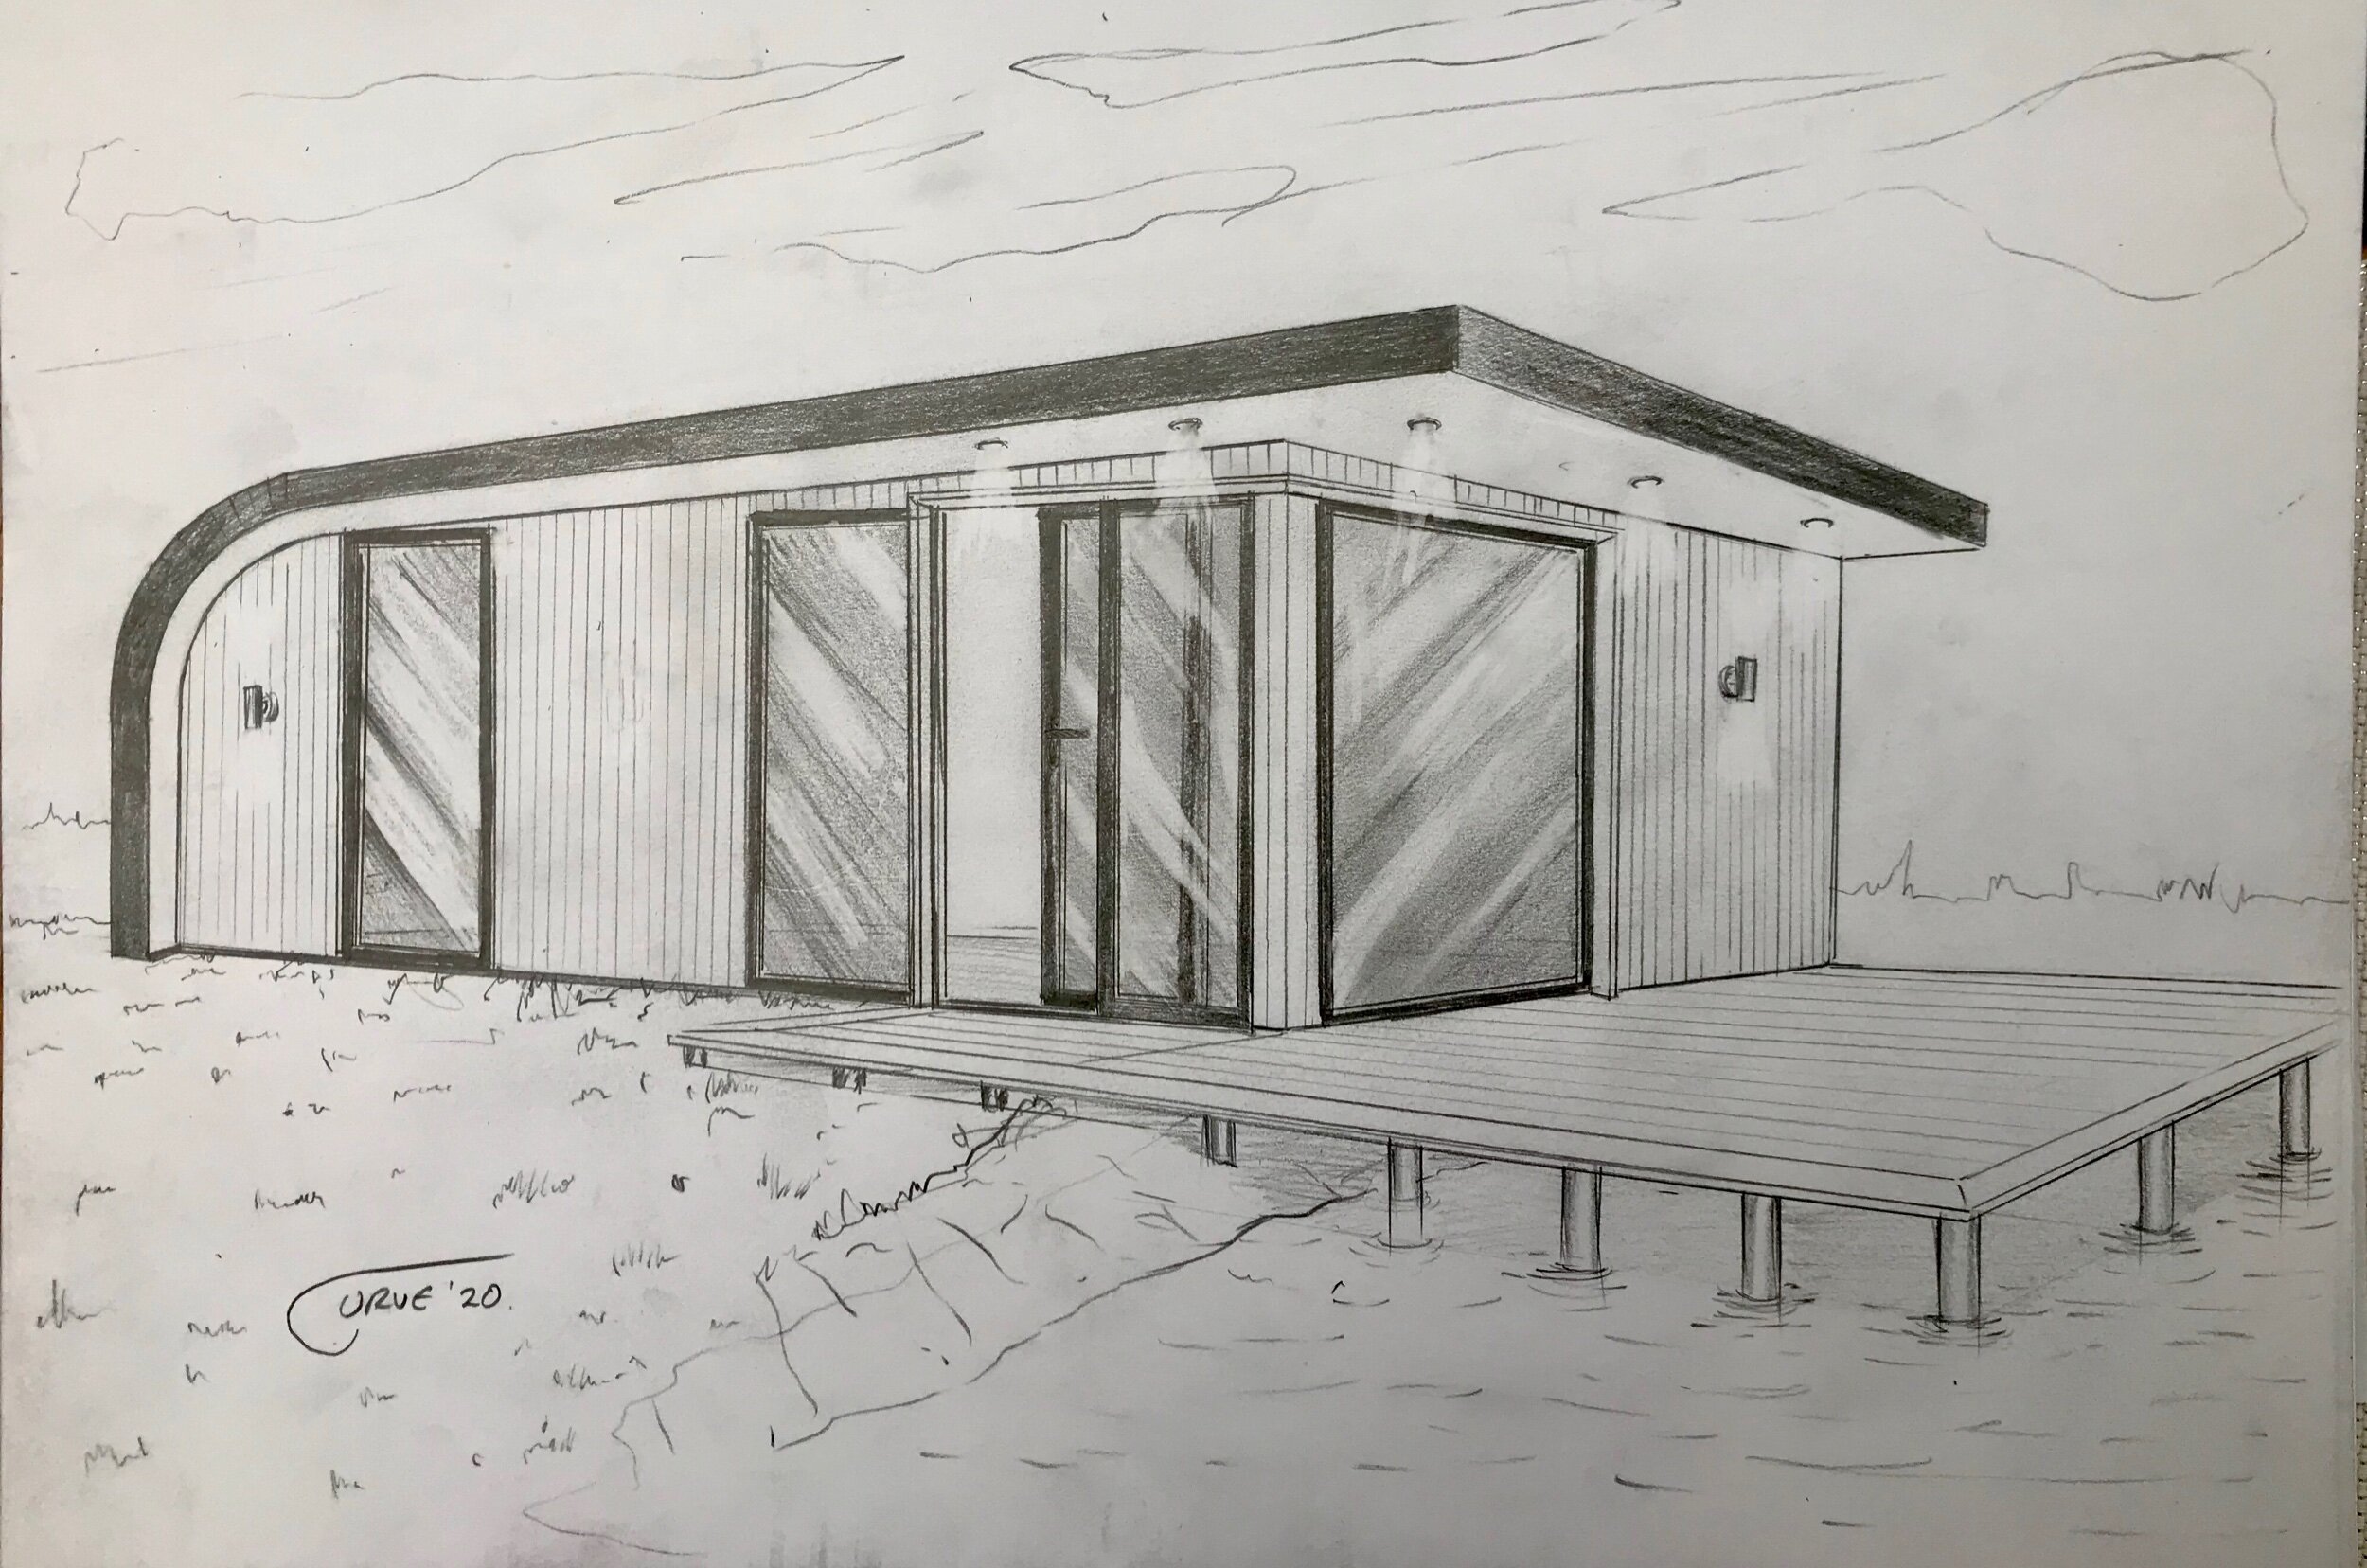

The Design Process
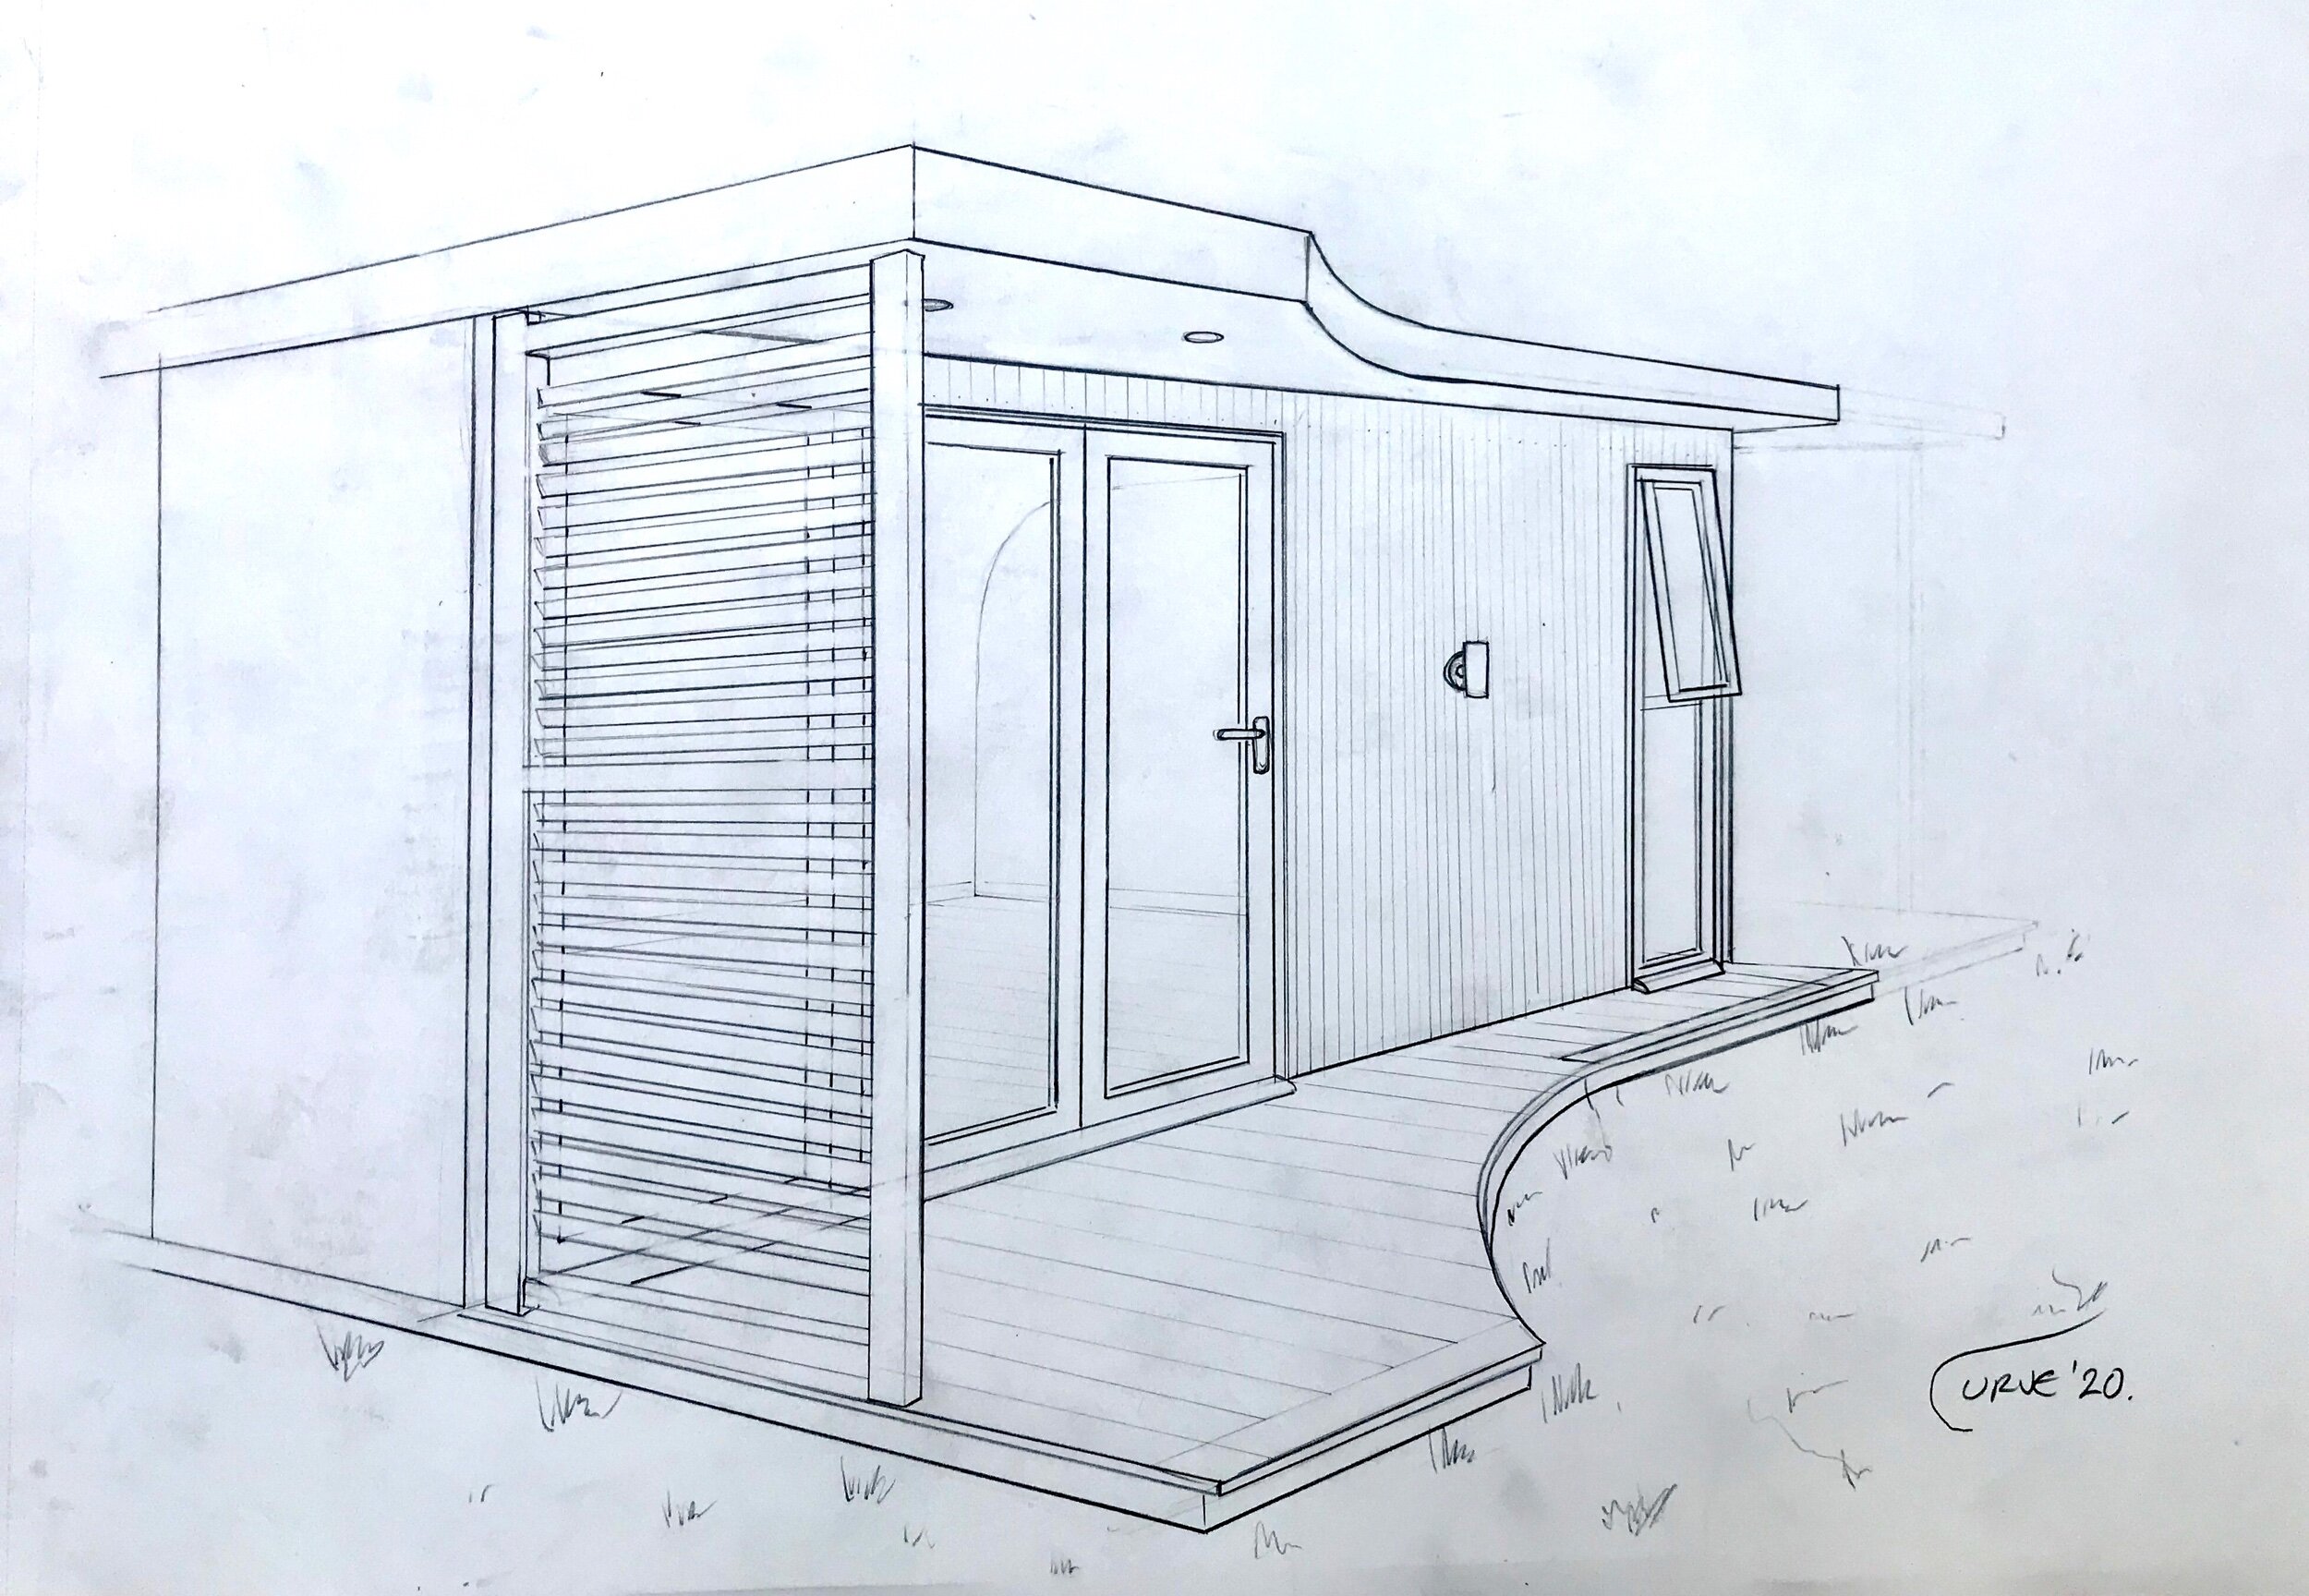
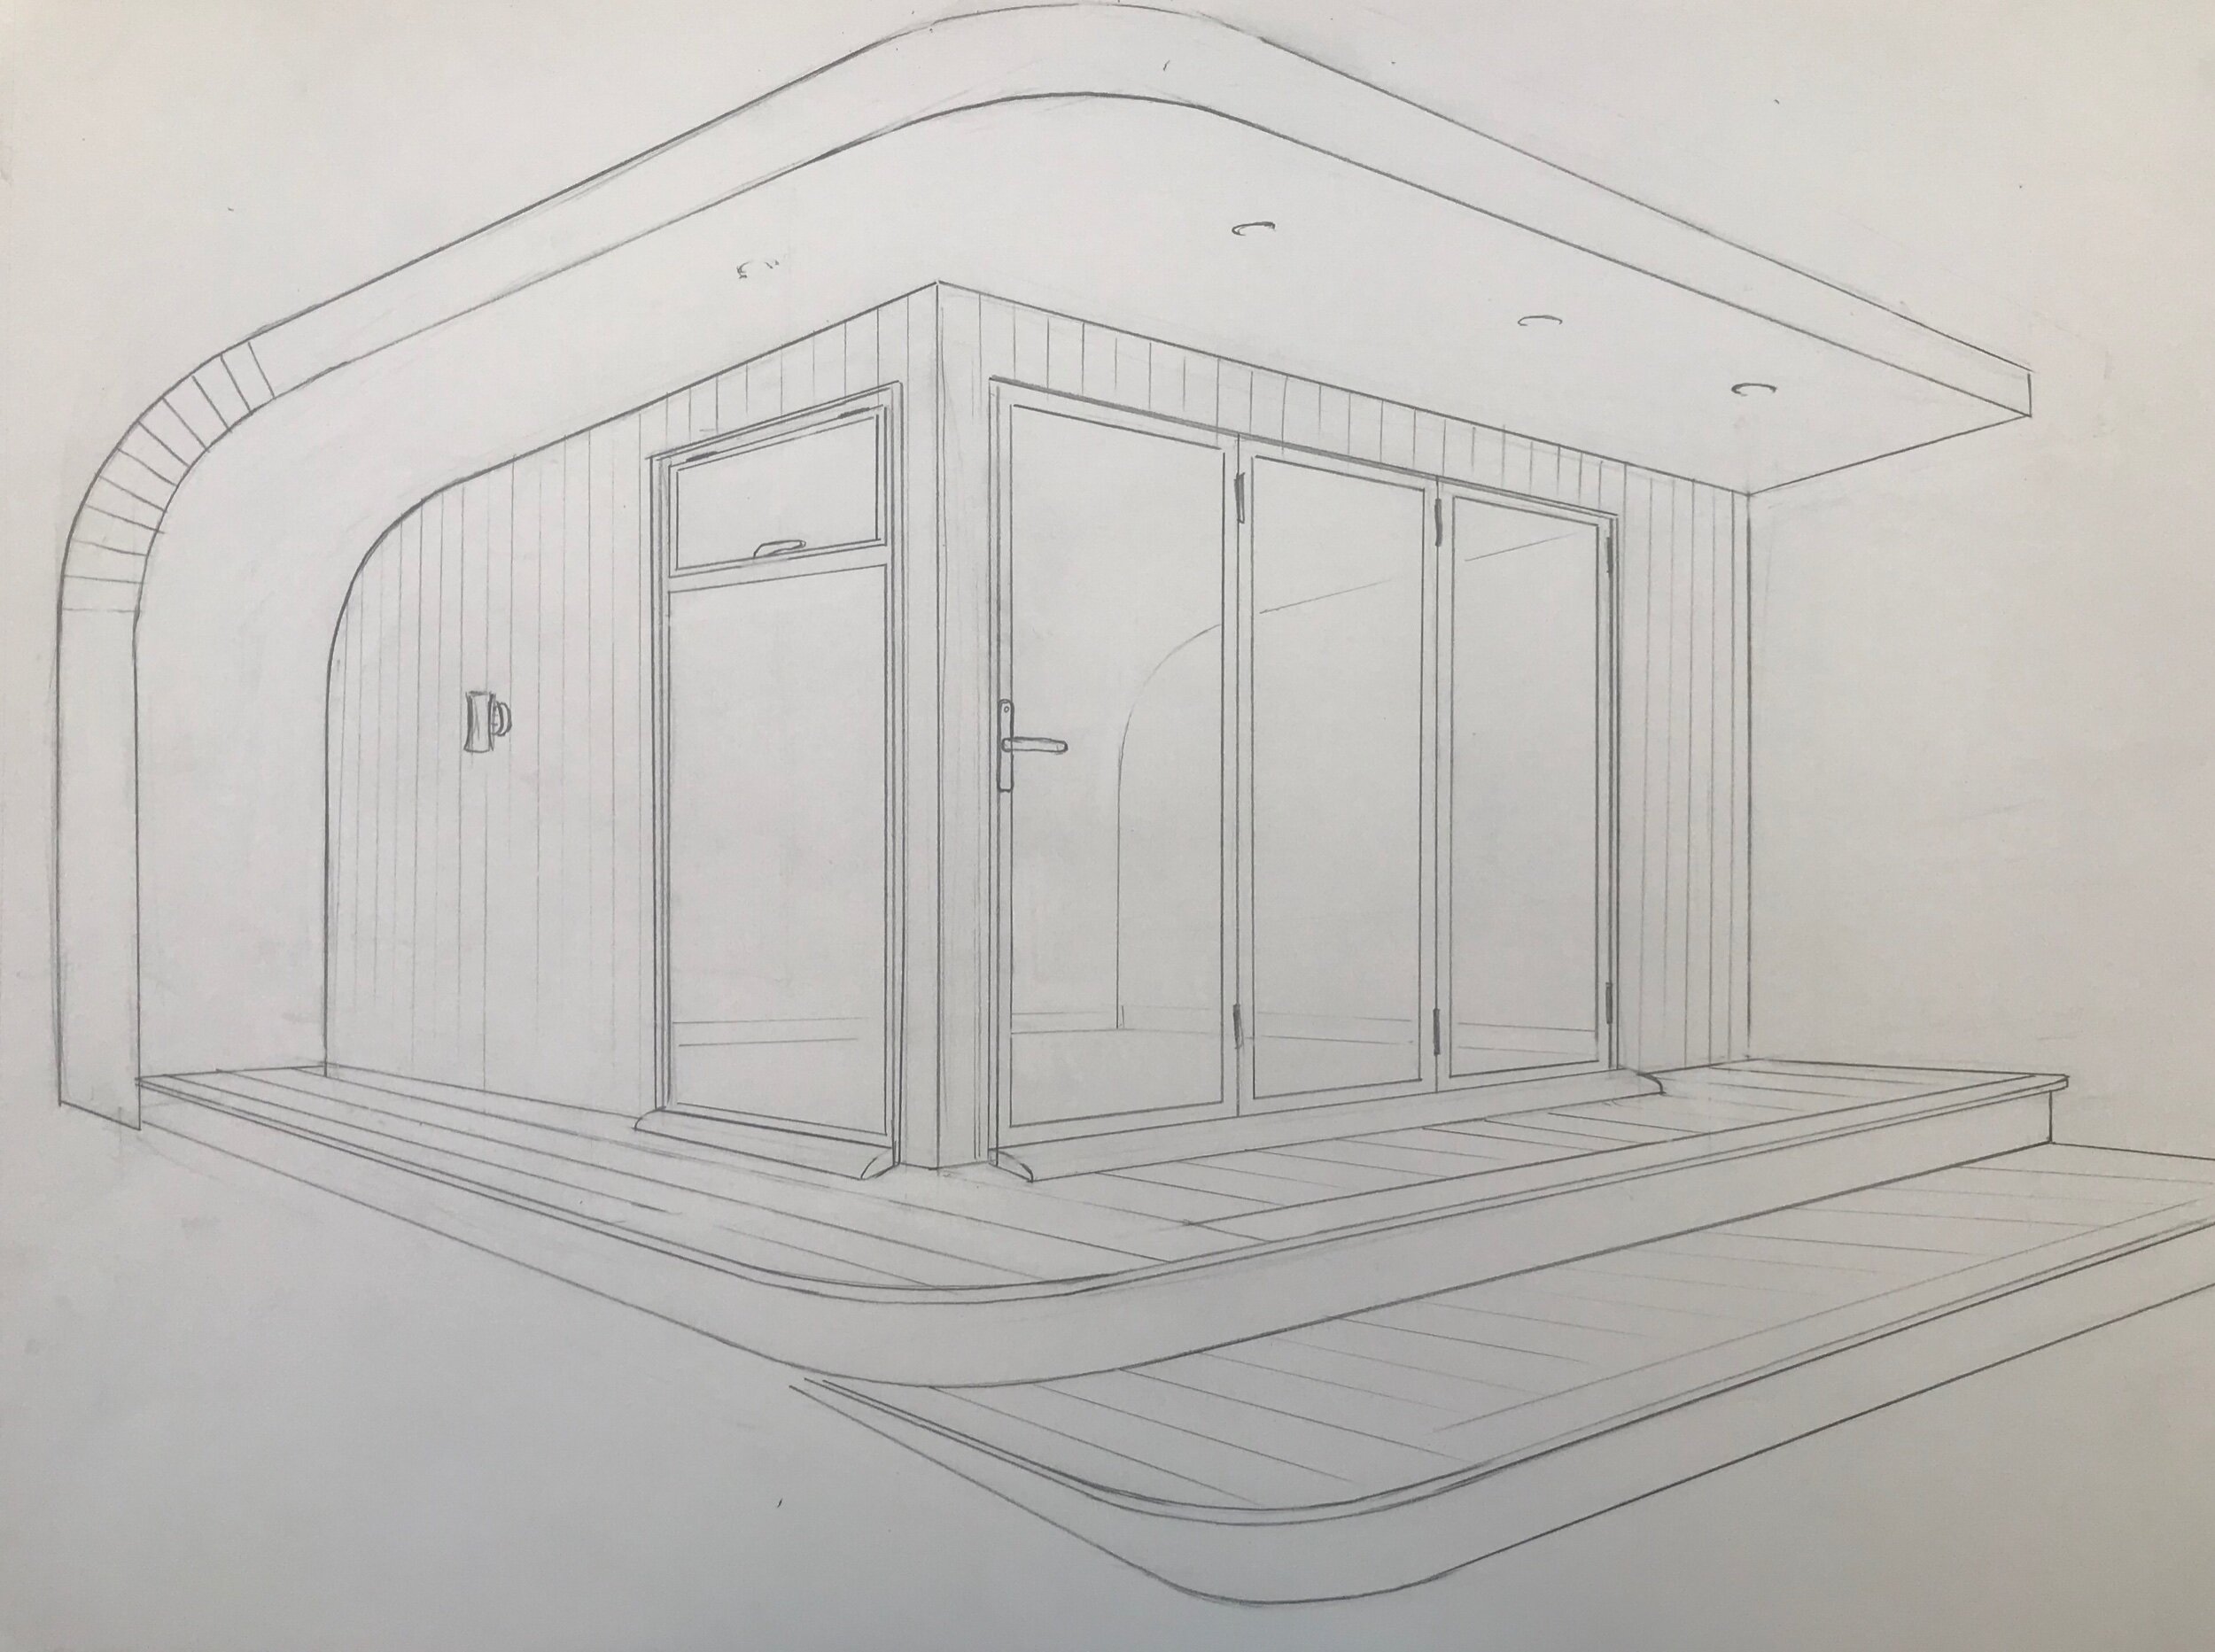
Because of the bespoke nature of the service offered by Curve garden rooms, each and every project gets it's own quotation after full consultation with you, the client, to ascertain your finished structure. We follow a basic design ethos/attitude/constrution method and this is how it works:
We will give you a free on-site survey and initial consultation. We are based in Tunbridge wells TN4 9SL but are happy to travel.
After an initial meeting to agree on size, general design and features, we will give you an estimated price. It will be an accurate estimation, but it will allow for adjustments at this stage. This is because we are always working to accommodate within the budget, and so we can make recommendations but change specifications, according to your needs.
Once final agreement has been made on your required specifications and size of the project, then the price is finalised.
Everything will be included in this price, there are no hidden extras.
We pride ourselves on our ability to give a very accurate price, due to our professionalism and real attention to detail, and because we will go through all your requirements in detail with you, so nothing's forgotten. We also employ a highly skilled and experienced business manager, who is rigorous in putting together quotes.
We will give you a bespoke price for a bespoke project: we don't simply adapt a range like many of our competitors, so there is an individual price for each project.
We are accommodating to our clients' ideas and so changes can be discussed throughout the project too.
If you decide that you have additional requirements, then these can be worked out and the pricing and timeline of your project amended accordingly.
With regard to the payment schedule, we require 5% of the total agreed price as an initial non-refundable deposit to secure a build slot. Then another 45% of the total payment a few weeks before the start of the build in order to purchase materials. The next payment of a further 20% would get the structure up in your garden , then another 20% will get it finished construction. The final 10% payment will be due on completion when you, the client is totally happy. I’m happy to say that the final 10% has never not been paid!
This will all be itemised in a specification list that is signed by the client.
You're welcome to check against other garden room suppliers, but with the highest levels of specification and unique bespoke design that Curve garden rooms offer, we're confident our value is unsurpassable. A good reason for this is that we work hard, we work fast but always finish well as we love what we do. You will not be disappointed.
We are proud of the accuracy and attention that goes in to our consultation and pricing process but also the hard, diligent craftsmanship that goes into the construction of each Curve garden room.
Star Wars?
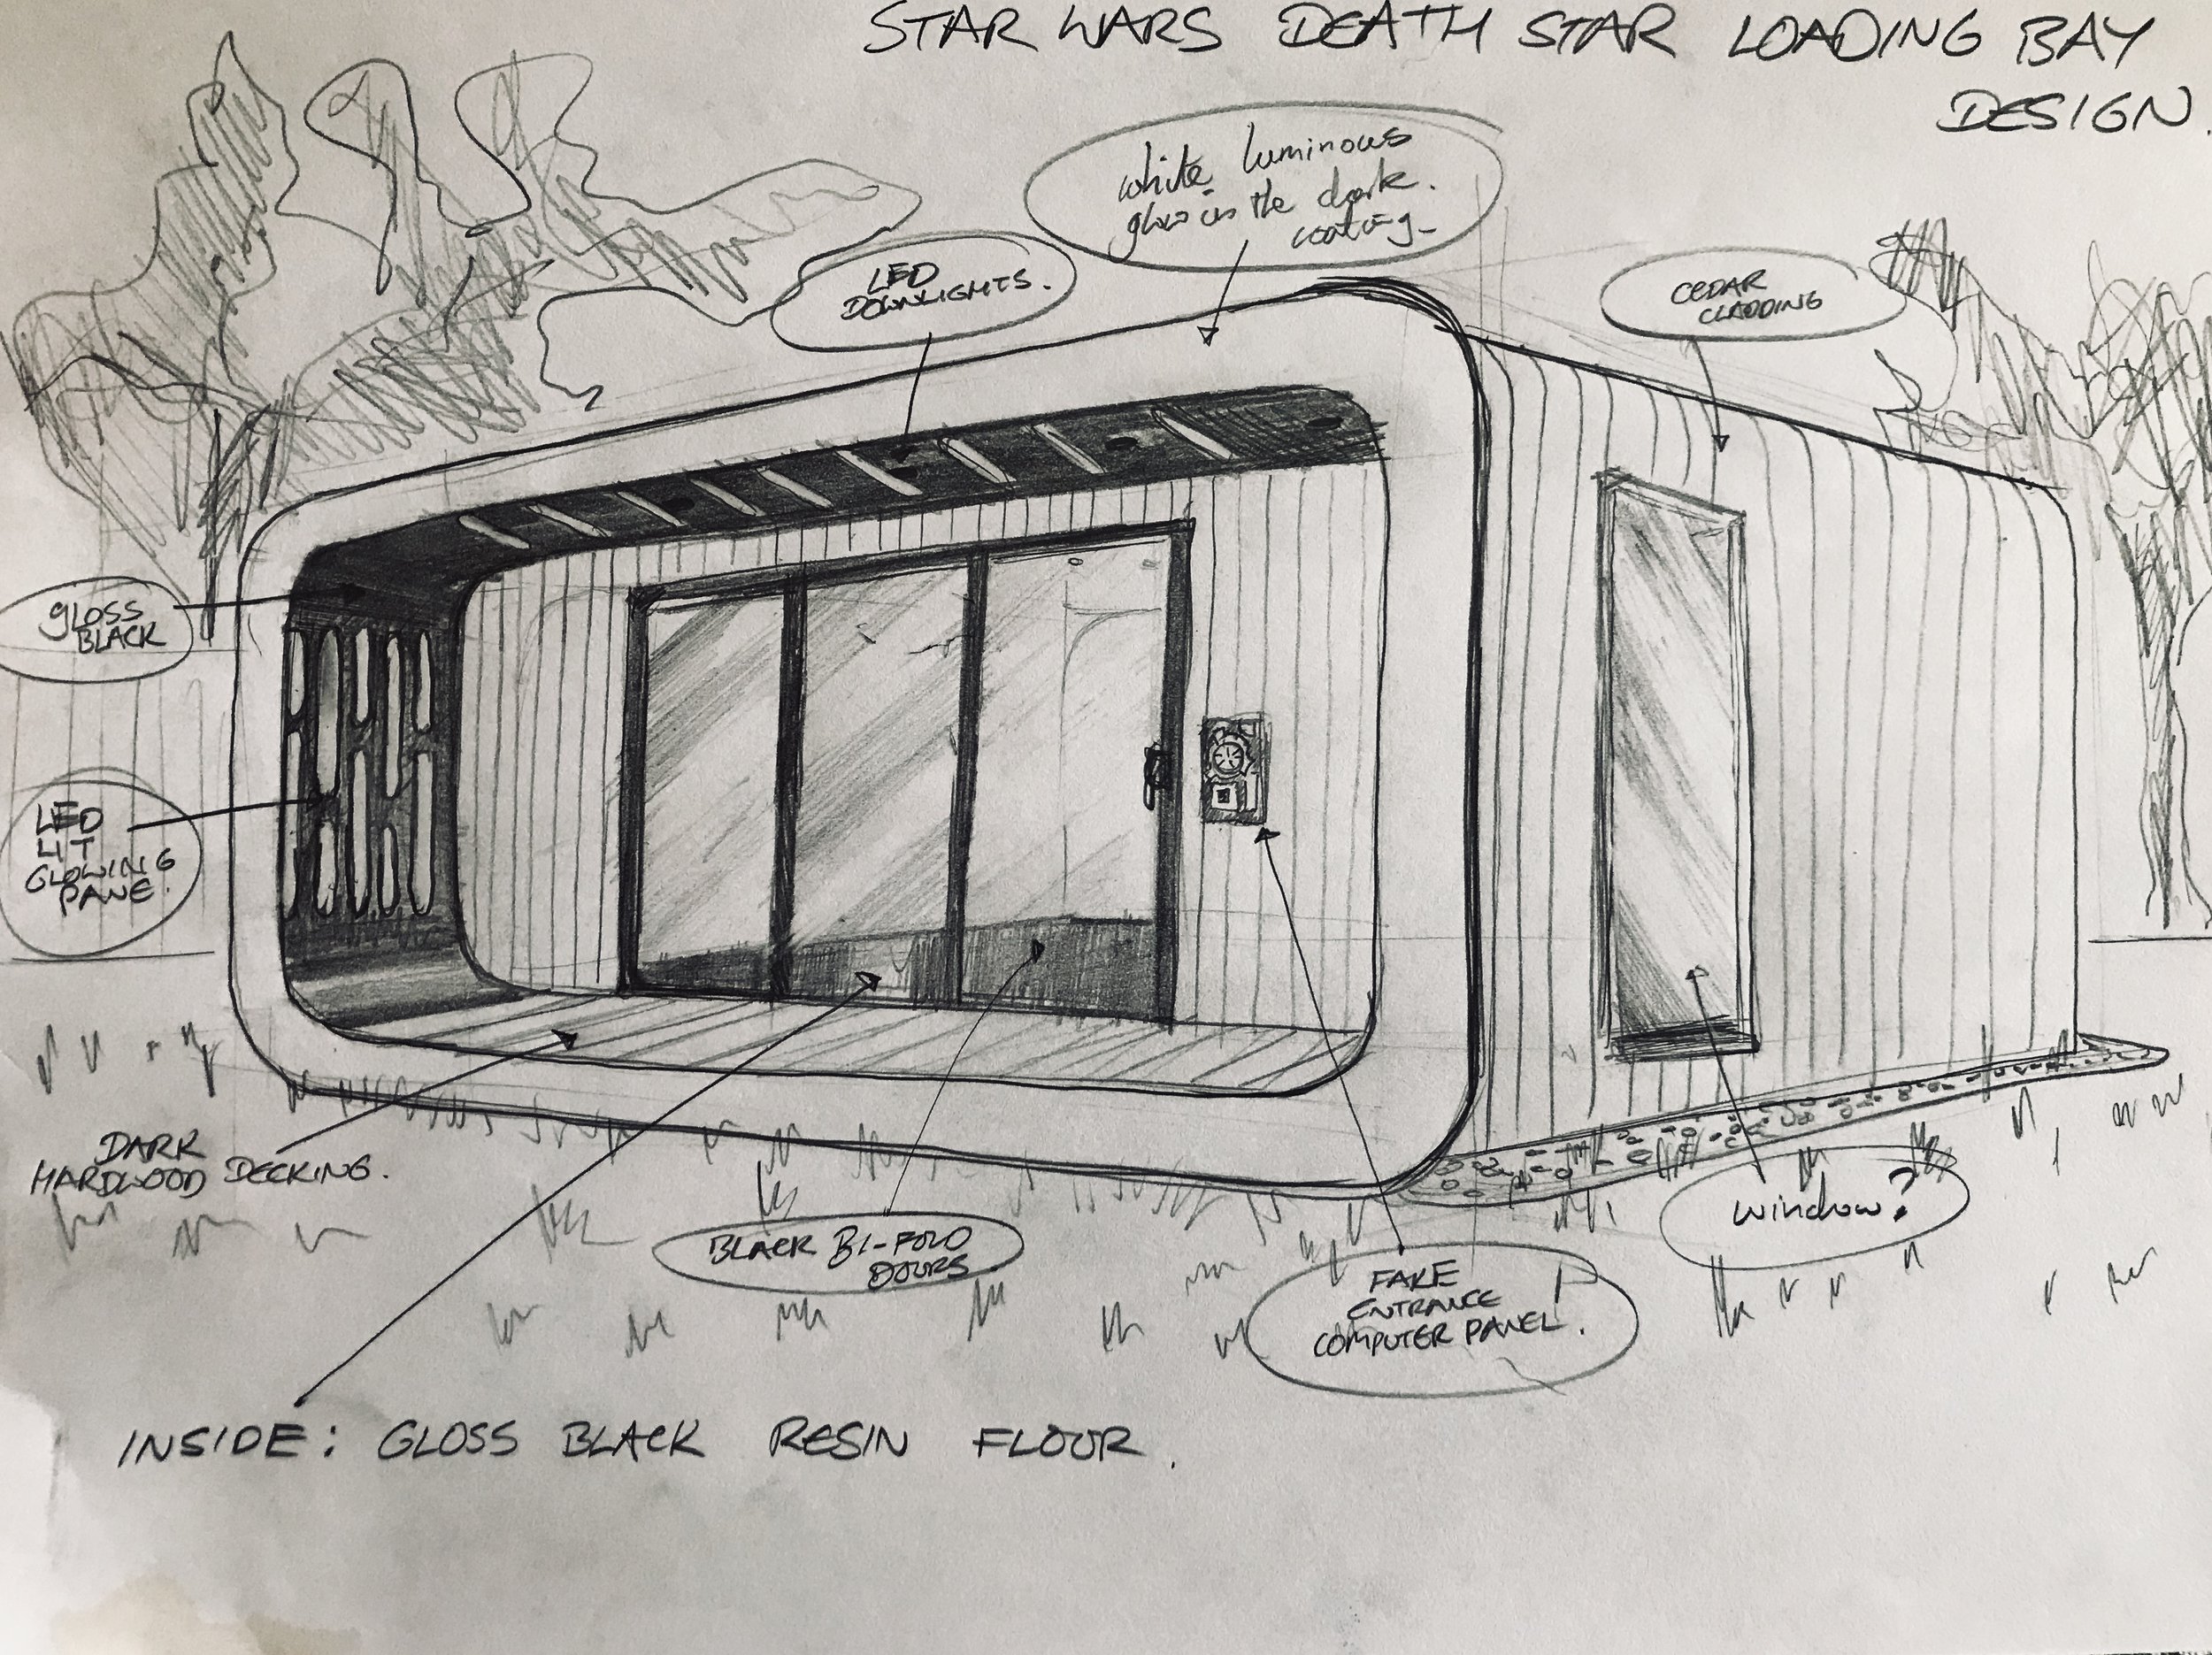
A long Time Ago...
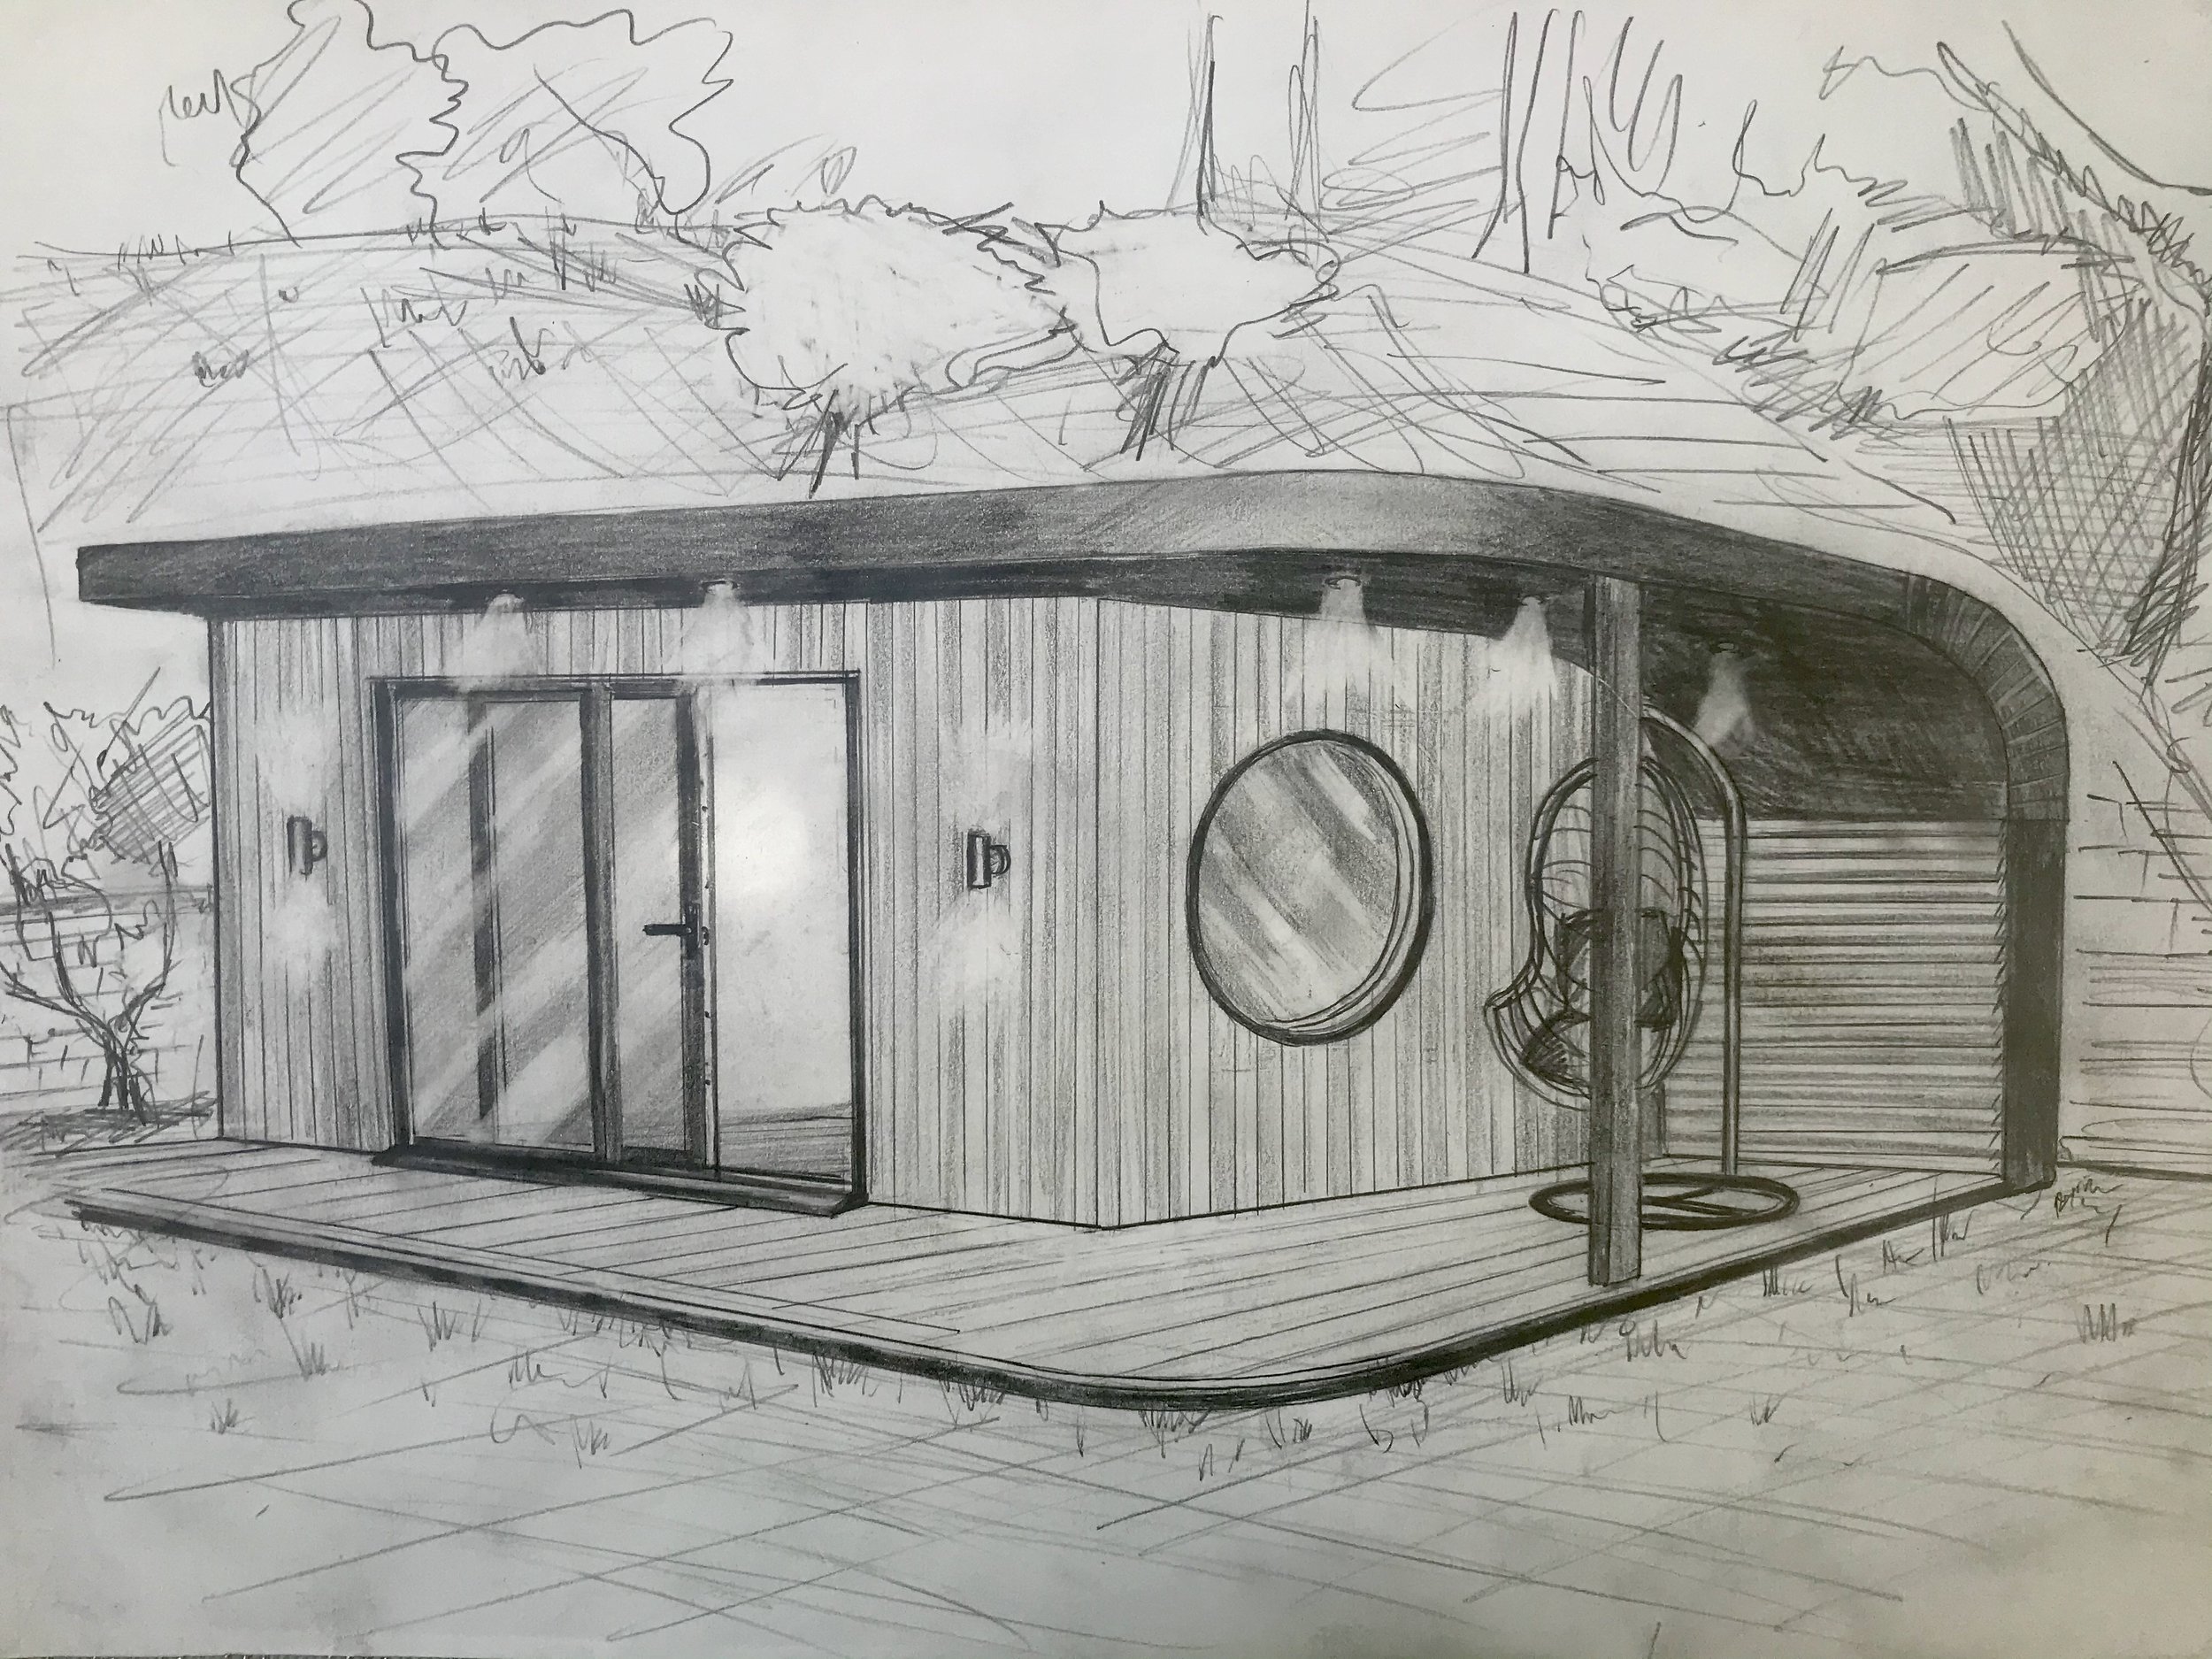
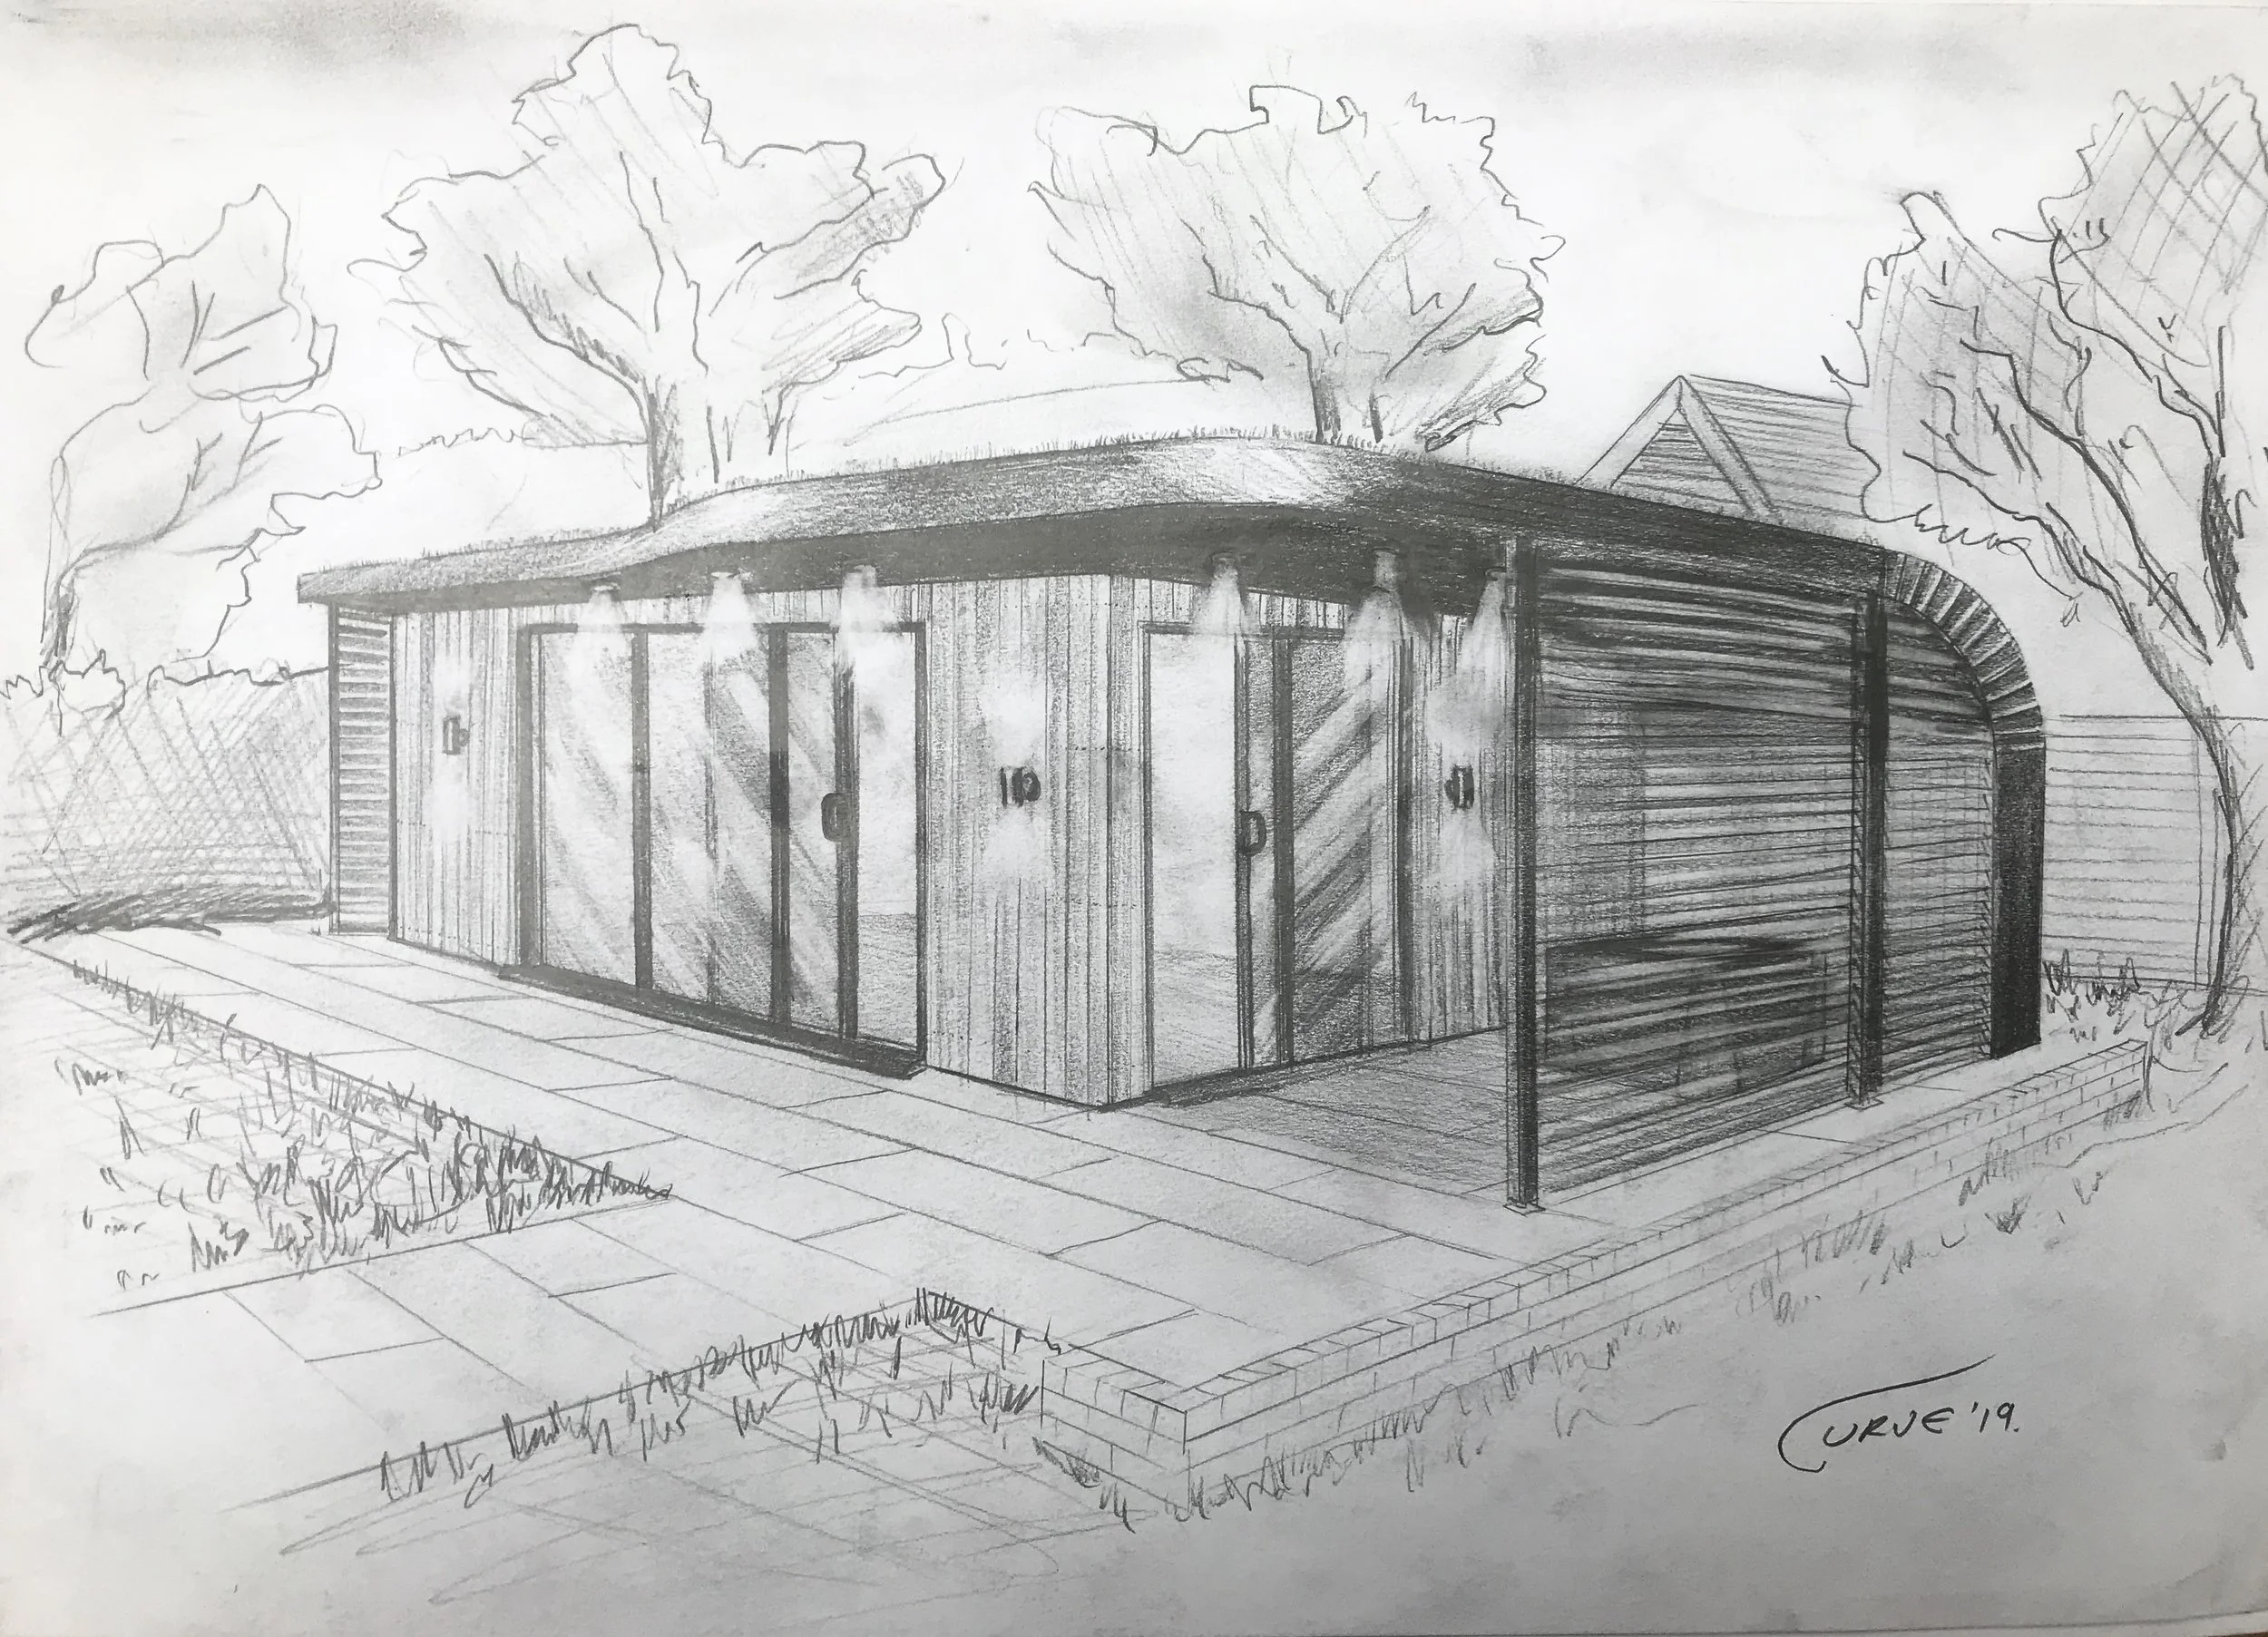
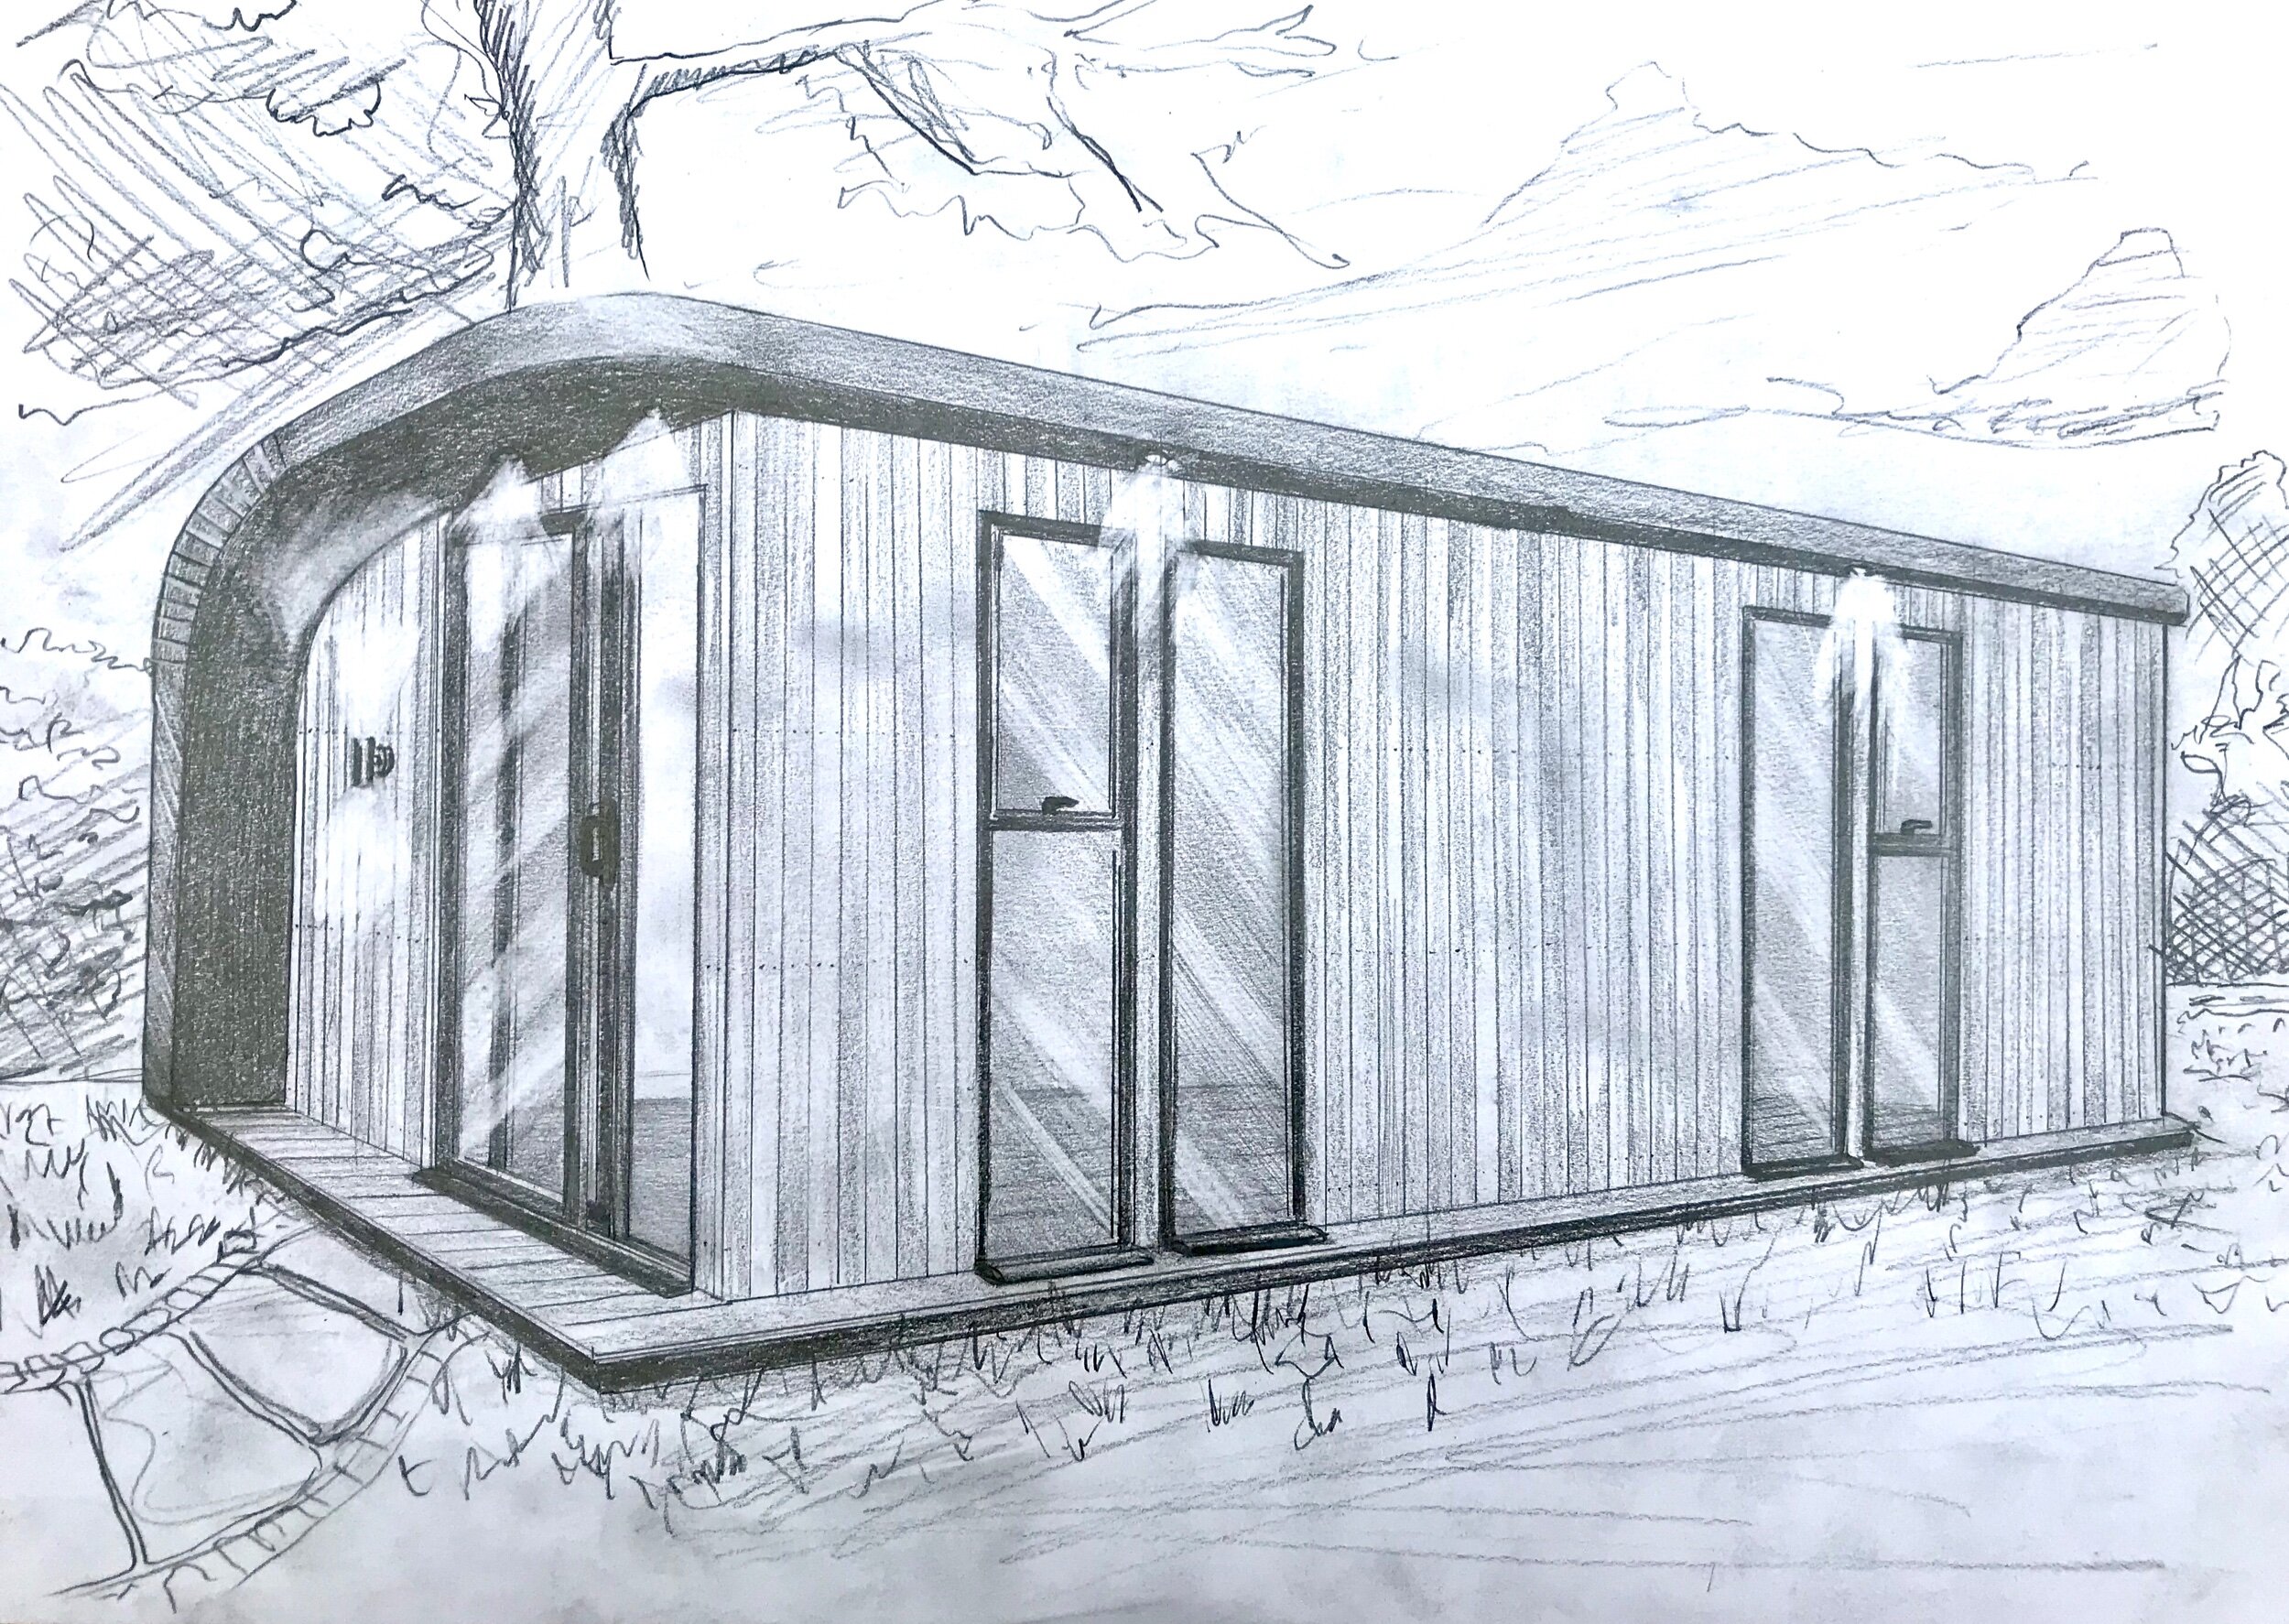
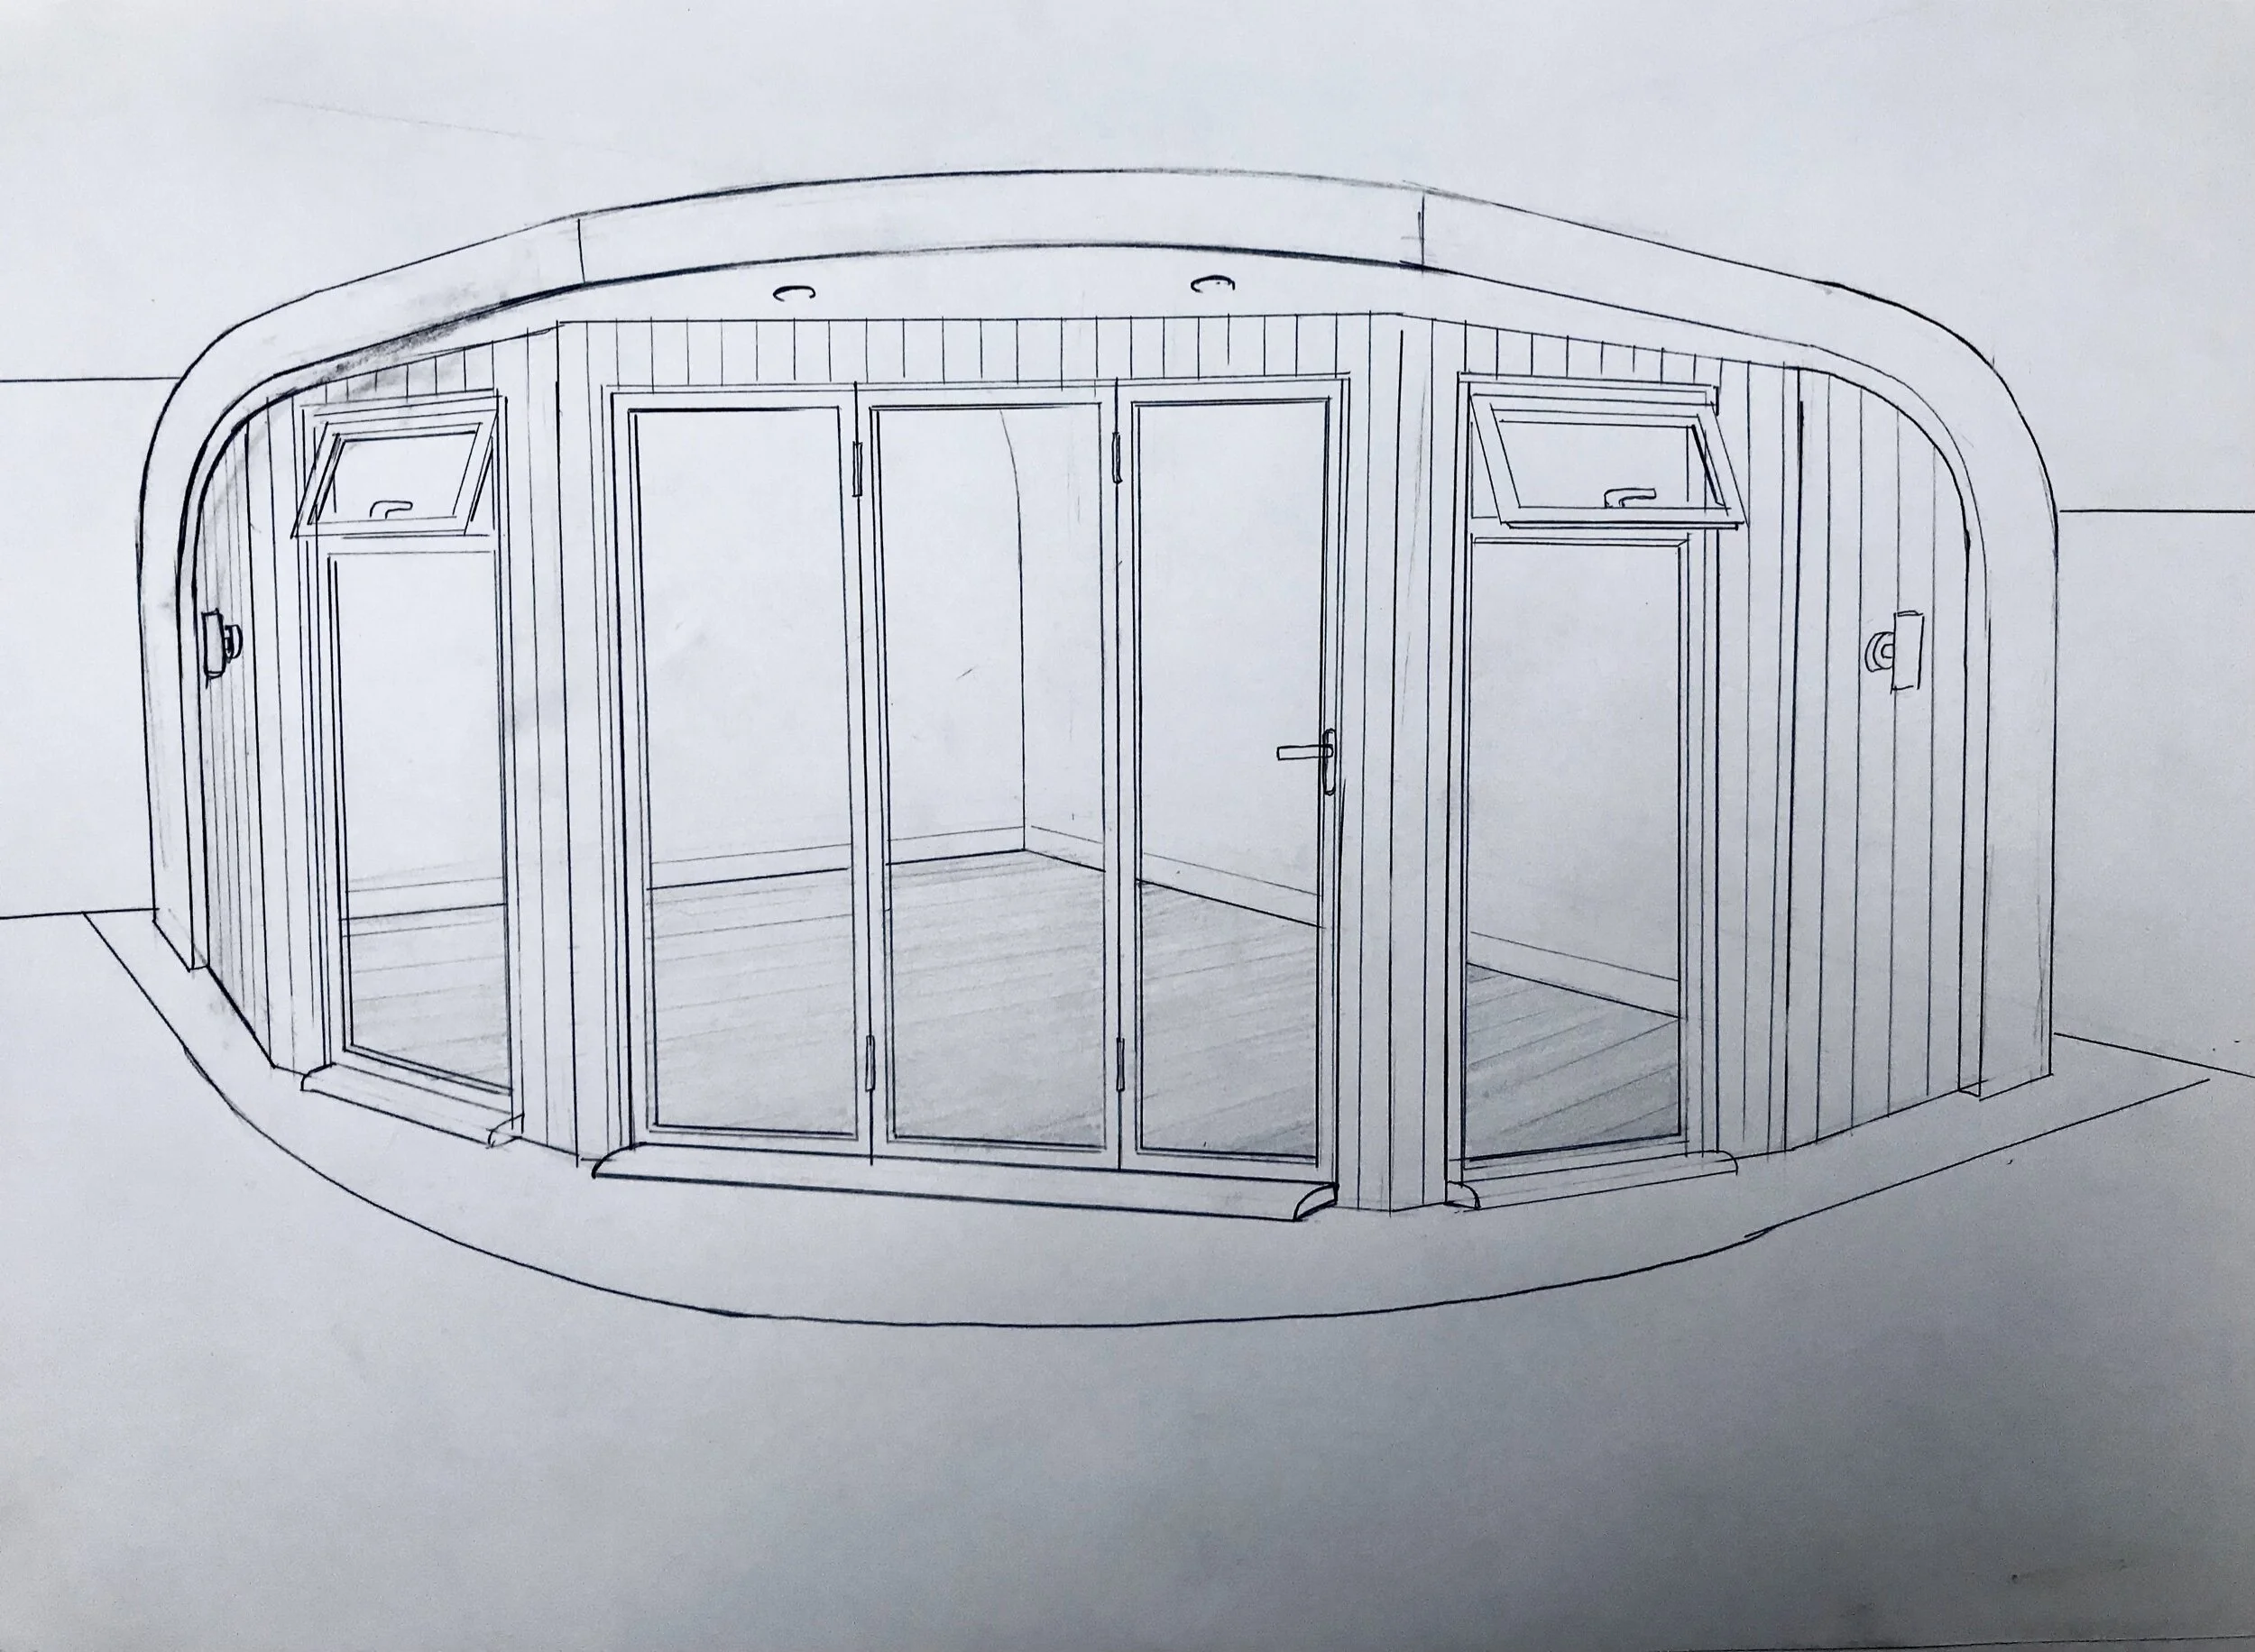
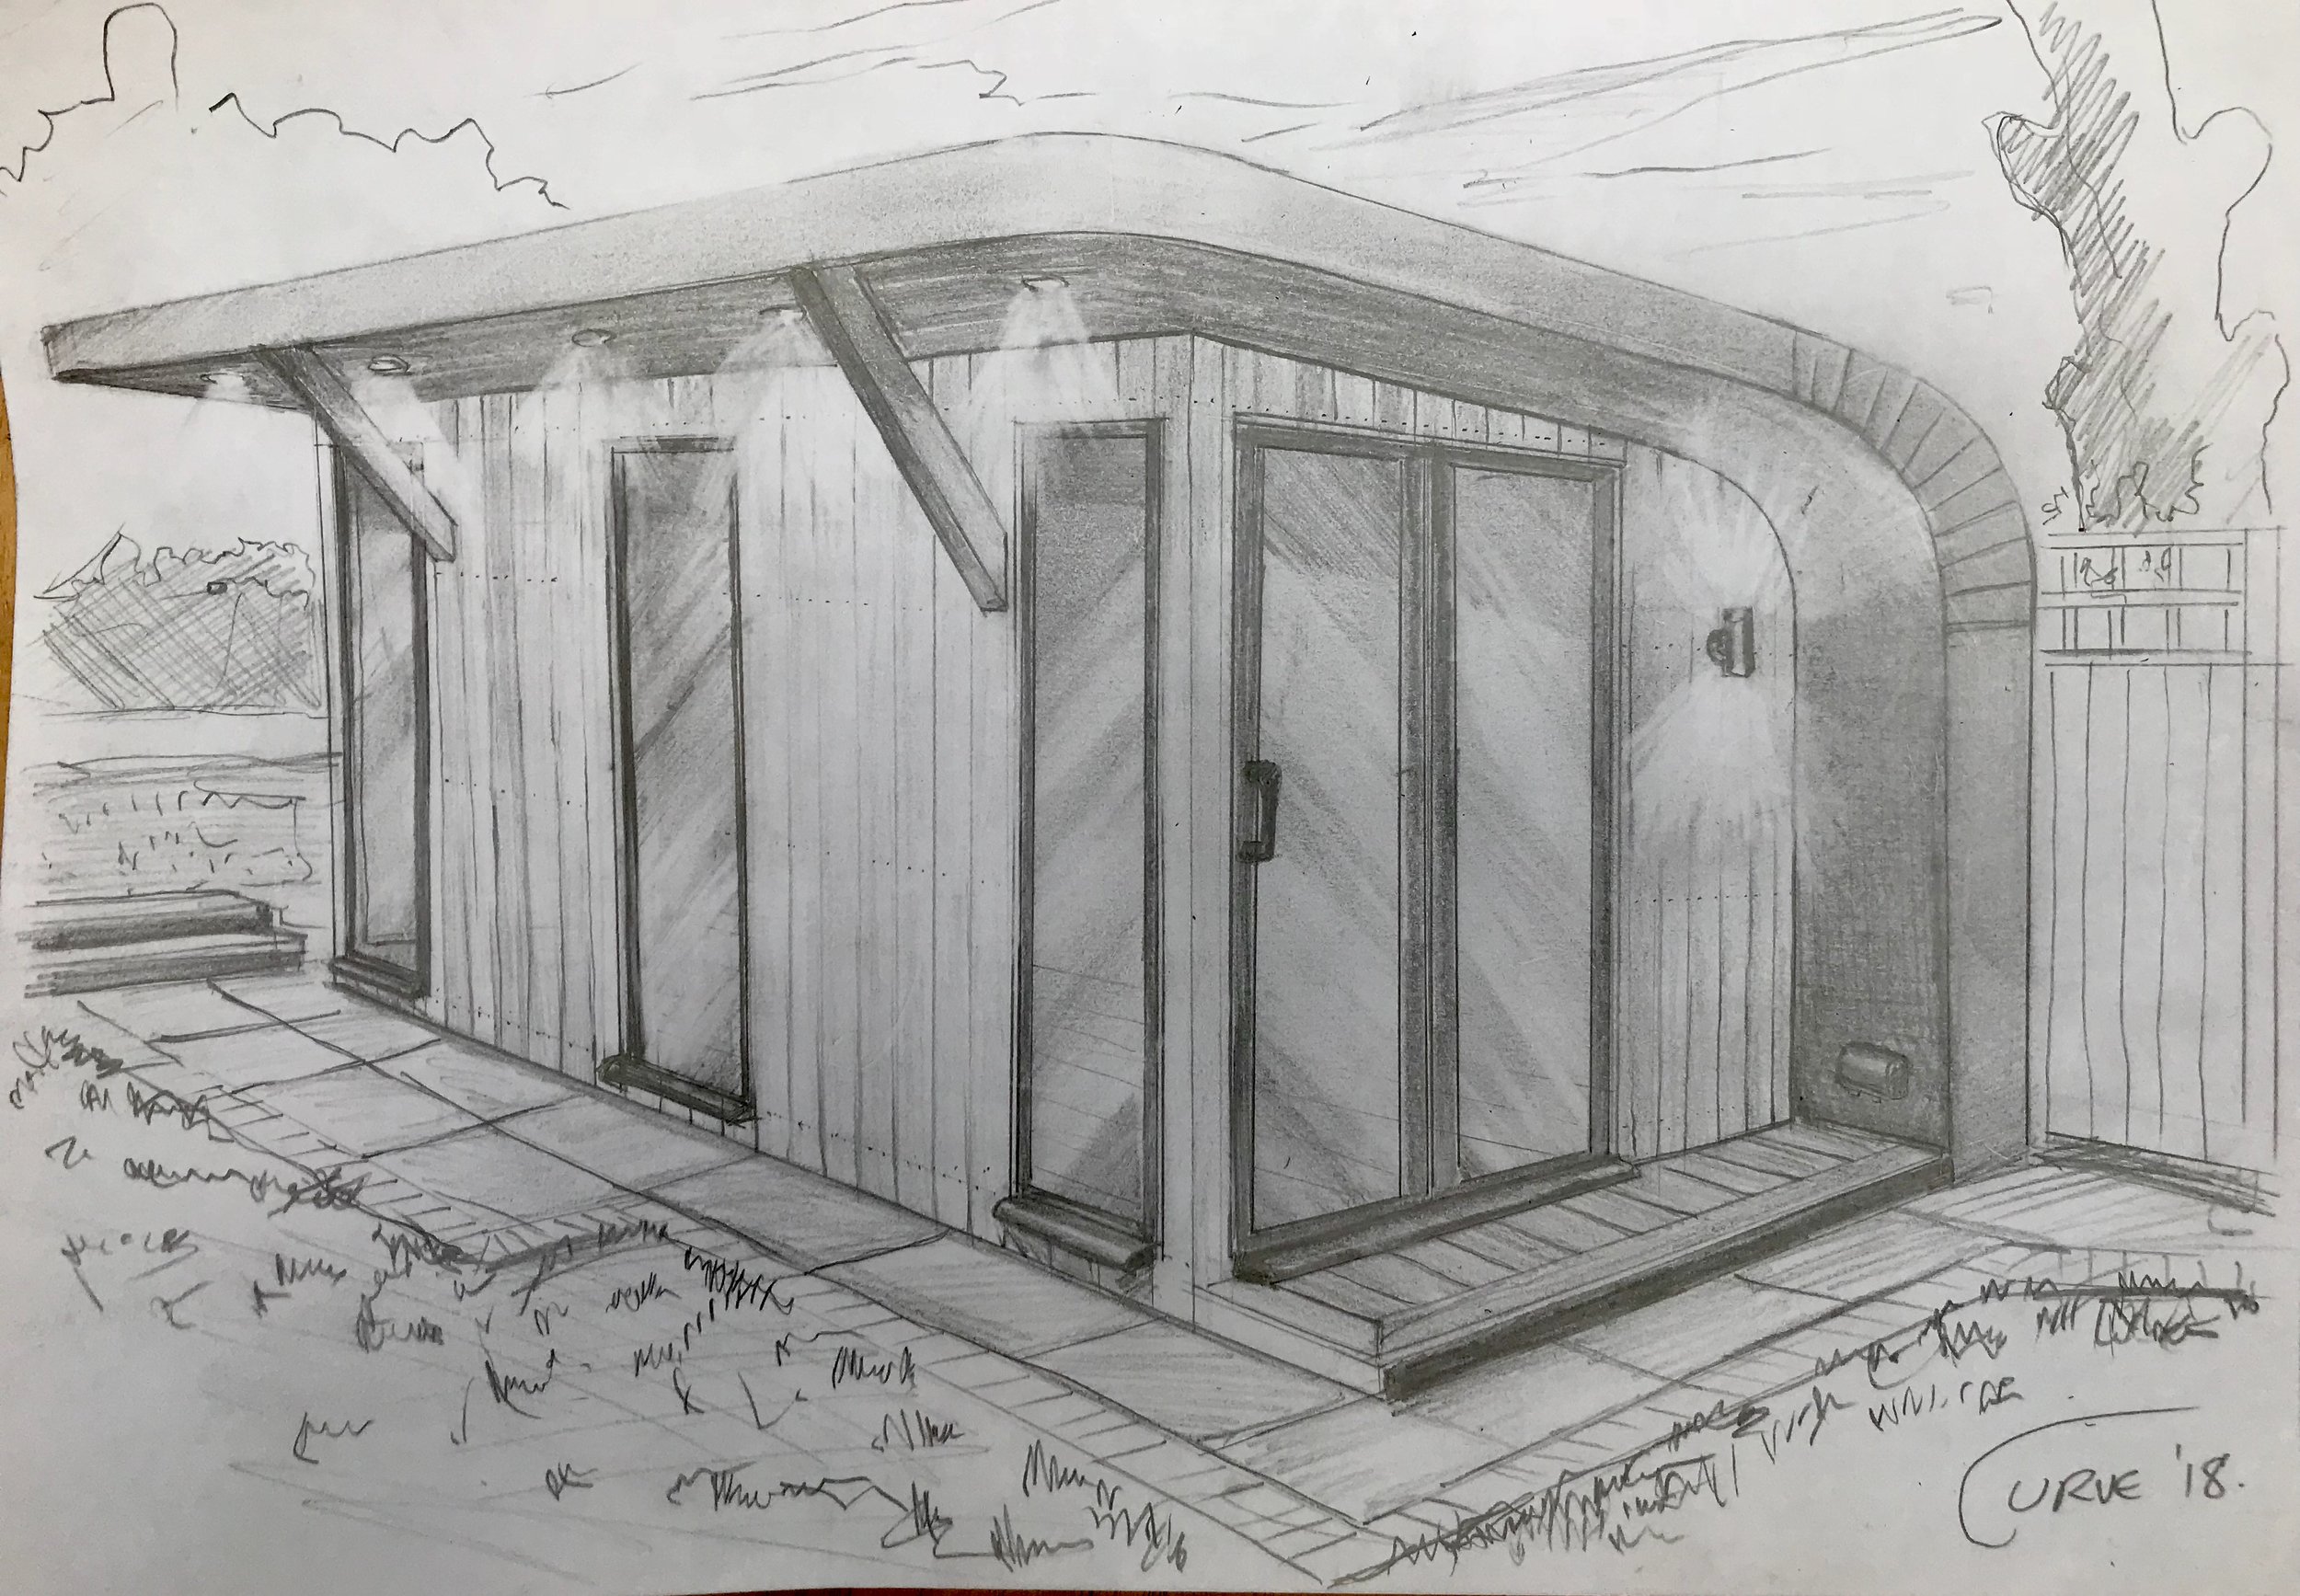
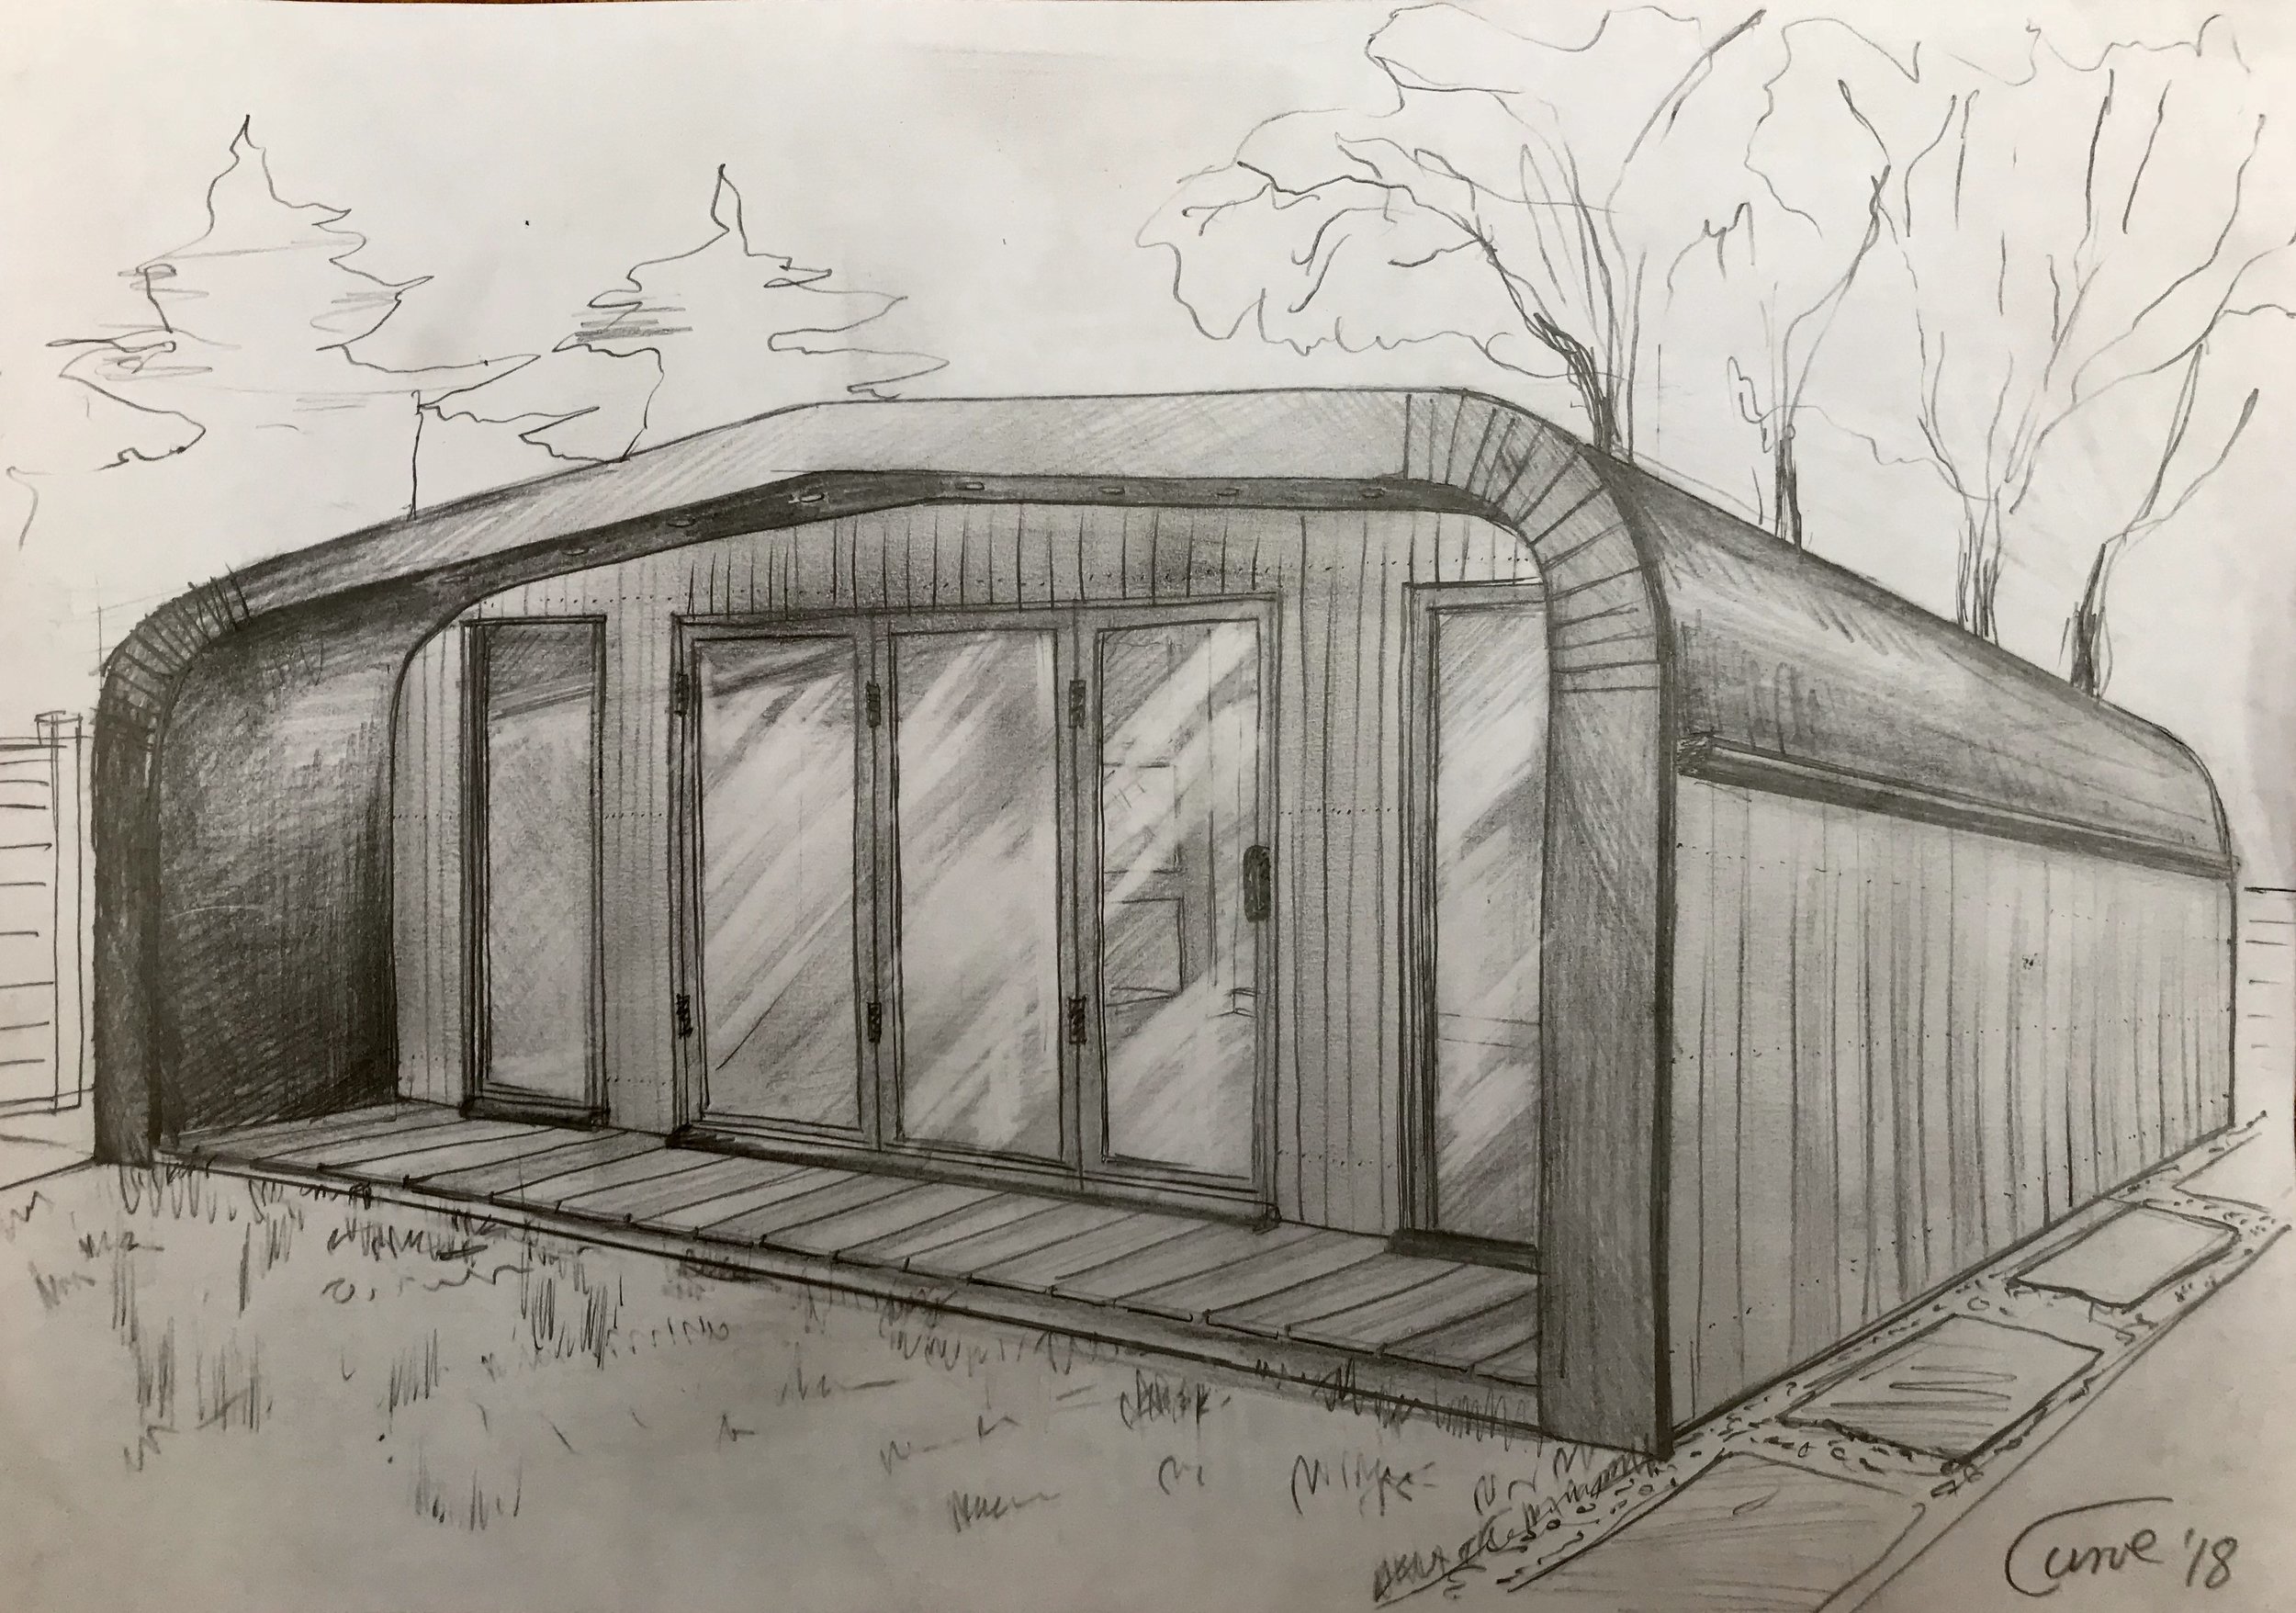
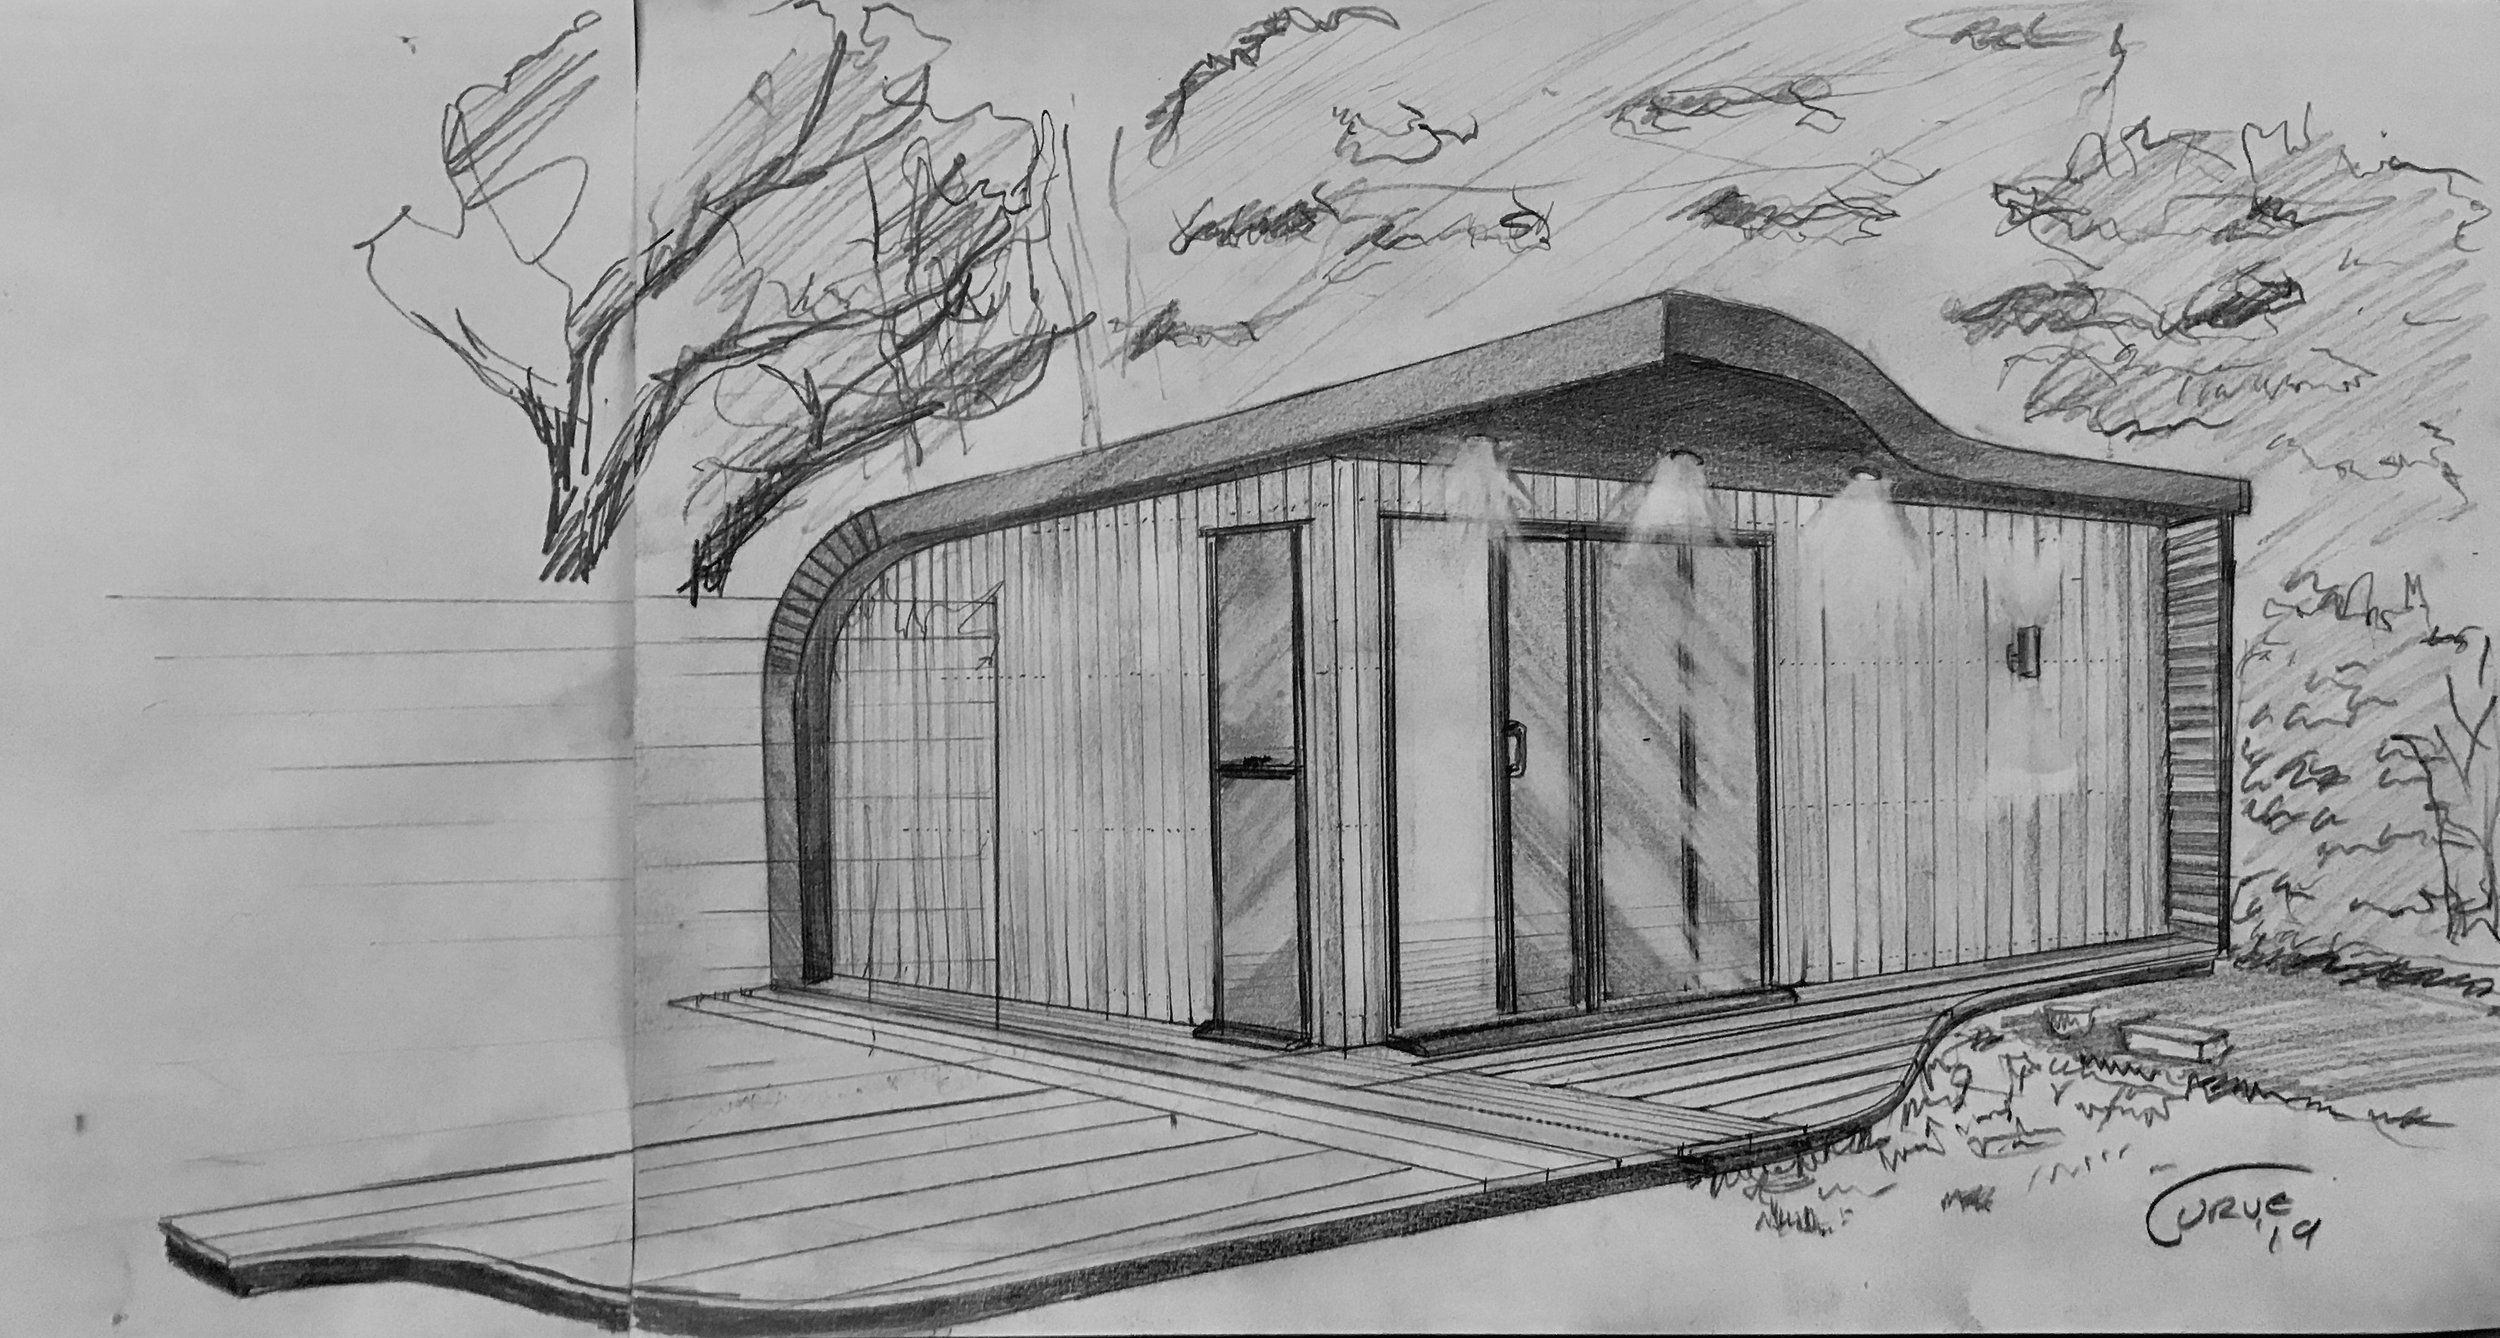
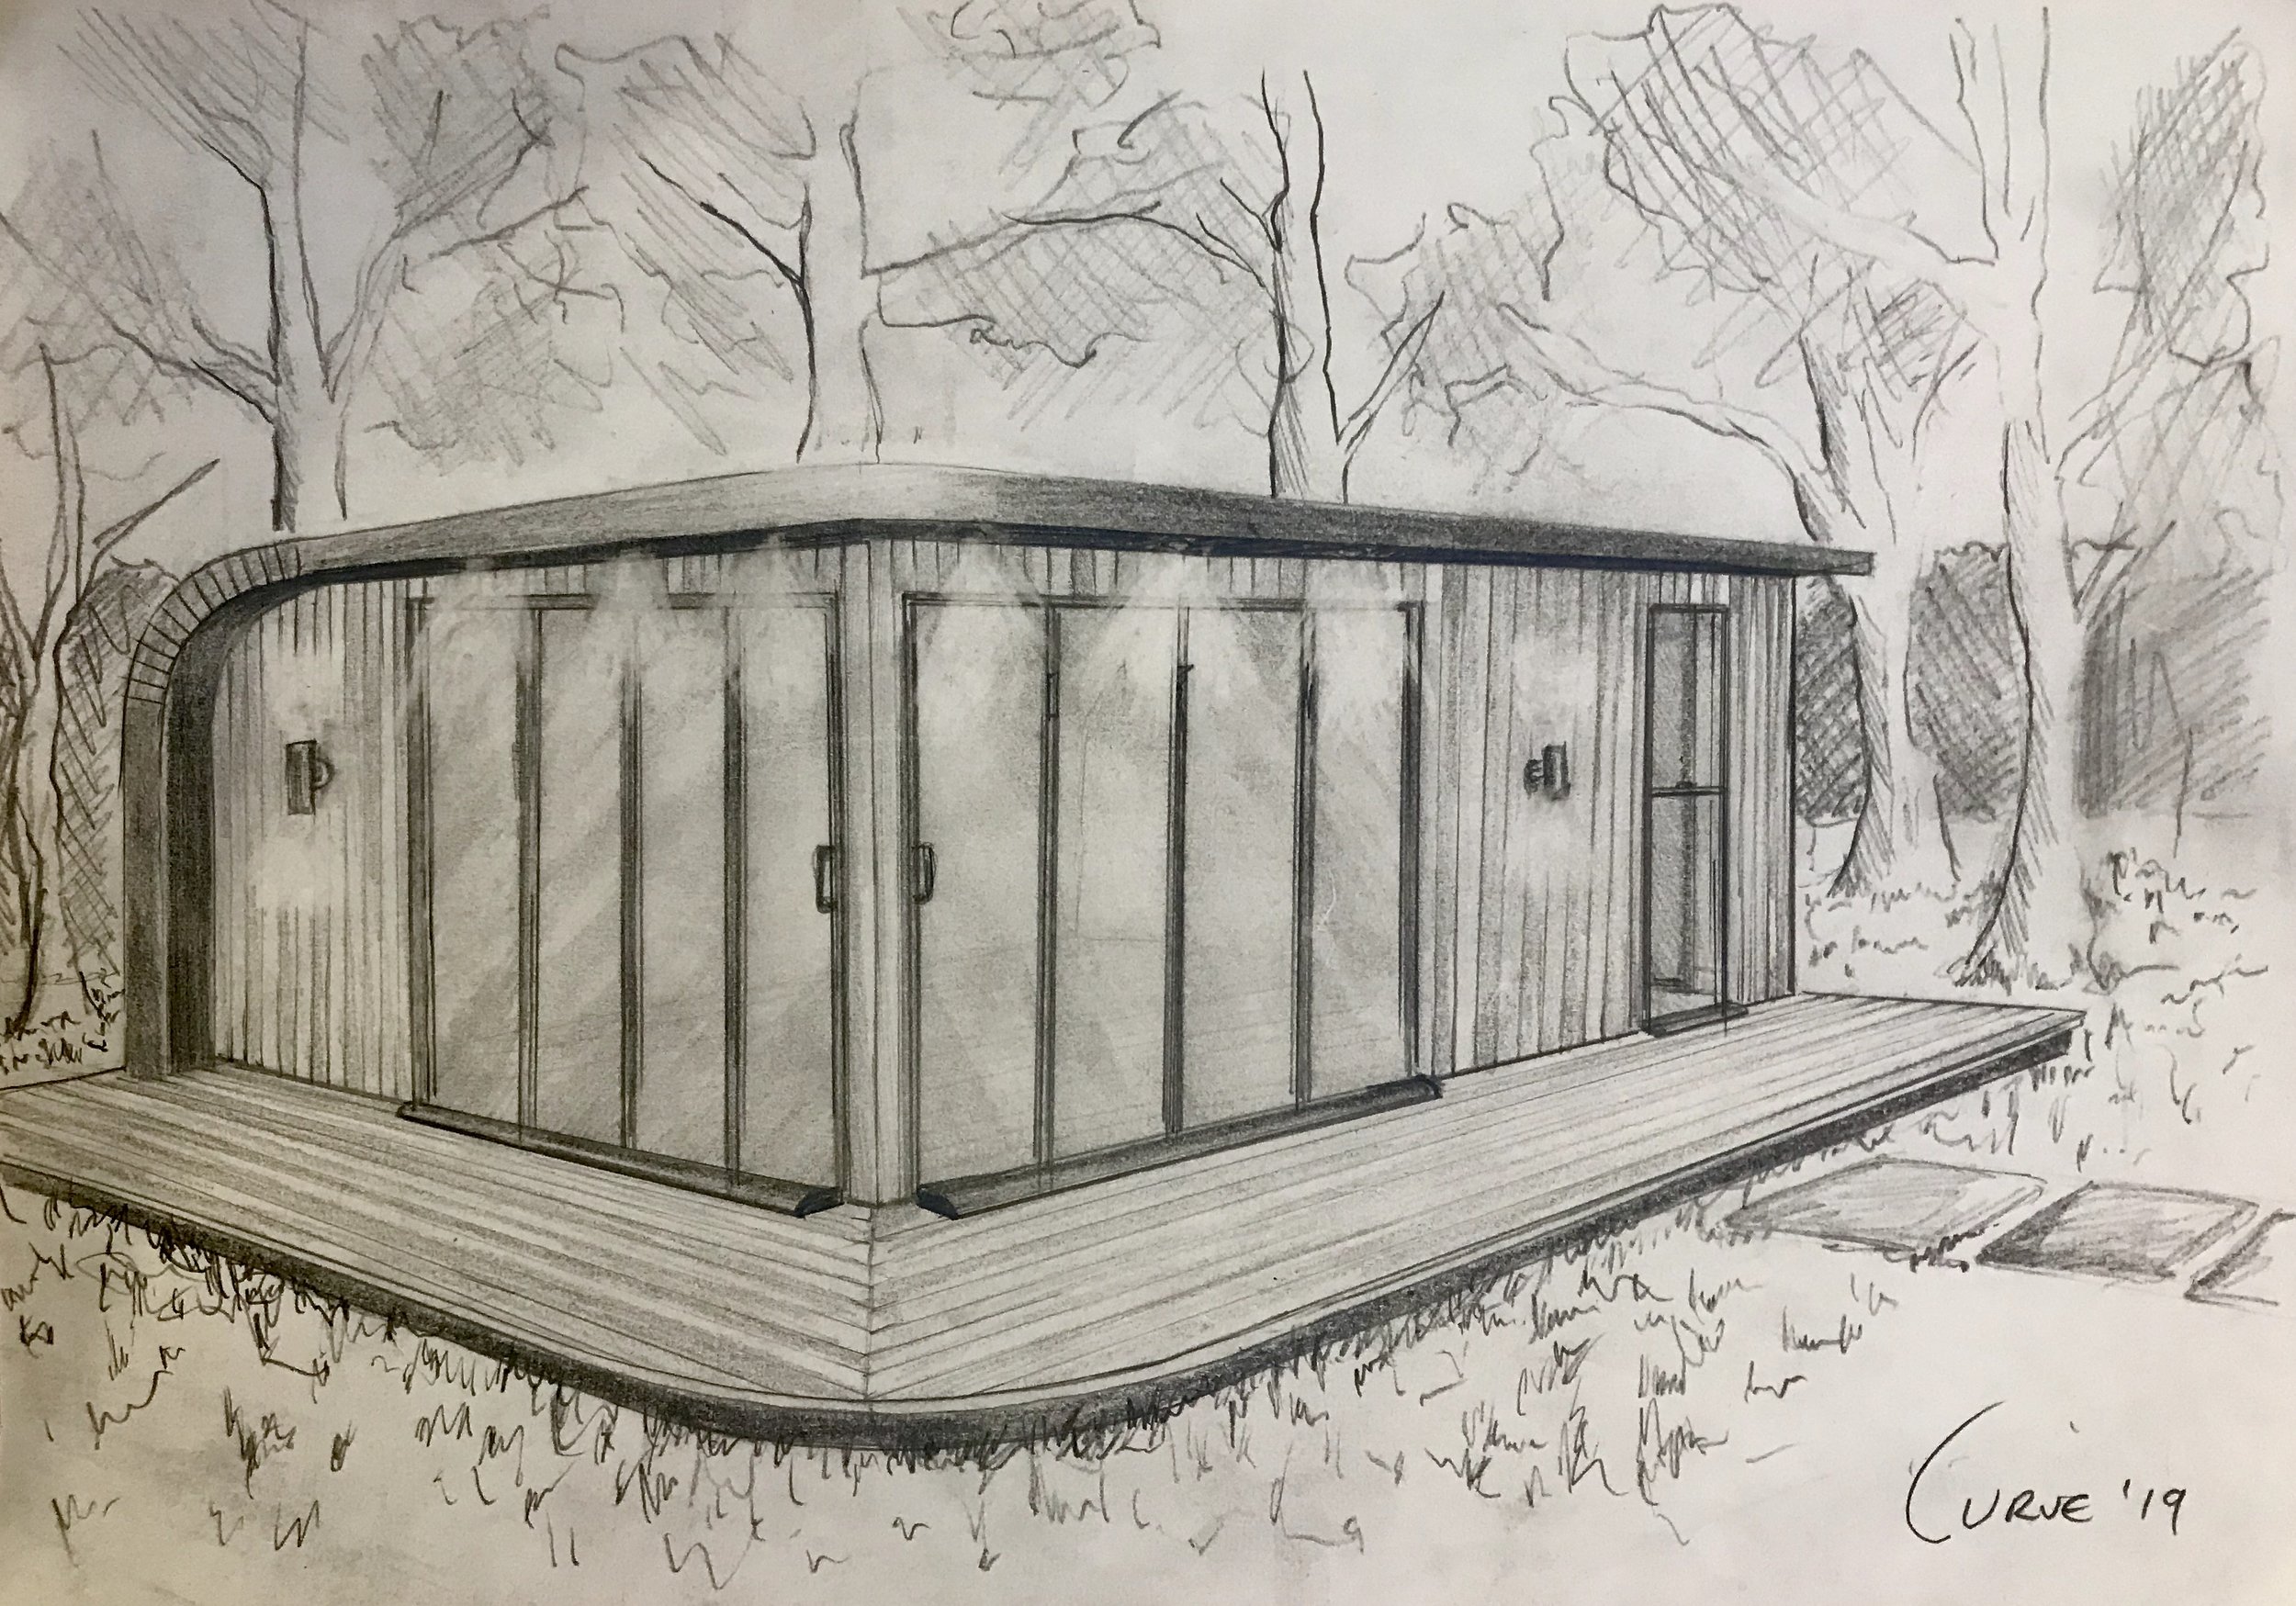
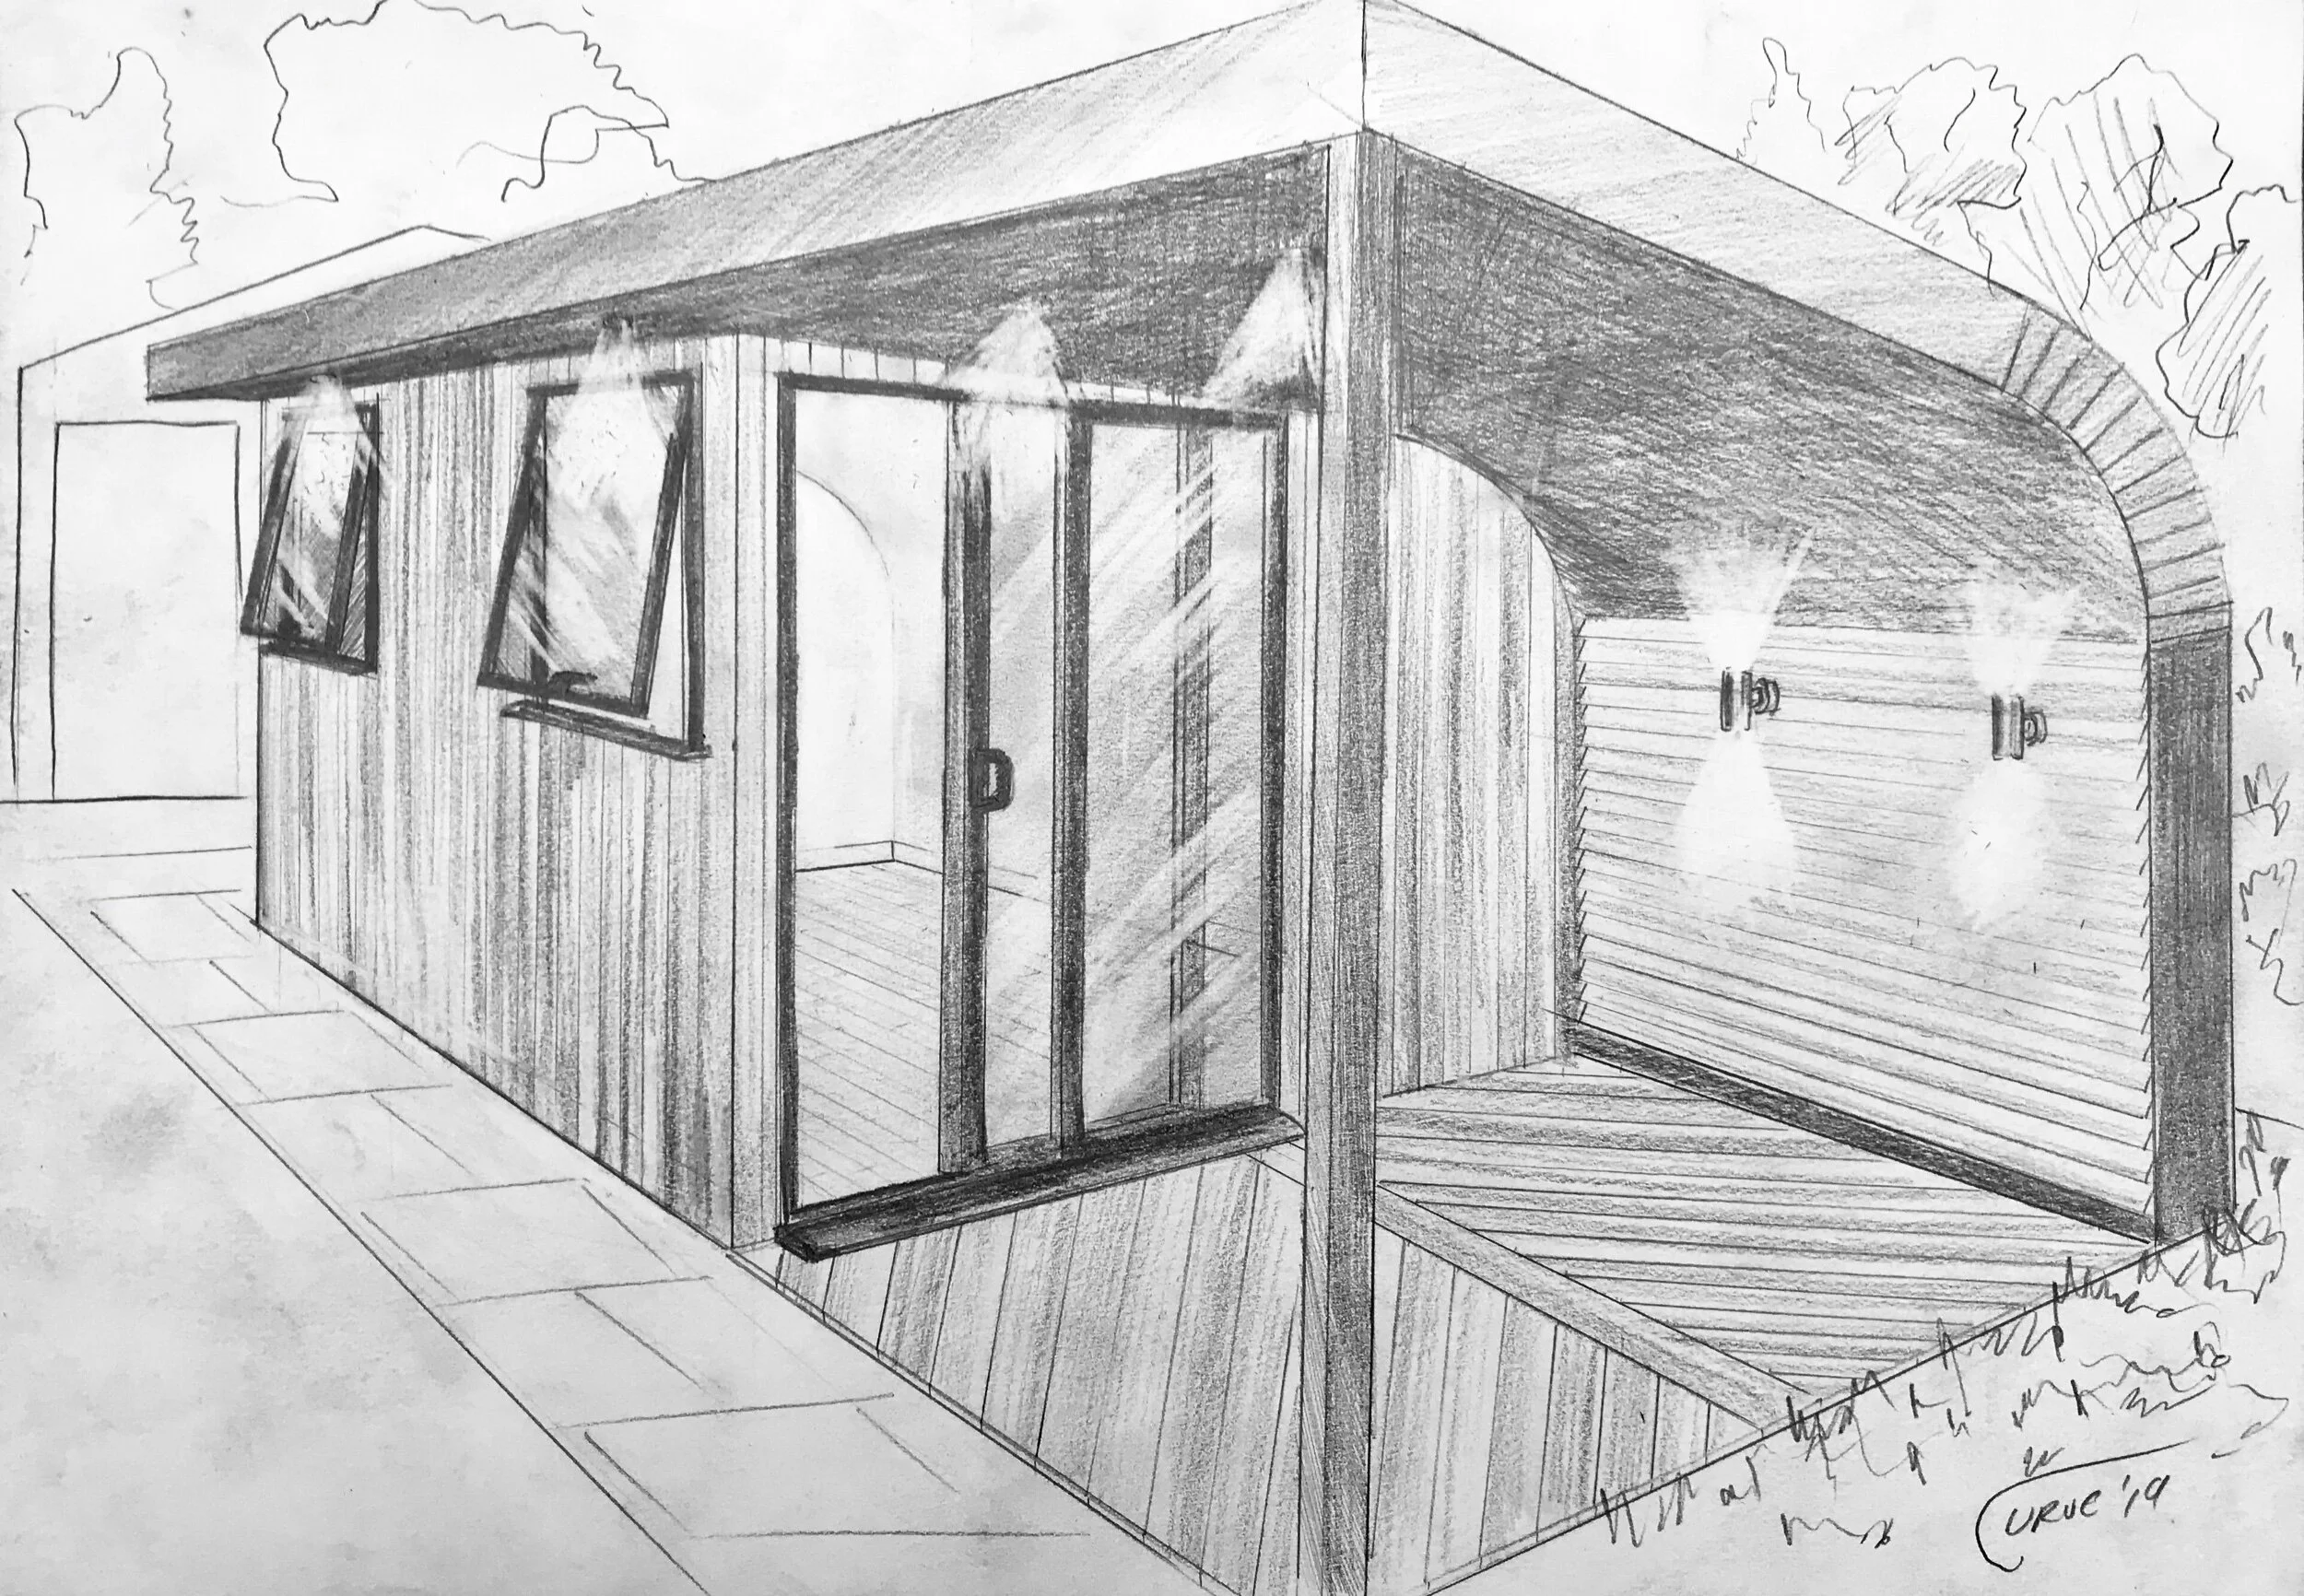
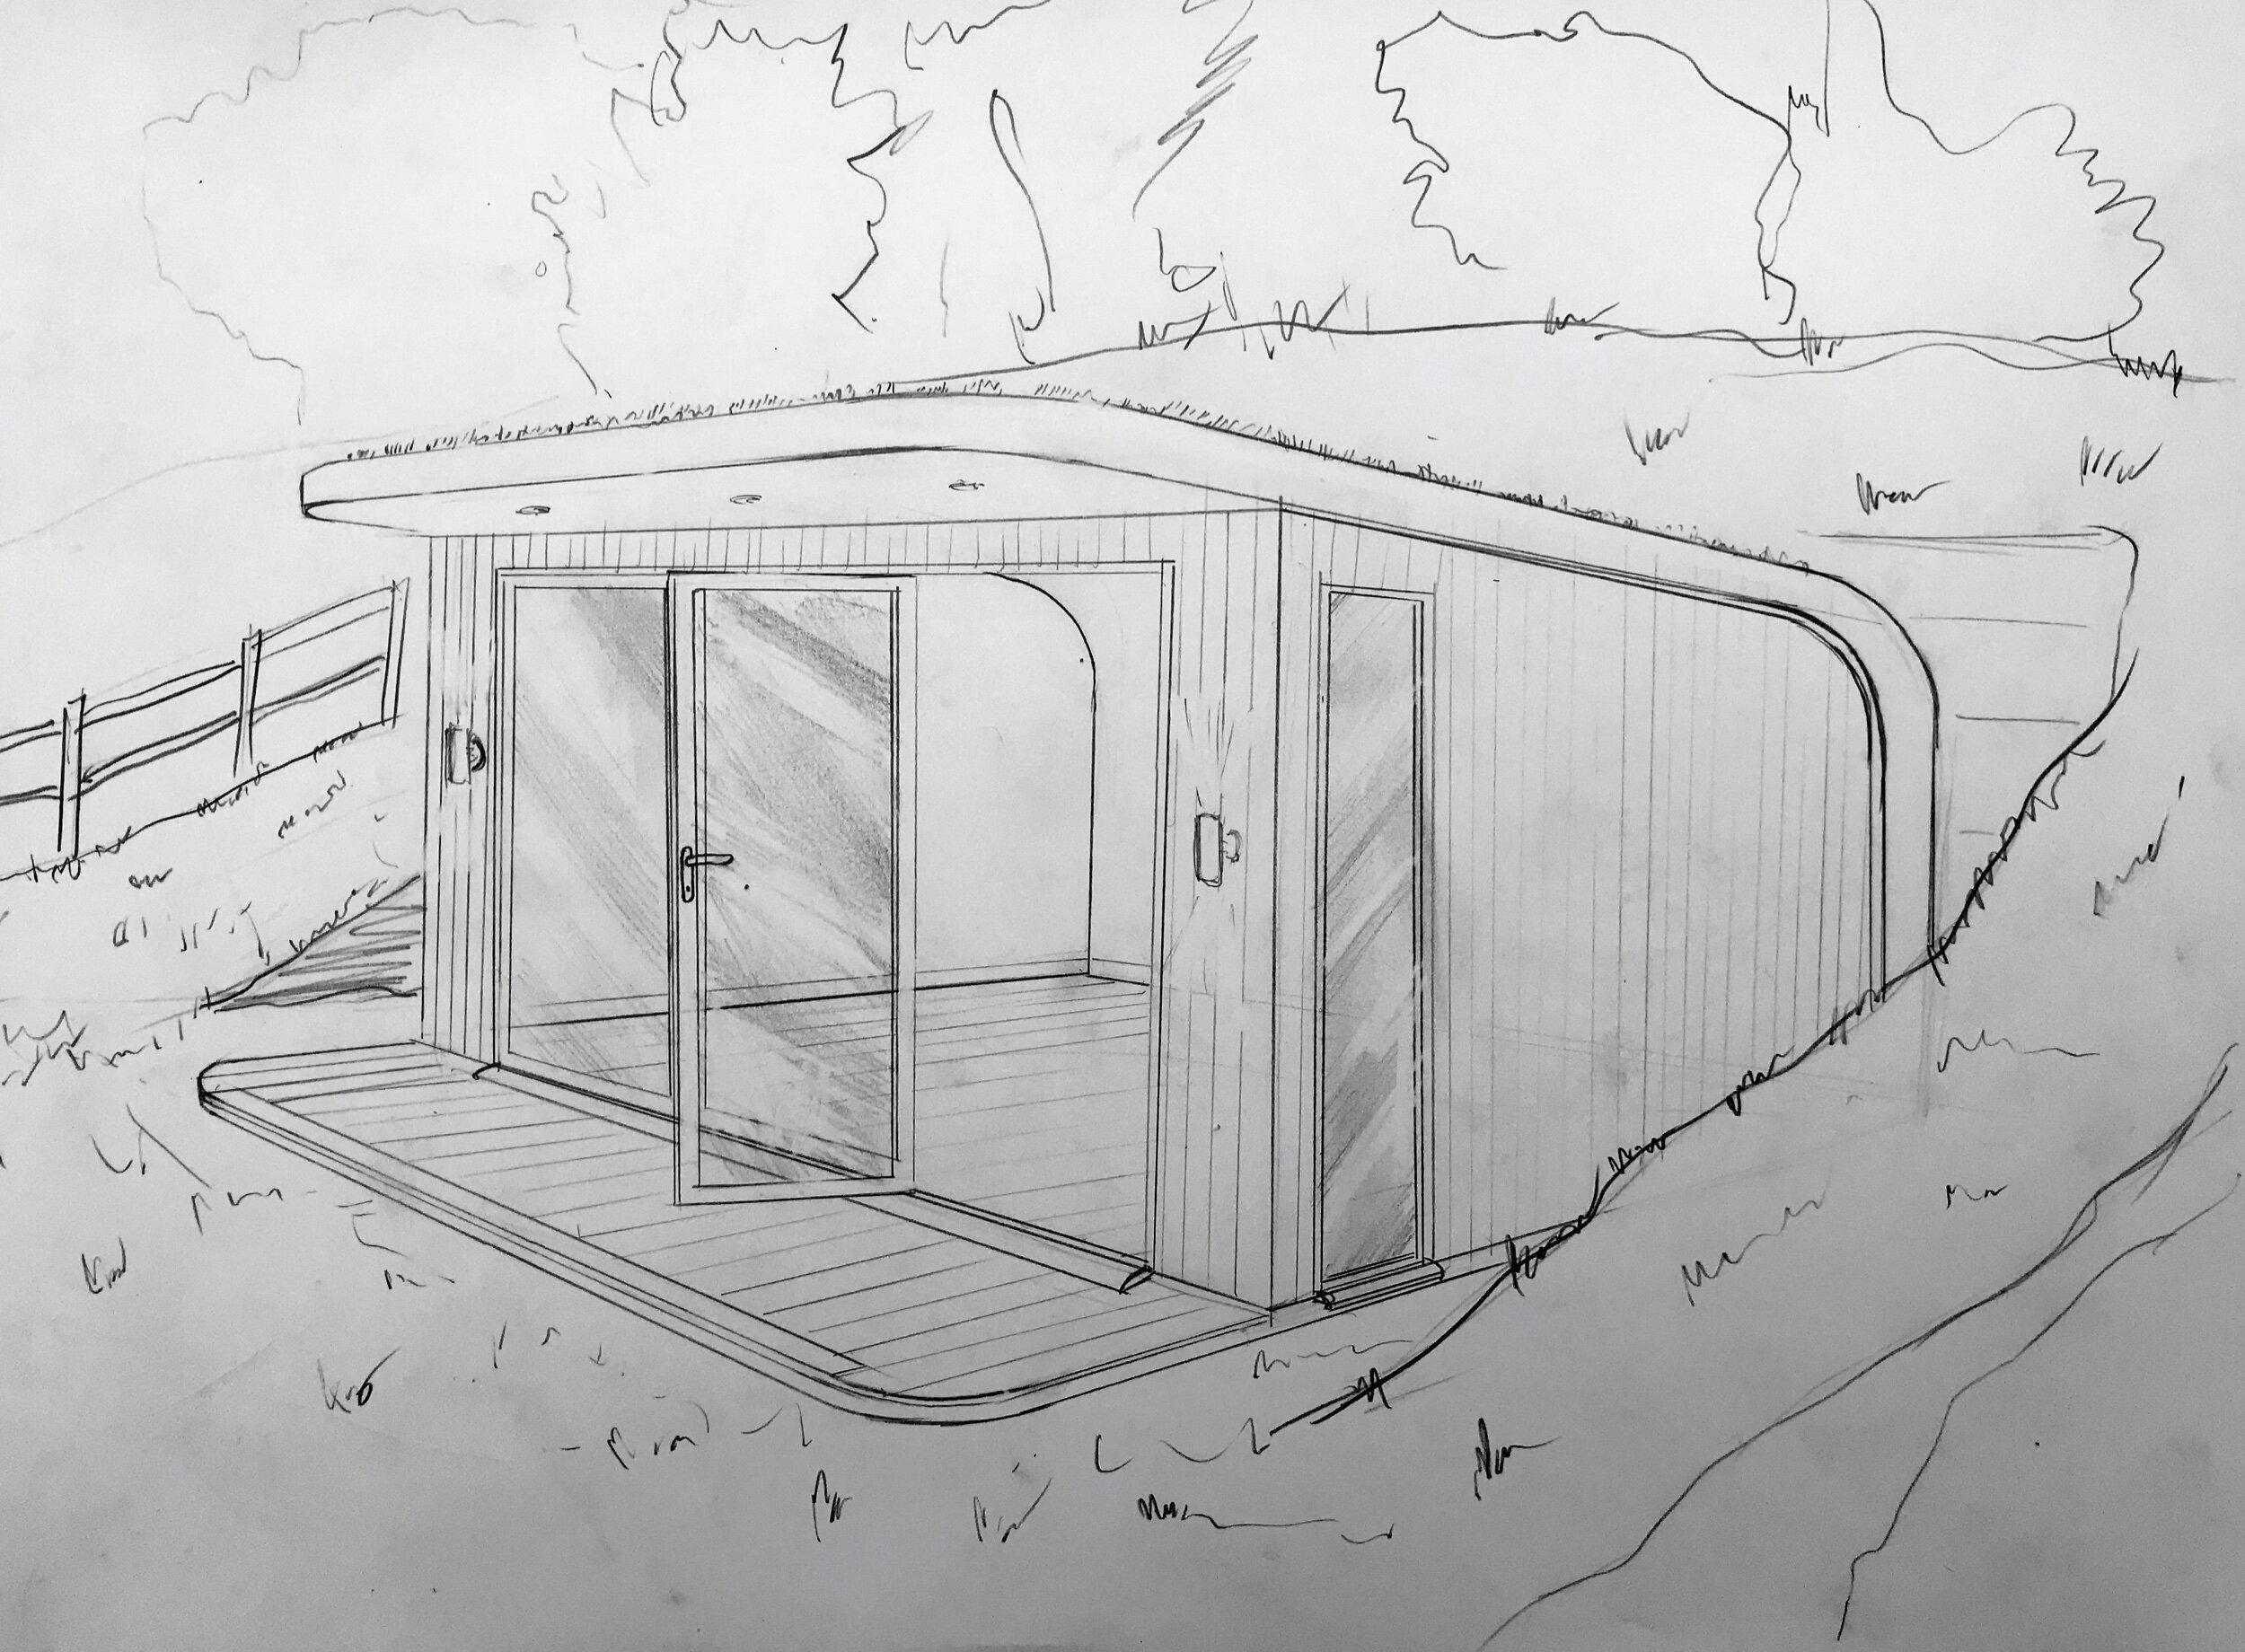
If you happen to be a Star Wars fan (as I and my kids are), you could have this themed garden room. Designed with the dark side in mind and based on the Death Star loading bay, it could utilise many unique features. Such as a gently glowing white curved 'forcefield' surround, gloss black illuminated side panels, dummy computer terminals, and inside, a gloss black epoxy resin floor. The option are endless!
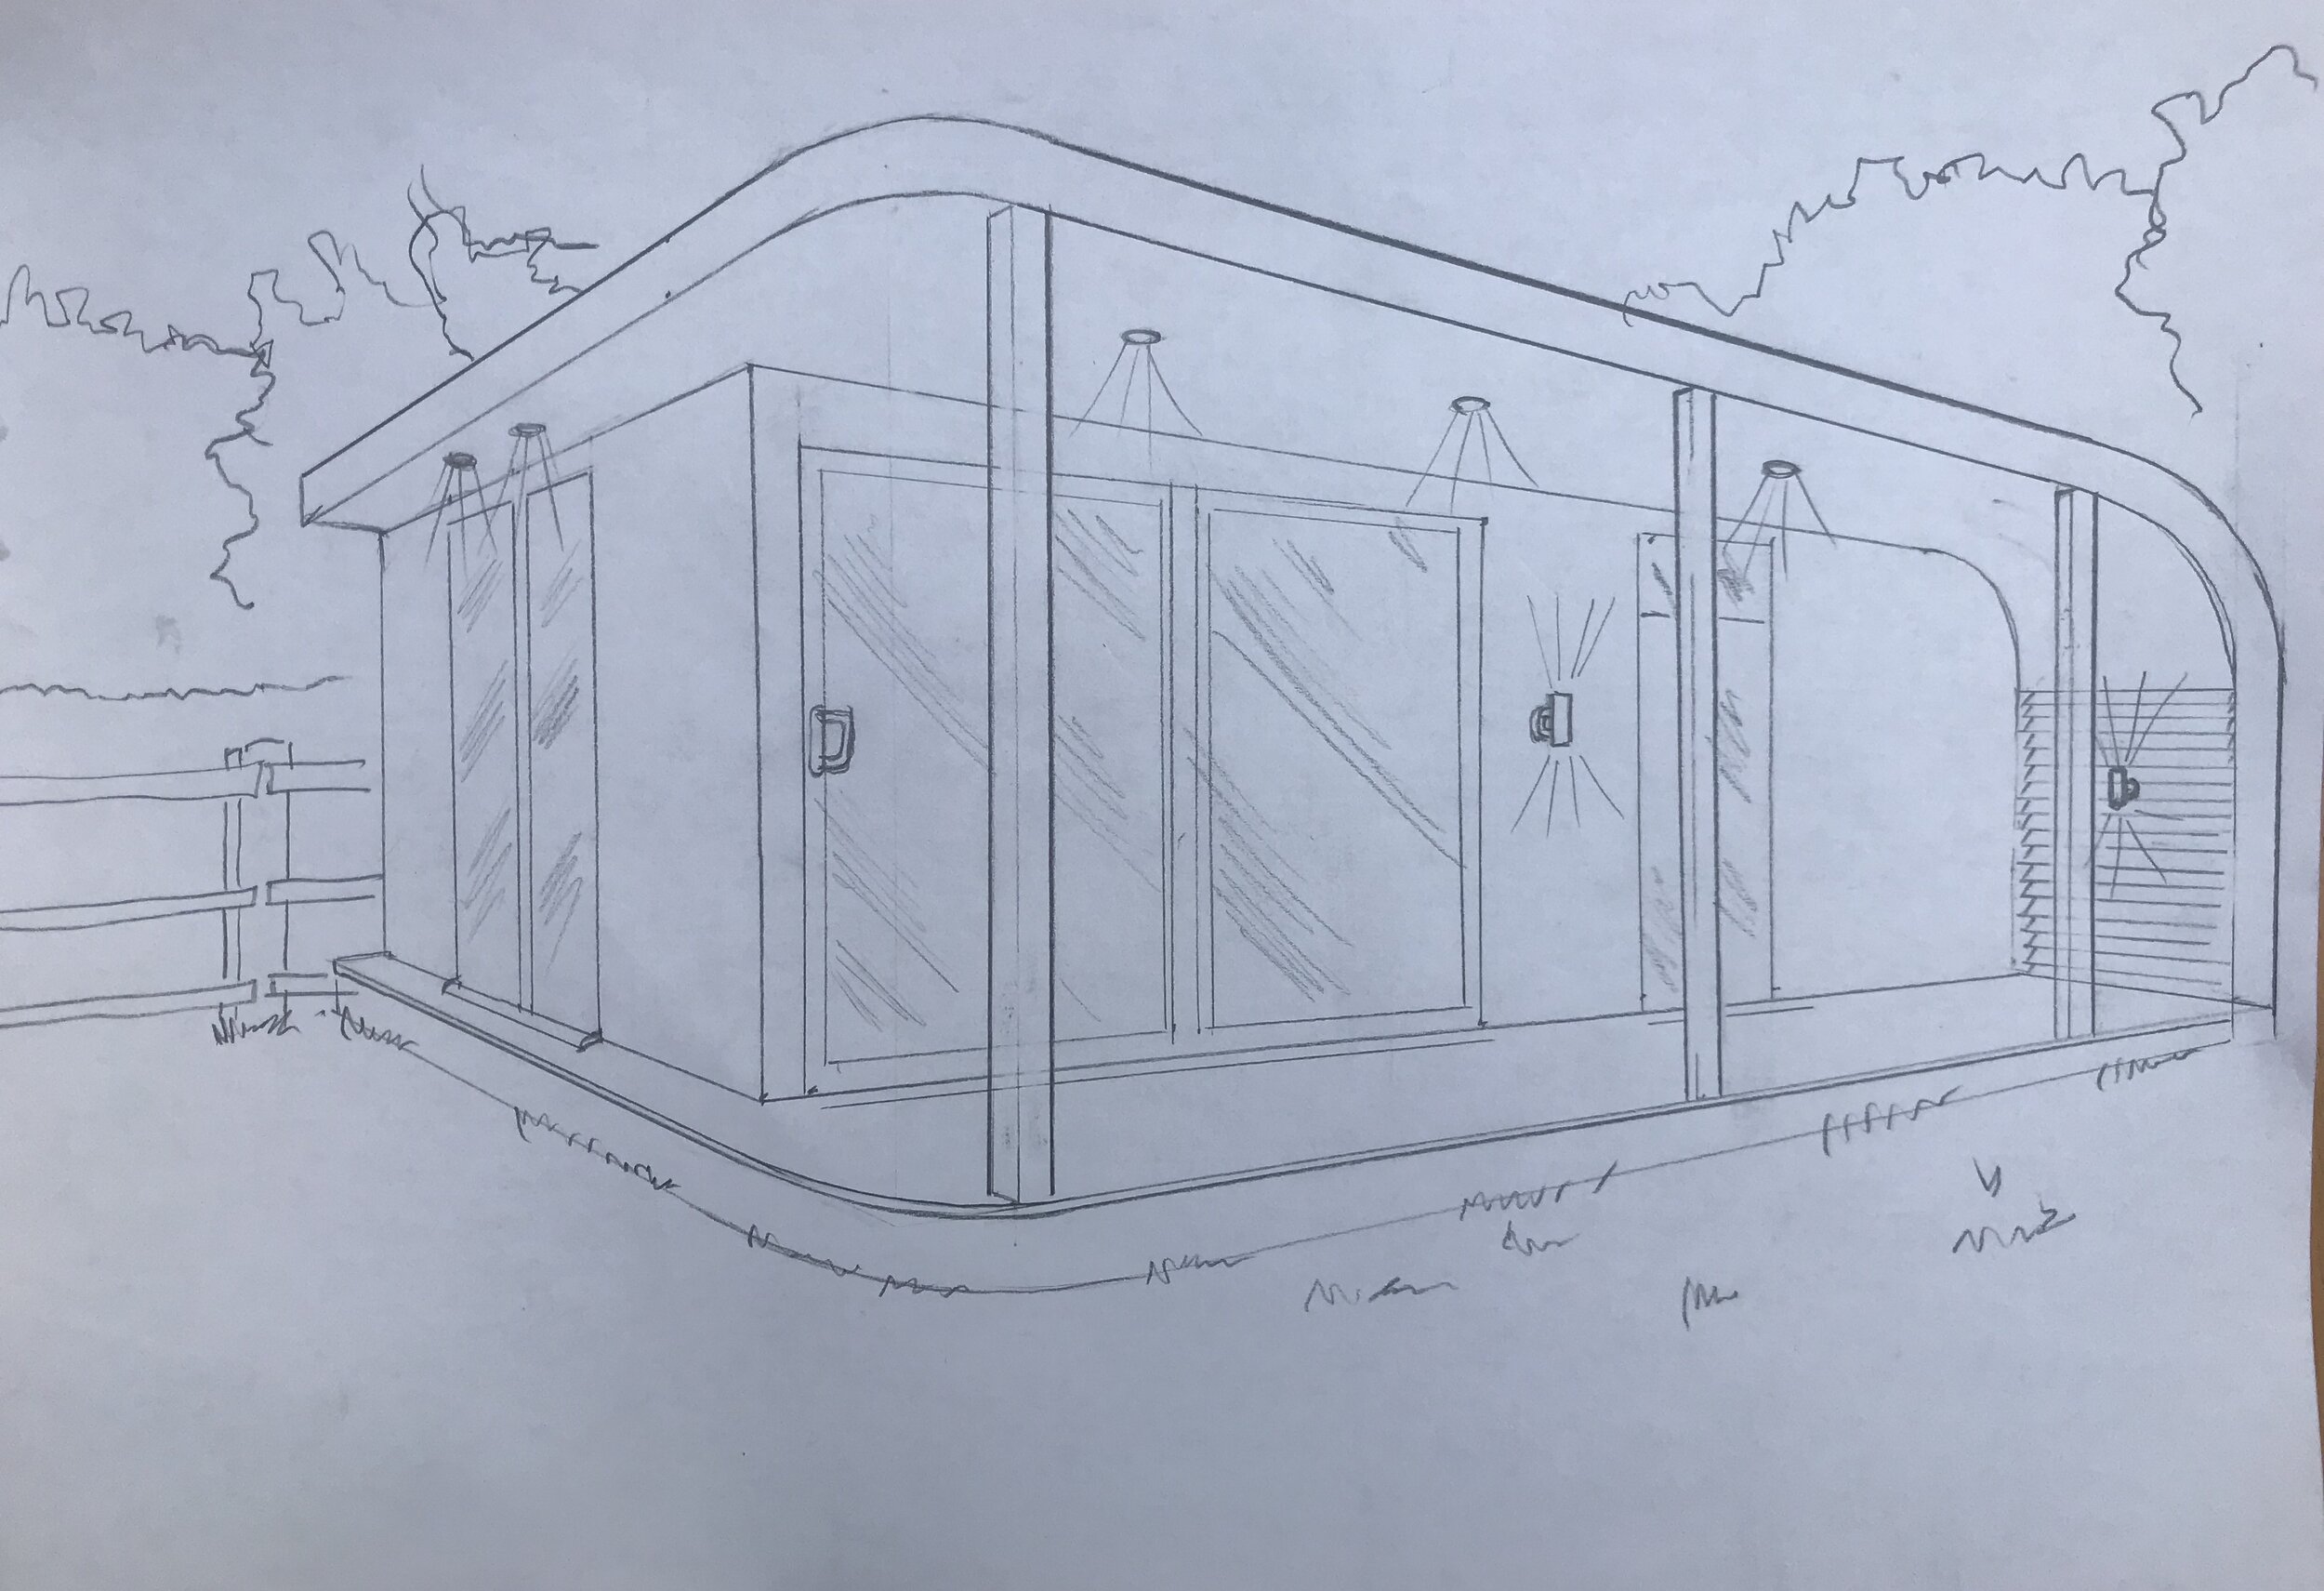
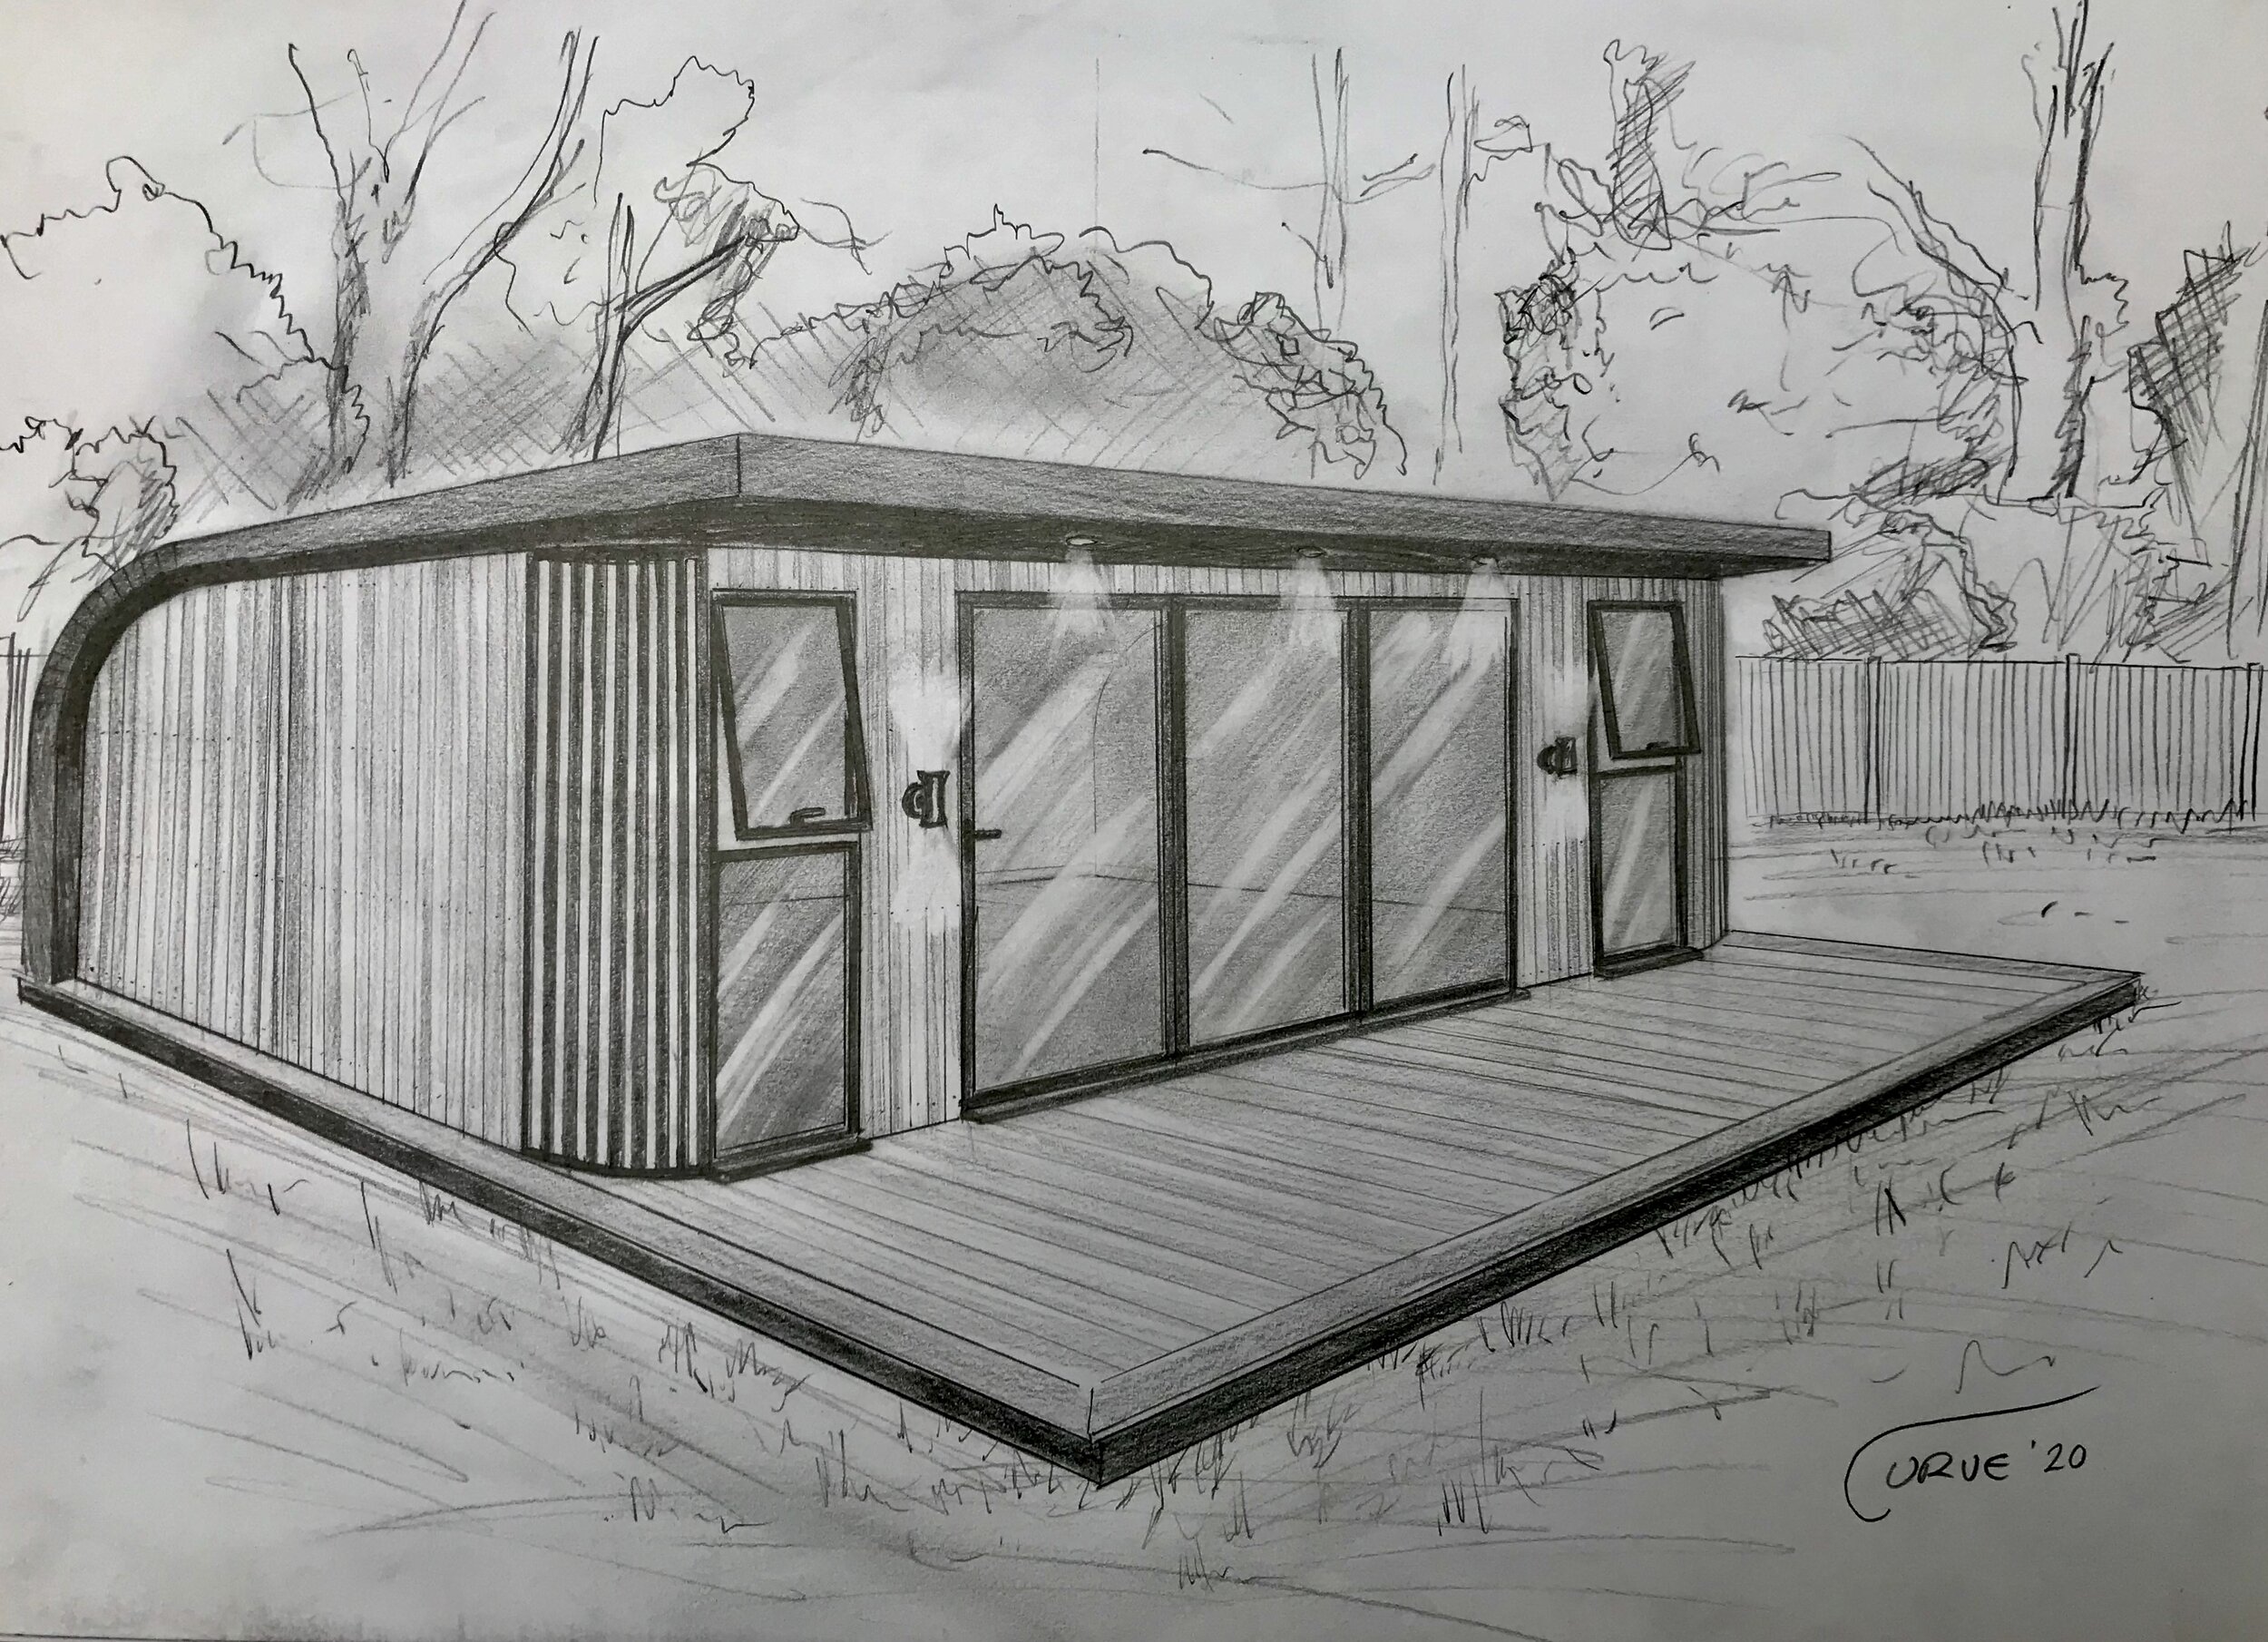
So when we say bespoke, we mean bespoke!
PLANNING PERMISSION
In the vast majority of cases, planning permission is not required for a Curve garden room to be installed in your garden. They are considered permitted development under the current planning rules. However, if you're unsure, you should check on the government planning portal by clicking on the link below:

CONSTRUCTION

Unlike many other garden room builders who have to charge high fees due to large overheads such as a expensive workshop, Curve garden rooms works on-site and in-situ whatever the weather. All materials are delivered to the site when needed like a traditional house build. This ensures a truly adaptable build process and gives the client a transparent insight into every aspect.

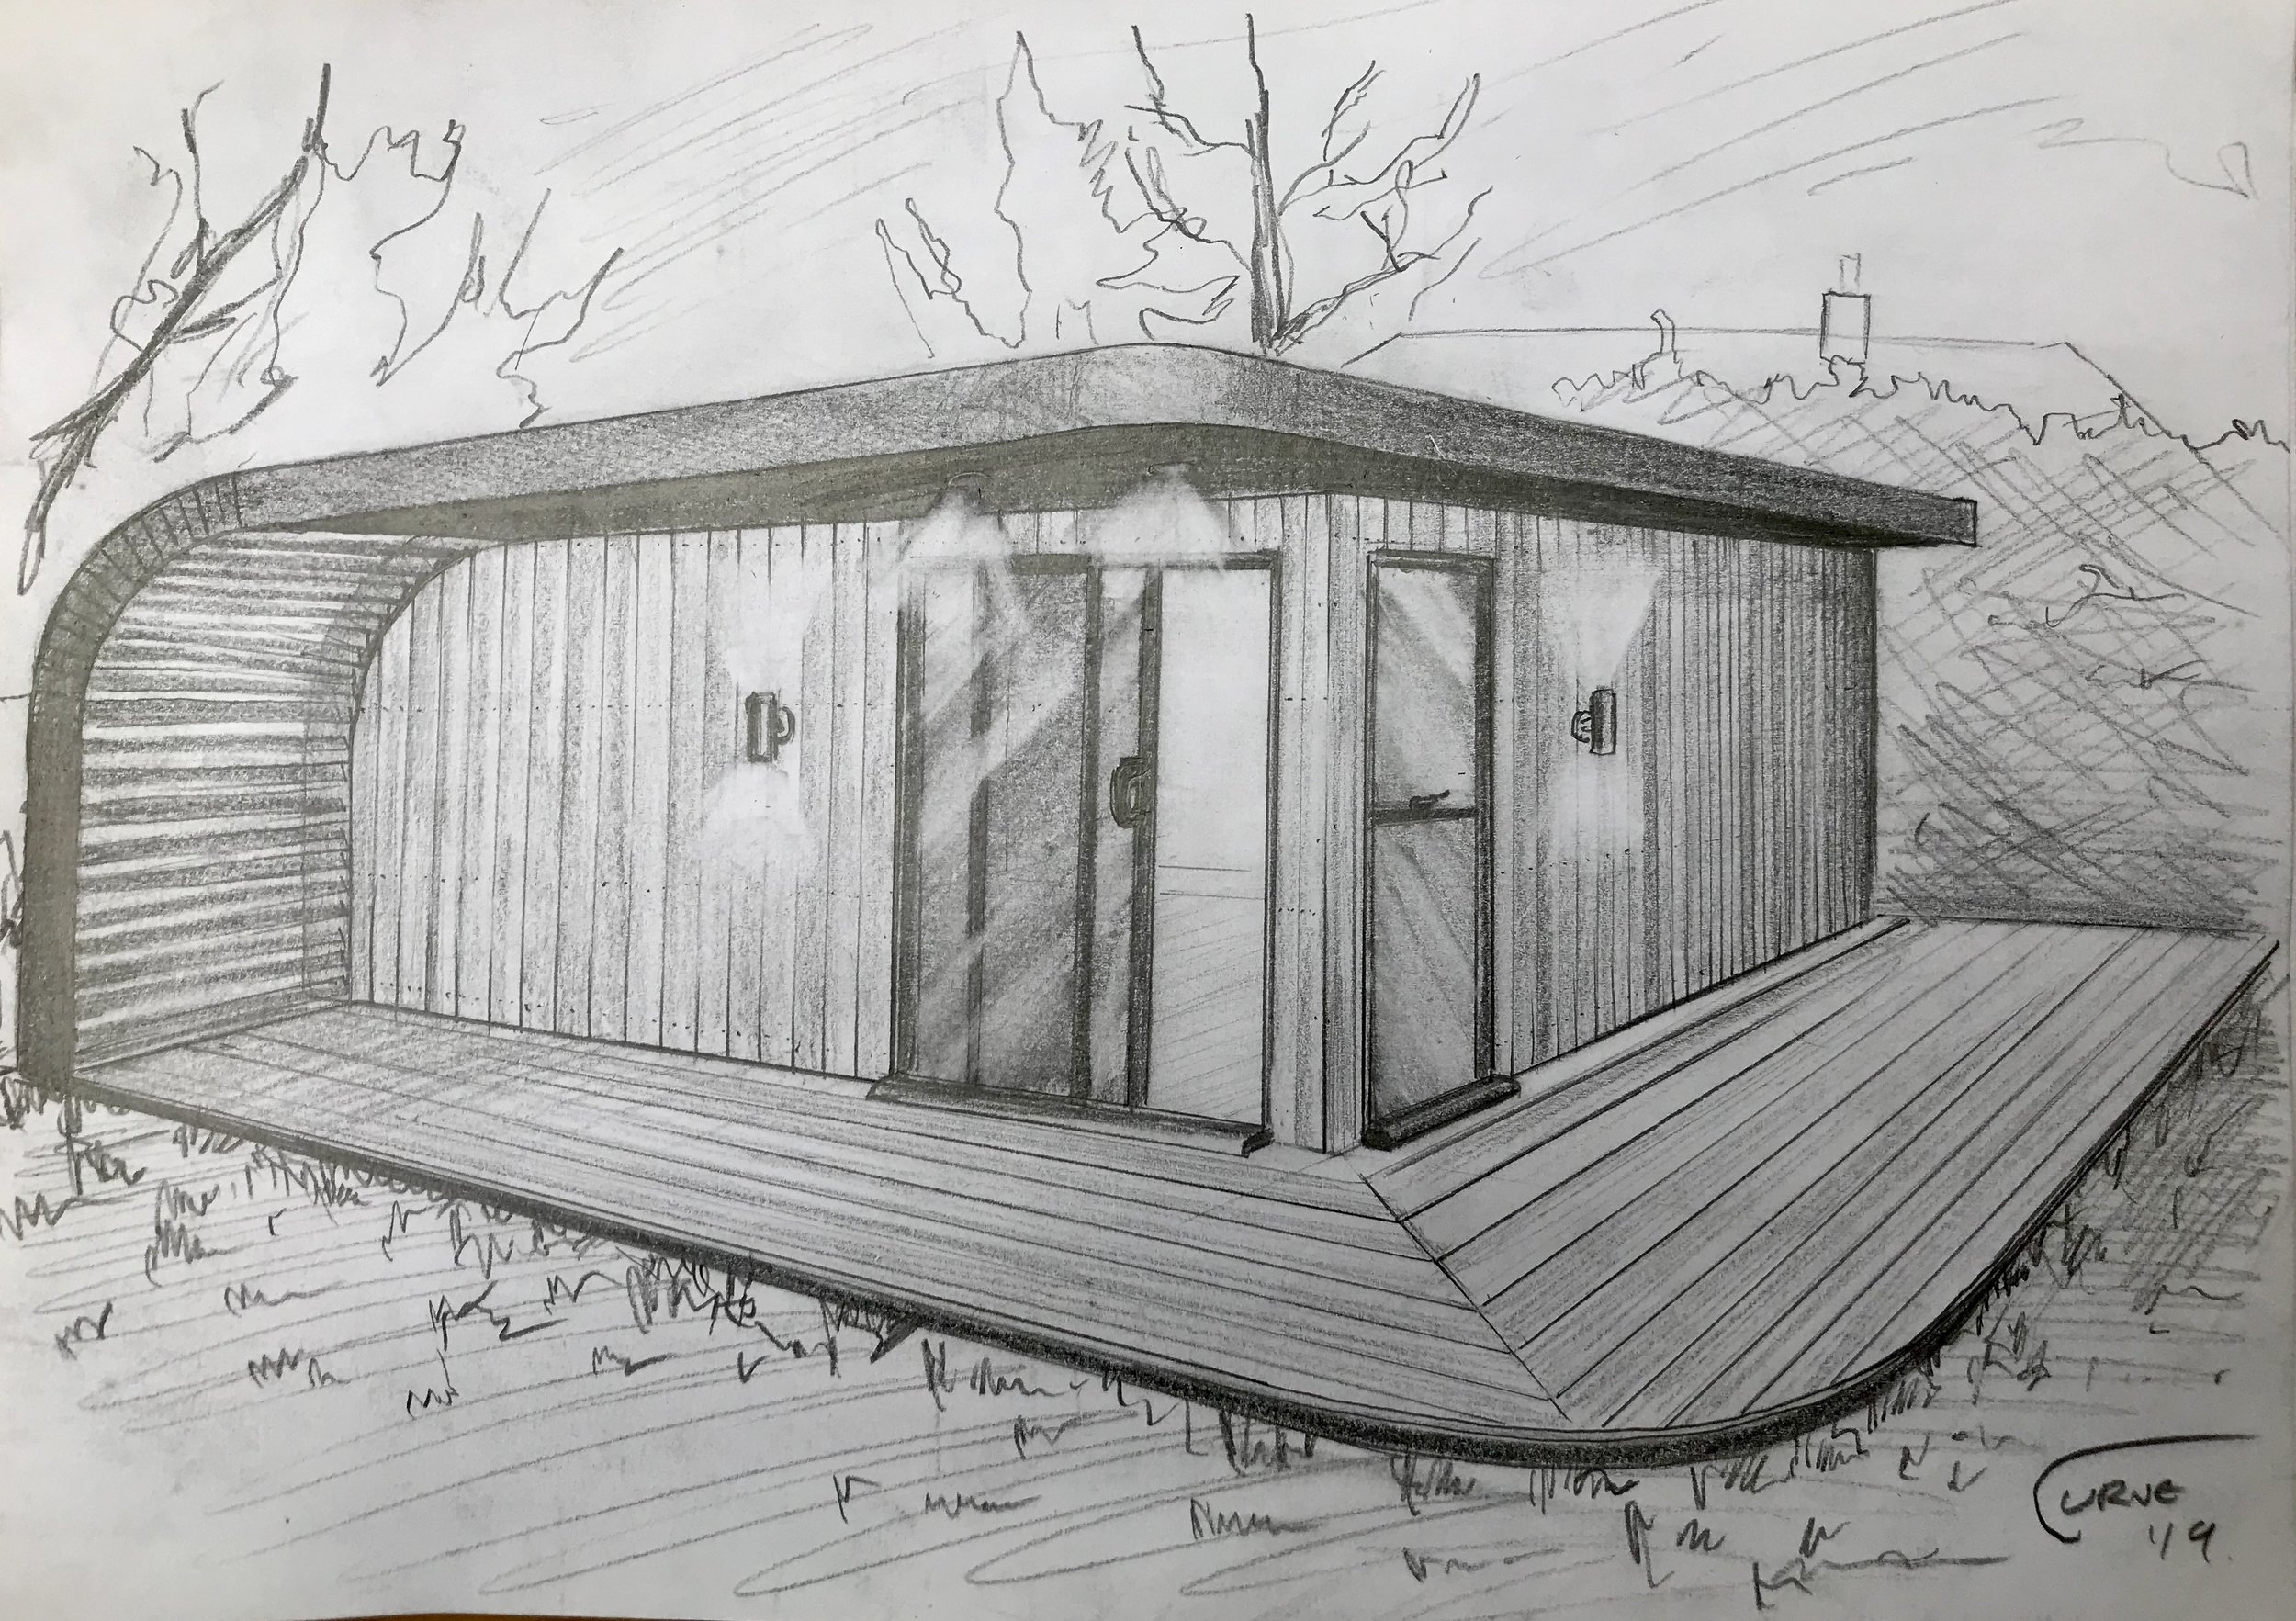
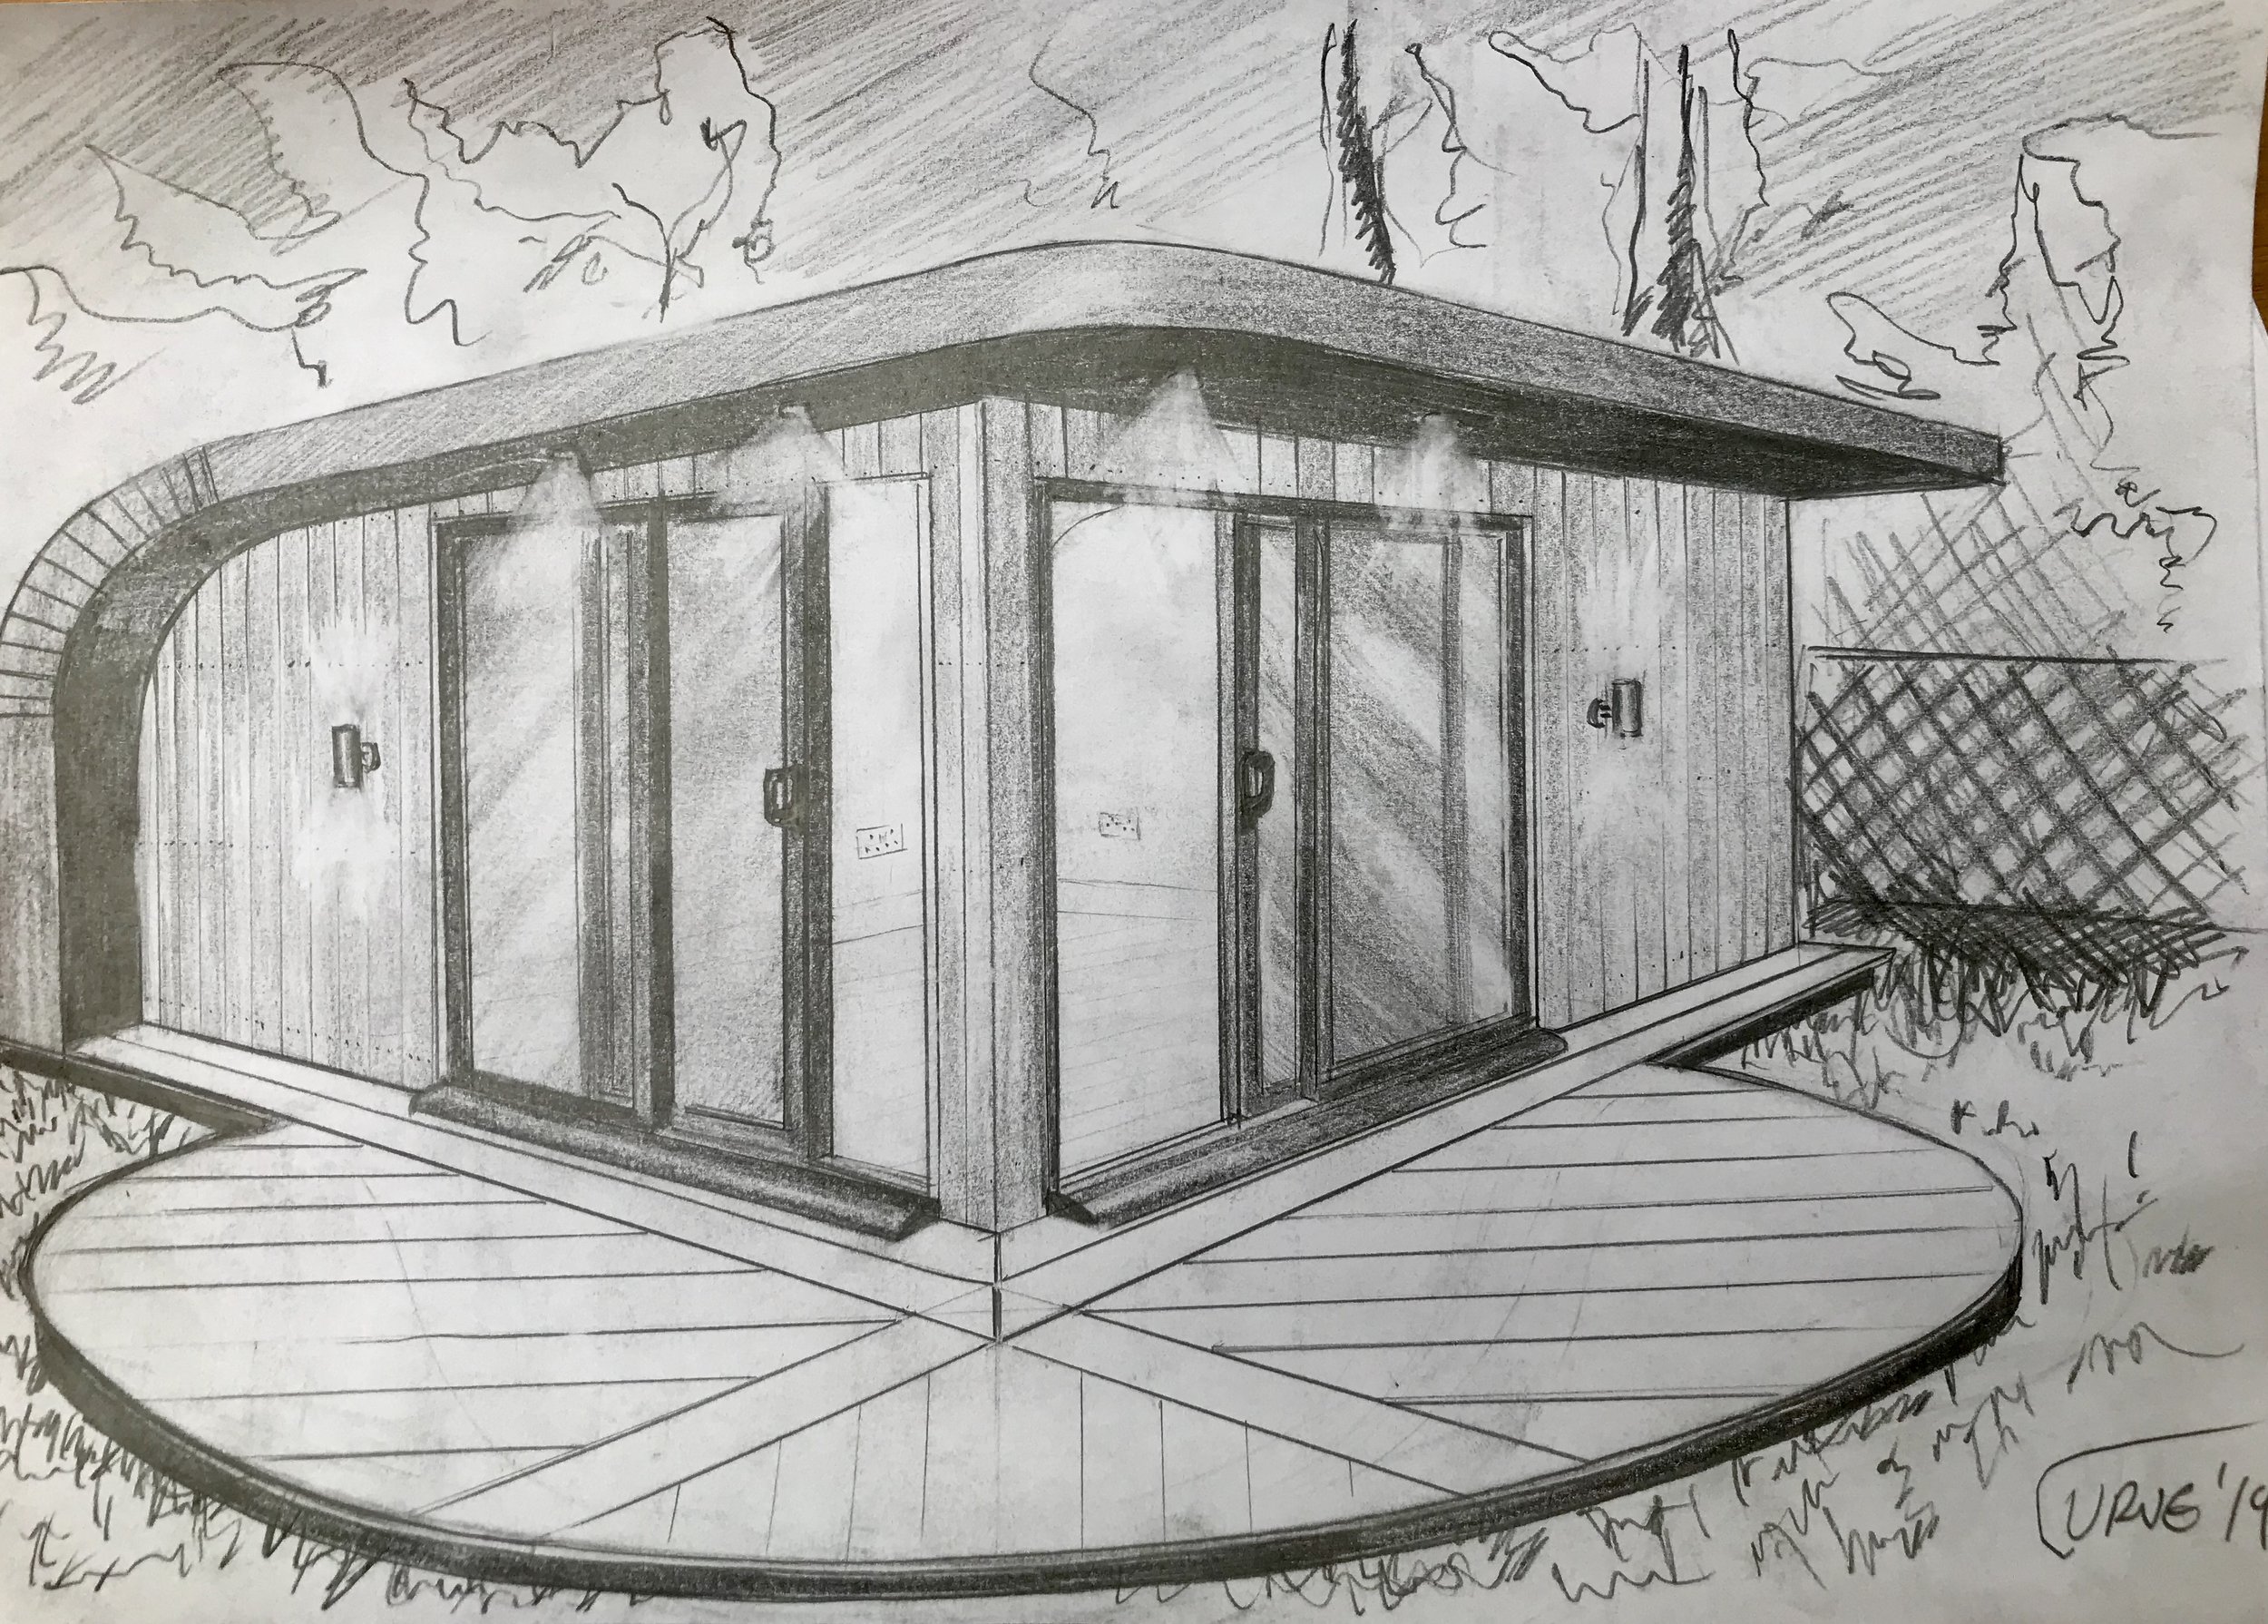
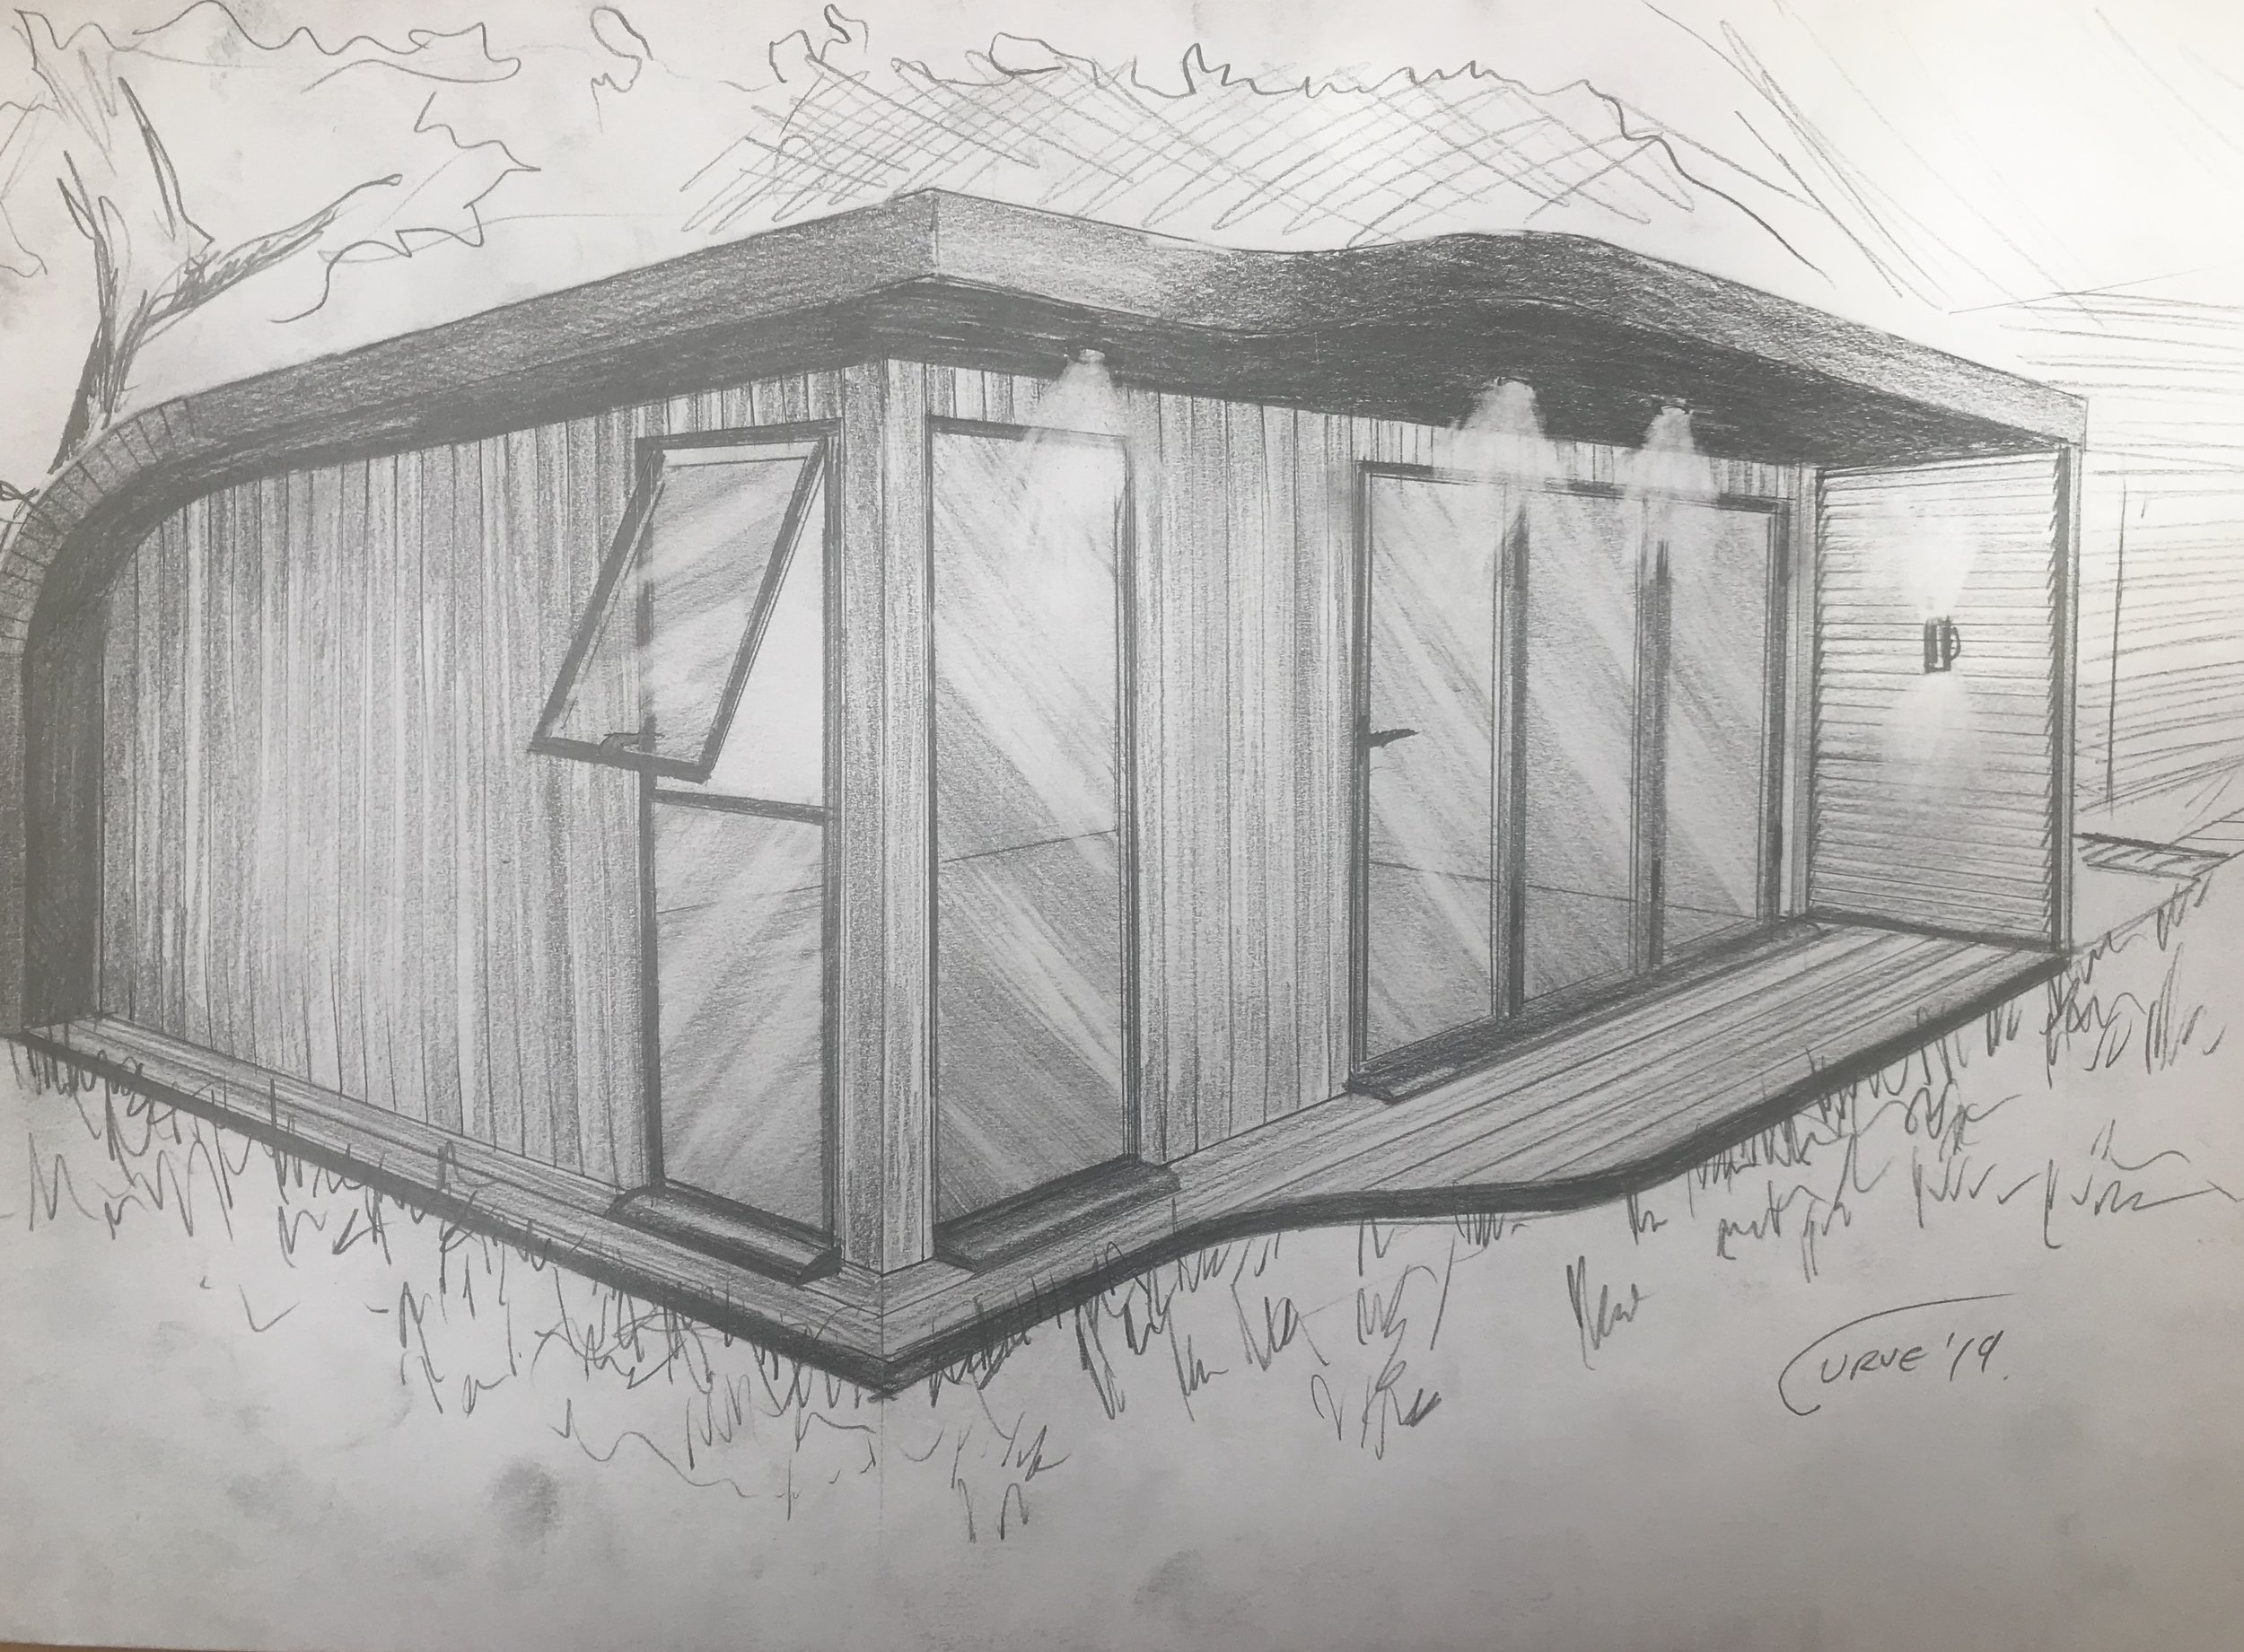
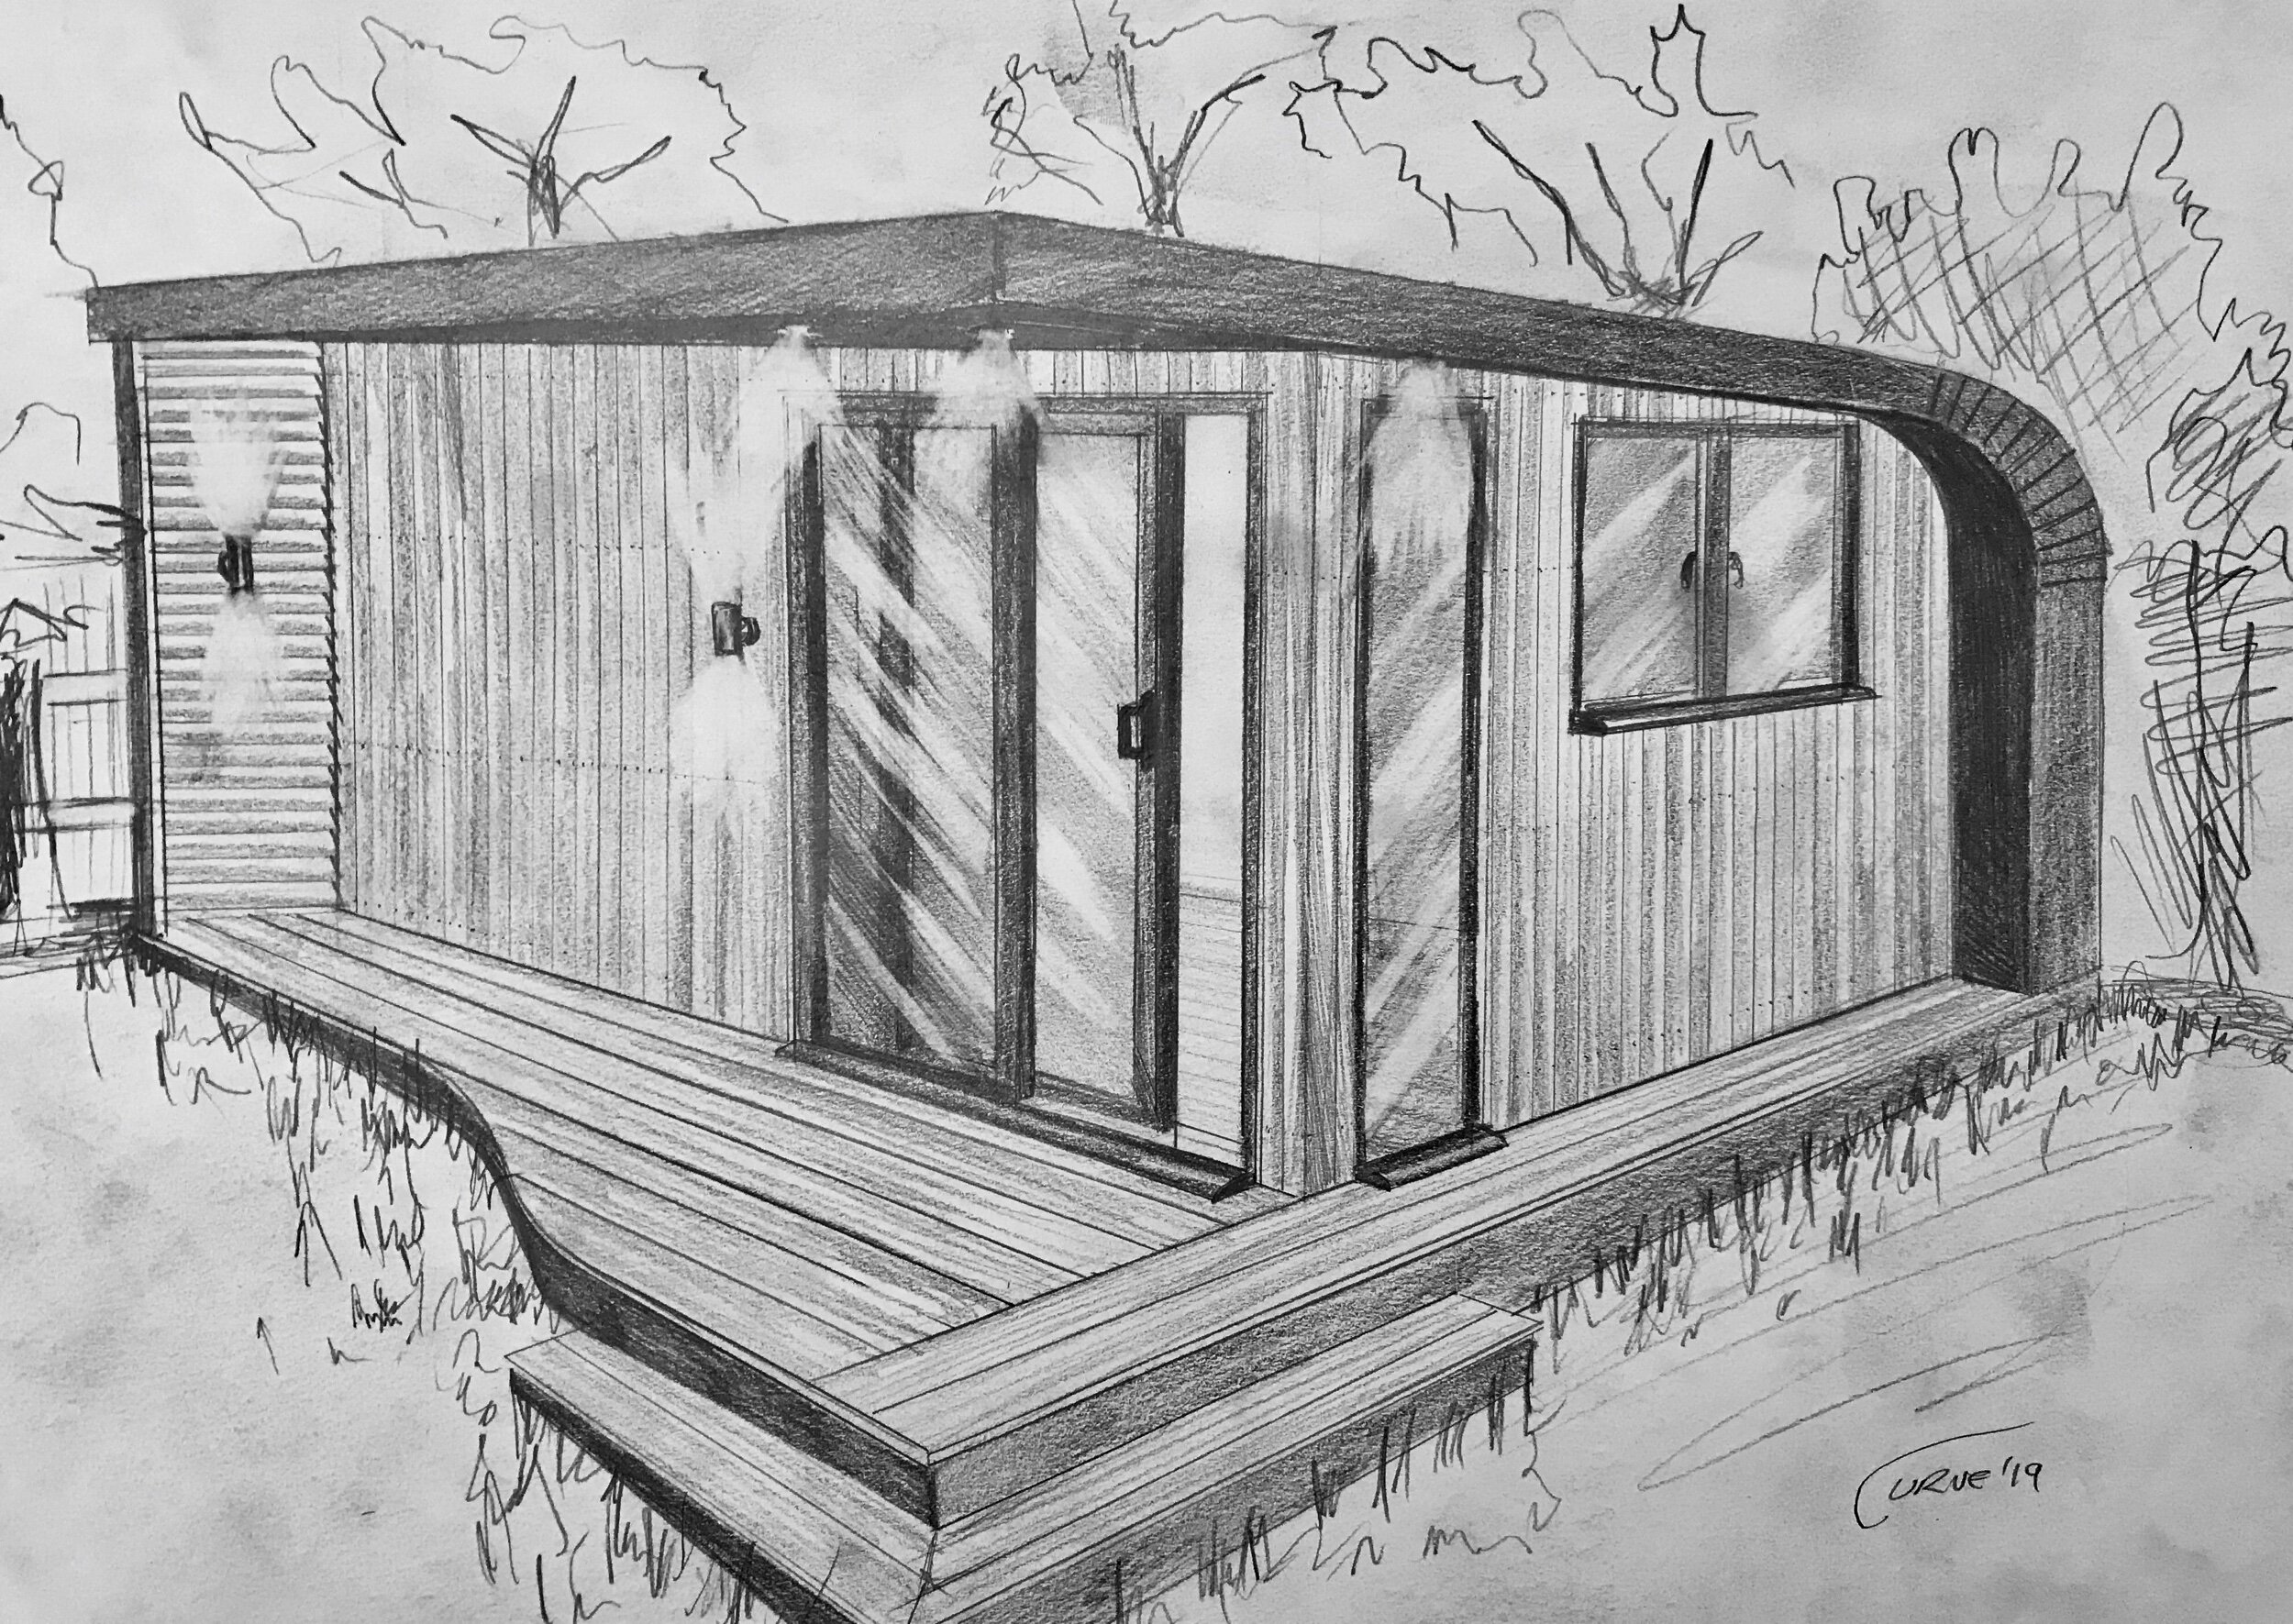
All timber is of the best quality and is sourced from a reputable timber merchant. It is kiln dried, C24 stress graded and pressure preservative treated to give your Curve garden room a long lasting and super strong framework. The walls are constructed with 47x100mm timber with 100x100mm corner posts. The roof structure is of equivalent size timber unless you chose a seedum roof, where it will be increased to provide the extra strength for the weight. All sheet material for the floor and the roof is all top quality exterior grade WBP hardwood ply or OSB.
We work swiftly, tidily and with consideration to any neighbours. Because all the construction is done within the garden, there is virtually no disruption to daily life within your property. All we need is a side entrance and access to a power supply.
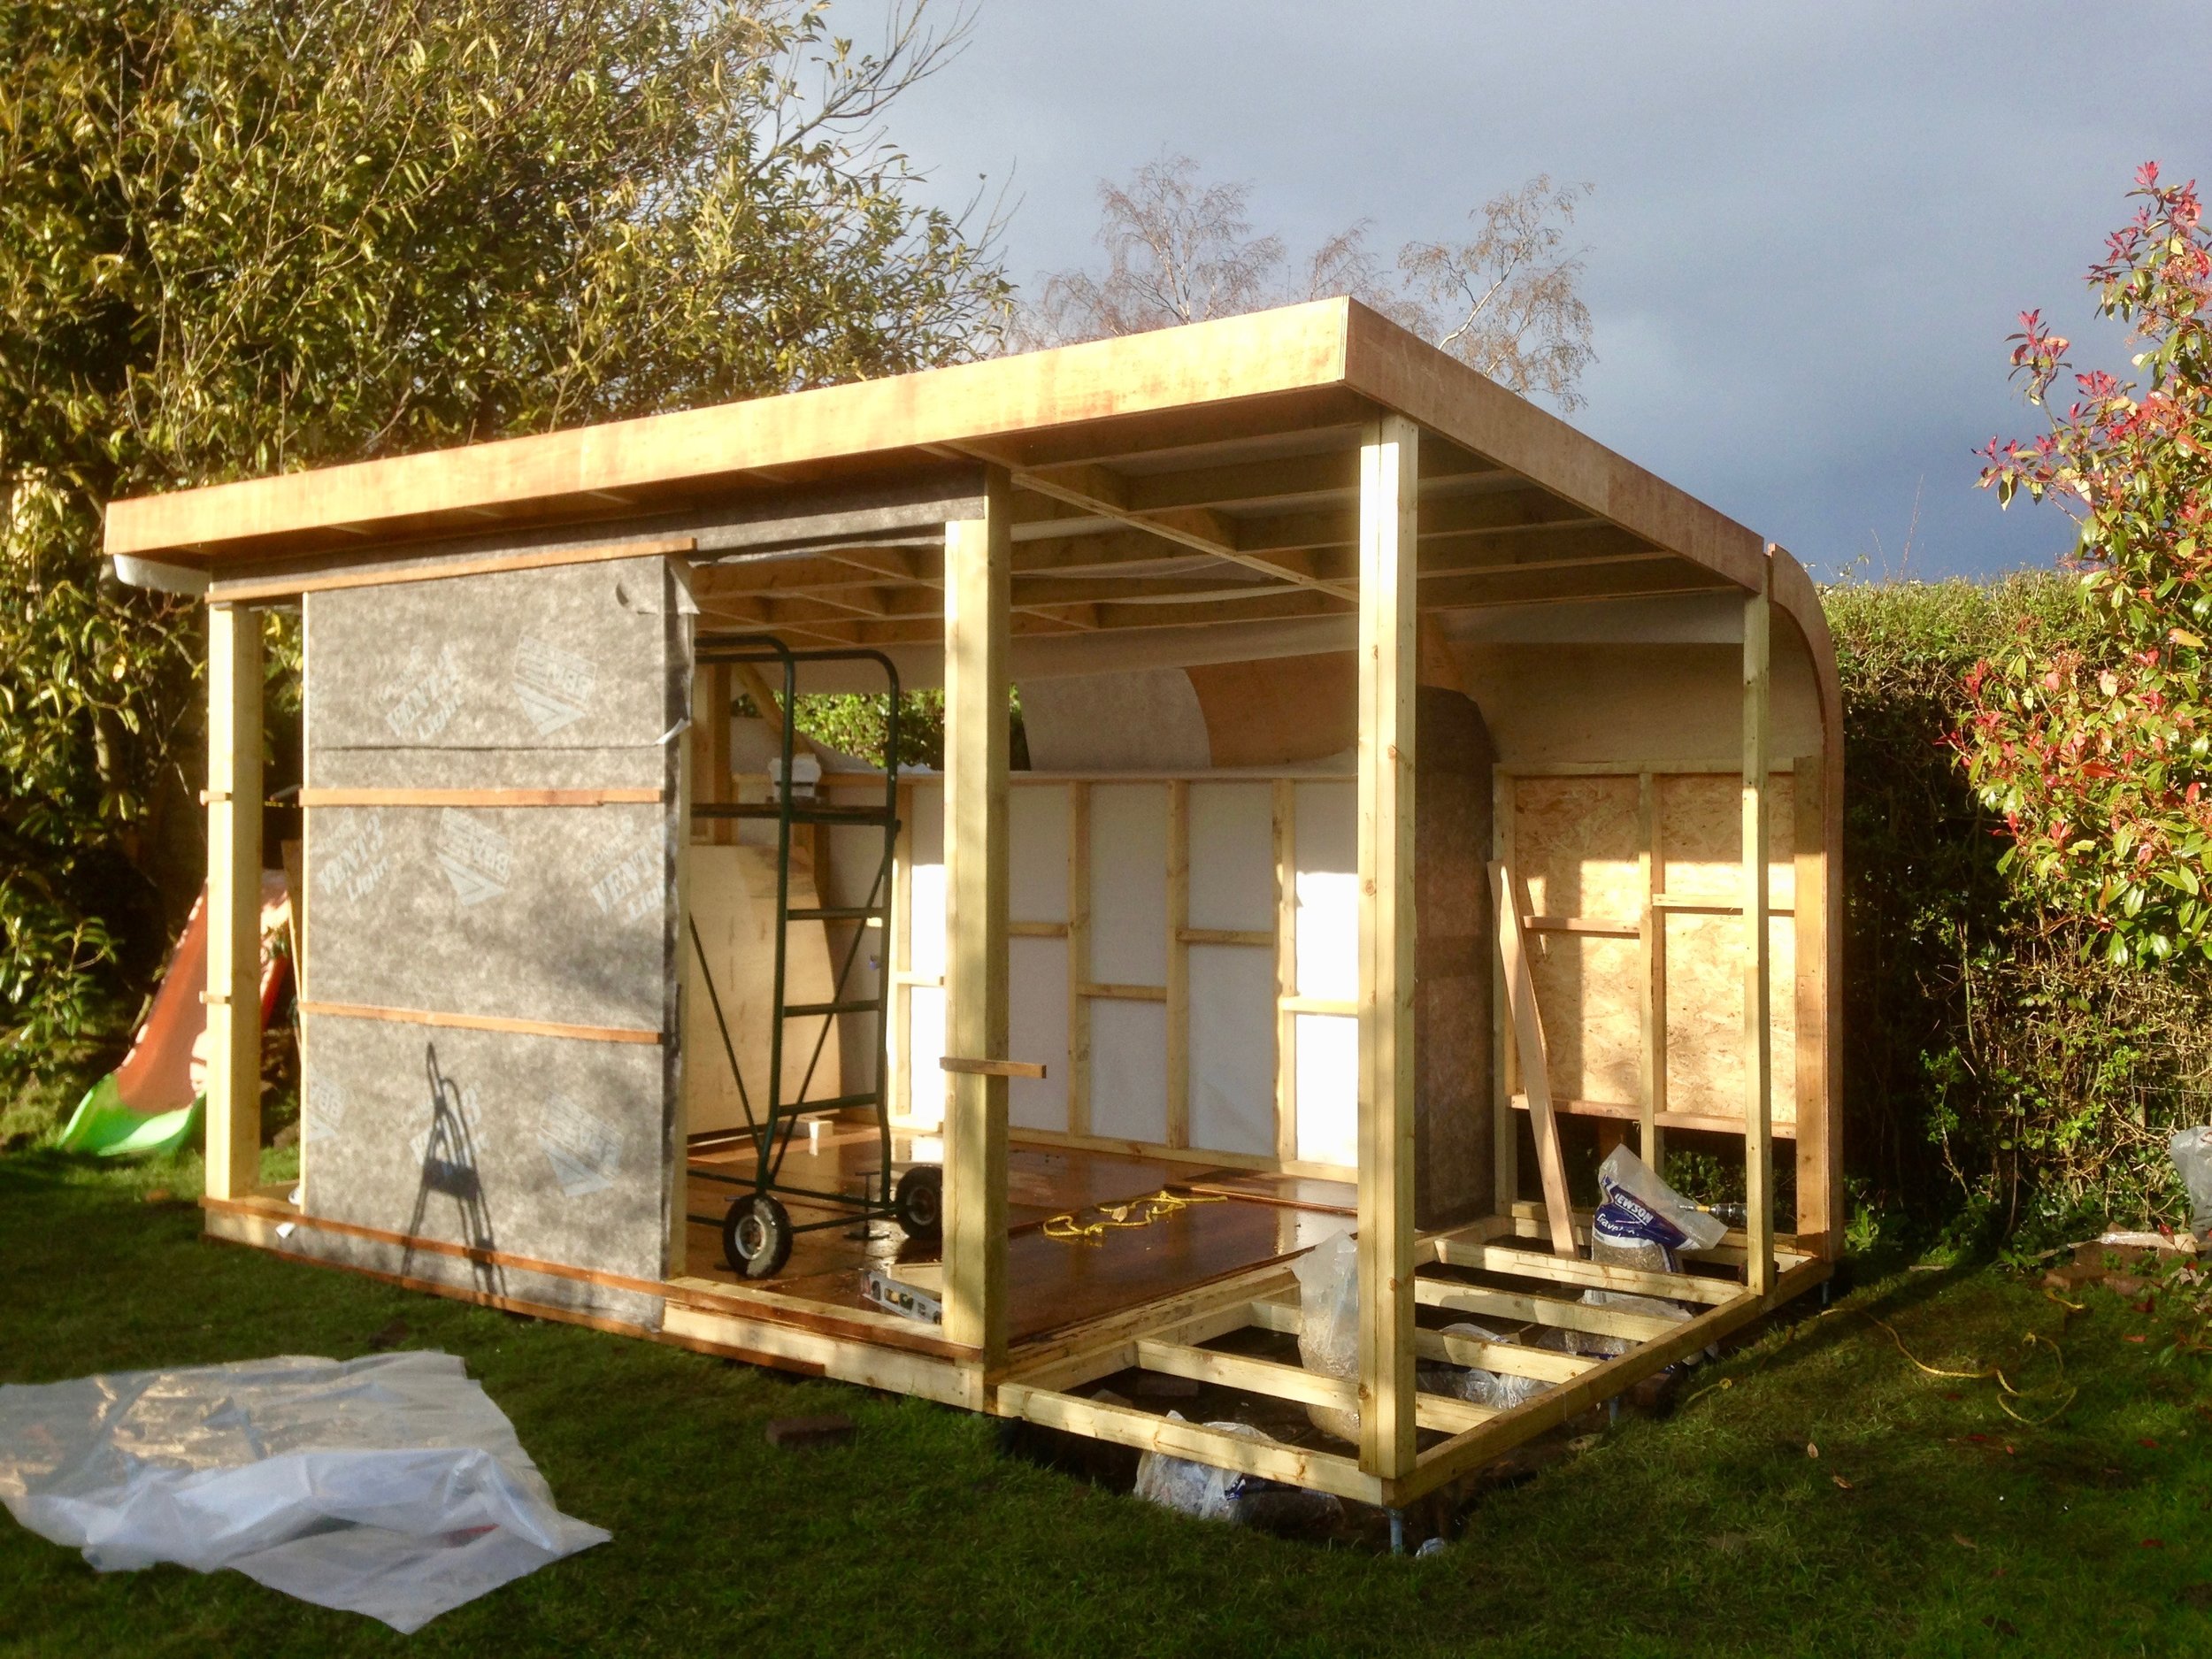
Process
As an example of Curve's open and honest approach to the whole build process of your garden room, we've broken the whole build down into 12 main stages. However a few of the stages are interchangeable depending on your design choices and of course the weather.
1: Base

First things first. We mark up the footings of your garden room and create the base with a super strong matrix of treated timber and hardwood ply. We use an ingenious system of adjustable galvanised steel piles and base plates to both level the base and ensure it is elevated from the ground to crucially allow for airflow under the structure. Vital for the longevity of your garden room. We then add a 68mm sandwich of exterior ply and top grade 40mm foil covered PIR insulation to reflect the heat from the underfloor heating. No-one else offers this level of floor insulation.
2: Structural Framework

We then start on the timber frame that will be the main walls. 100mm square corner posts with 47x100mm frames are precision cut and expertly crafted on site to give the overall structure. At this point the door and window apertures are created and can if necessary, be adjusted.
3: Rear exterior wall

Round the back of the garden room, the exterior wall must then be completed. The whole structure gets a breathable waterproof membrane, then exterior grade polyester topcoat coated OSB is fixed to the rear wall. This must be completed before the crucial unique curve is created. Any guttering and rain collection system can be added later on.

4: Curve and roof
The main roof joists and intermediate supports are cut and lifted and screwed into place. Then it's time for the signature curve of the roof to be added with a process of bending and laminating 2 layers of exterior plywood. The rest of the roof can then be covered with exterior grade OSB and edged with the appropriate sized exterior ply edging strip.

5:Fibreglass
The whole roof is given a double layer of roofing quality fibreglass with a topcoat in your chosen colour. This includes the curved rear section, making the whole roof watertight. The bespoke made polyester coated edging strip is also attached, curved and painted in your chosen colour.

6: 1st fix electrics
Now the roof is watertight, the wiring for all the electrics can be installed. This will include a small consumer board with a main rcd and separate circuits for the power sockets, lighting( which can be zoned) , outside lighting ( which is controlled by both a dusk till dawn light sensor and timer) and the underfloor heating.

7: Doors and Windows
Your chosen style and size of windows and doors are then installed. Whether your choice is for bespoke painted wooden frames, UPVC or Aluminium, they are expertly fitted. At this stage your garden room is essentially weatherproof

8: Cladding
It's now time for the beautiful western red cedar (or other cladding) to be expertly attached to battens using highest quality stainless steel screws to ensure no rust staining. We use a laser level to ensure positional accuracy.

9: Insulation
Working on the inside, we now cut and install 80mm foil faced PIR insulation panels into every space in the wooden framework. This ensures a very high level of heat retention and sound insulation. Crucial if you are to create a economically viable room working to retain all the warmth generated by the underfloor heating.

10: Internal walls
All the walls are lined with plasterboard and the internal curve is created. The whole room is then expertly plaster skimmed for a professional finish and once dry, painted in the colour of your choice.

11: Underfloor heating
Then we carefully lay out and install the electric underfloor heating mat. Then the whole floor has a 6mm self levelling concrete screed poured over it making a firm base ready for the flooring.

12: Flooring and Finishing
Once the screed is dry, your chosen style and colour of engineered real oak flooring can be laid. Skirting is fixed and the second fix electrics can be completed. This means connecting your choice of sockets and switches and connecting the whole room to your main consumer box in your home. All electrical components are then expertly tested, ready for use.
Then all's thats left is for you to start enjoying your brand new space.

